EasyManua.ls Logo

Allegion FALCON F-25-C User Manual

Allegion FALCON F-25-C
8 pages
To Next Page IconTo Next Page
Page #1 background imageLoading...
Page #1 background image
*640009-00*
640009-00
Concealed Vertical Rod Exit Device
Dispositivo de salida con varilla vertical oculta
Appareil de sortie de la tige verticale couverte
25-C, F-25-C, &
F-25-WDC-90
Installation Instructions
Instrucciones de Instalación
Notice d’installation
Use to lock down pushbar
Utilícela para asegurar
hacia abajo la barra de
empuje
Utilisé pour verrouiller la
barre antipanique
Dogging Key
Llave del trinquete
Œillet vissé
#10-24
2" (51 mm)
Fire (F) Latch
Seguro Incendio (F)
Verrou Incendie (F)
F-25-WDC-90 Only
Solamente F-25-WDC-90
F-25-WDC-90 Seulement
Customer Service Servicio al cliente Service à la clientèle
1-877-671-7011 www.allegion.com/us
© Allegion 2017
Printed in U.S.A.
640009-00 Rev. 01/17-f
Question and Answer IconNeed help?

Do you have a question about the Allegion FALCON F-25-C and is the answer not in the manual?

Allegion FALCON F-25-C Specifications

General IconGeneral
BrandAllegion
ModelFALCON F-25-C
CategoryDoor locks
LanguageEnglish

Summary

Door Preparation and Initial Setup

Prepare Door Cutout

Instructions for creating the necessary opening in the door for the exit device.

Mark and Prepare Mounting Holes

Locating and drilling holes in the door based on templates for device installation.

Follow Separate Trim Instructions

Conditional instruction to refer to separate guides if installing trim.

Latch and Bracket Installation

Prepare Top and Bottom Latch Holes

Drilling holes in the door for securing the top and bottom latch mechanisms.

Prepare Hole for Release Bracket

Creating the necessary opening in the door for the release bracket.

Install Top Strike and Release Bracket

Mounting the top strike and the release bracket onto the door.

Rod Assembly and Attachment

Prepare Top Rod Length

Cutting the top rod to the correct length based on the door height.

Drill Hole and Attach Top Rod

Drilling an optional hole and connecting the top rod to the latch.

Assemble Rods and Latches

Connecting the top and bottom rods to the device's latch mechanisms.

Door Mounting and Initial Verification

Attach Door to Frame

Securing the prepared exit device door onto the main door frame.

Grout Strike into Floor

Installing the bottom strike by grouting it into the floor.

Verify Latch Operation and Extension

Checking latch retraction and full extension for proper functionality.

Final Adjustments and Special Considerations

Cut Device and Reverse Handling

Instructions for cutting the device if necessary and reversing its handing.

Trim Mounting Options

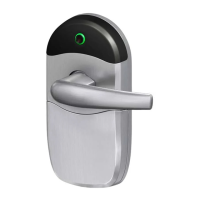
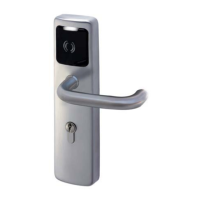
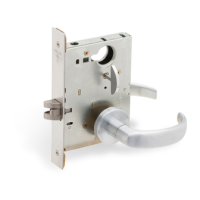
Details on thru-bolting trim and surface mounting methods for the device.

Final Device Adjustments

Performing final adjustments to the device based on verification steps.

Door Frame Preparation Details

Mark and Prepare Frame Holes

Marking and drilling holes in the door frame for mounting hardware.

Detailed Frame Preparation Steps

Specific preparation for top latches, bolt guides, and floor cavities.

Related product manuals