L2SM2
ALLEN & HEATH
7
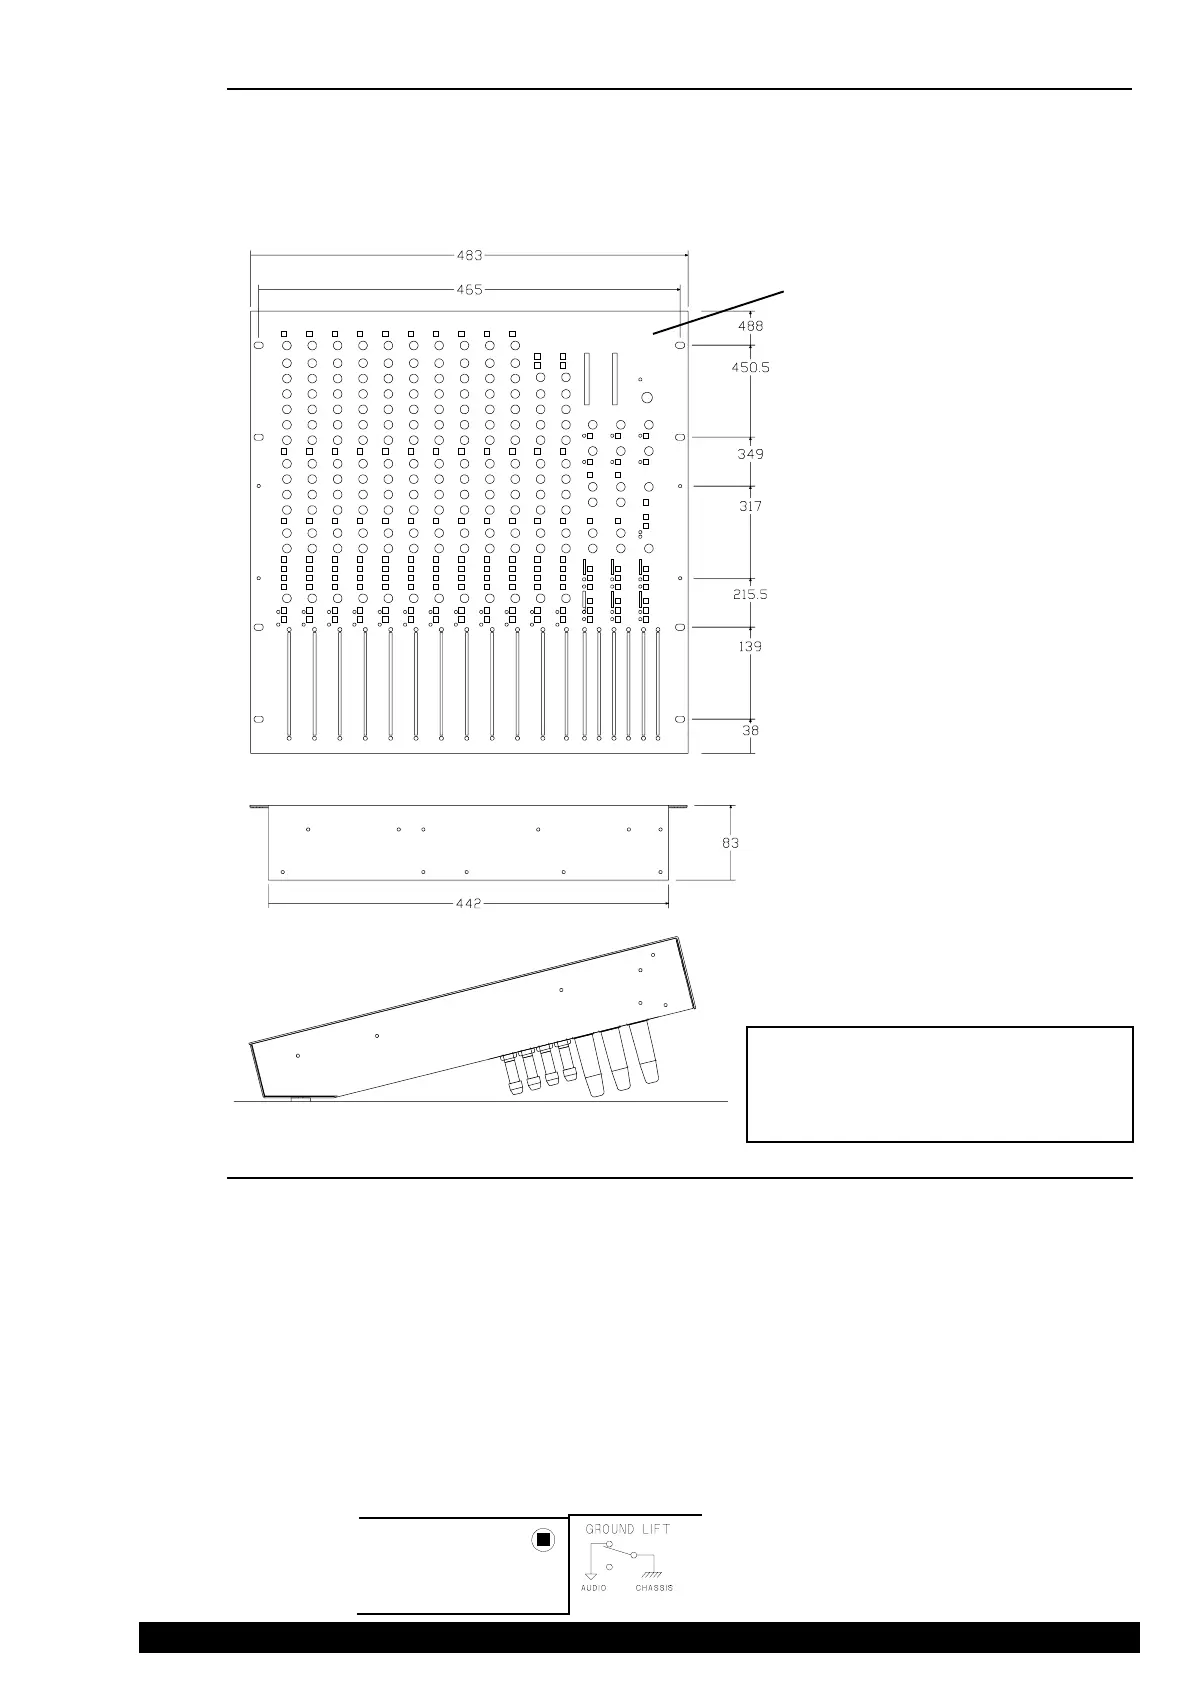
19" rack width
Provide adequate space behind the rear of
the console power unit for ventilation.
The panel may feel warm around the
power unit. This is quite normal as the
chassis acts as a heatsink for the internal
power supply components.
11U space
The two M3 base securing bolts each side
align with mounting recesses in the rack
system.
Mount the console using 4x M6 bolts each
side for maximum strength. These should
be provided by the supplier of the rack kit.
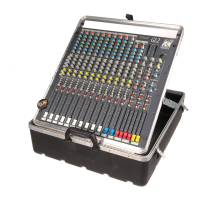
The GL2 and GL2-S has two support feet
fitted to the front of the base to set the
correct angle (14 degrees) for table top
operation with adequate clearance for the
connectors. Support the rear of the con-
sole to achieve this angle. Operation in
this way prevents interference with the
connectors and takes up the minimum of
table space.
The height does not include the control
knobs (add 20mm) or connector nuts (add
8mm).
The rack should allow a minimum side to
side clearance of 450mm.
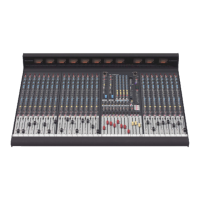
INSTALLING THE CONSOLE
The GL2 and GL2-S fits into an 11U space in a standard 19" rack system. Alternatively the console may be adapted
for flightcase, plinth or table top operation. Ensure adequate access for installing the connectors on the rear.
Avoid using the console close to strong sources of electromagnetic radiation (e.g. video monitors, high power
electric cabling); this may cause degradation of the audio quality due to induced voltages in connecting leads and
chassis.
EARTHING THE AUDIO SYSTEM
It is well known that many audio installation problems are due to inadequate or incorrect earthing. To ensure the
high level of performance for which the GL2 and GL2-S are designed please note the following:
The console chassis is connected to mains earth via the power cord. FOR SAFETY REASONS NEVER
REMOVE THE EARTH WIRE FROM THE MAINS PLUG. The console audio 0V is connected to mains earth
within the console power unit by the ground lift switch. To prevent mains born and external interference pick-up
on the audio signal it is important that this audio 0V is connected to a good noise-free mains earth, either through
the audio cable screens or by linking to a local earth. Multiple earth paths cause earth (ground) loops which may
result in audible hum and interference. These may be avoided by making sure that there is only one path to earth
from each piece of equipment, disconnecting audio cable screens at one end if necessary.
Selecting the ground lift switch on the rear of the console disconnects the console audio 0V from the chassis (mains)
earth. This avoids ground loops in situations where the chassis metalwork is in physical contact with another path
to earth, (often the case in 19" rack installations), or if audio 0V connects to mains earth elsewhere in the system.
Ground lift switch located on
rear of the console power unit.
Press to disconnect audio 0V
from mains earth.
PRECAUTION !
TO AVOID DAMAGE TO THE INTERNAL ASSEMBLIES DO NOT
FIT SCREWS THROUGH THE HOLES IN THE SIDES OF THE
CONSOLE. SECURE TO EXTERNAL BRACKETS OR FITTINGS
THROUGH THE TOP PANEL RACK MOUNTING HOLES.
 Loading...