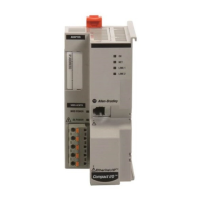
12 POINT I/O Dual Port EtherNet/IP Adapter
Publication 1734-IN040C-EN-P - December 2018
9. Press firmly to seat the adapter on the DIN rail, noting that the adapter locking
mechanism will snap into place.
10. Set the node address on the Node Address pen push thumbwheel using a pen tip.
11. Insert the end of the terminal block opposite the handle into the base unit, noting
that this end has a curved section that engages with the wiring base.
12. Rotate the terminal block into the wiring base until it locks itself into place.
13. Replace the adjacent module in its base.
14. Reconnect the Ethernet cable(s) to the adapter.
15. Set the IP Address for this module.
16. Configure the adapter’s chassis size.
Press a pen tip into the center of the button cross, perpendicular to
the button. You only need a small amount of force to press the button
(approximately 2N).

 Loading...