104 Rockwell Automation Publication 1756-UM540E-EN-P - December 2017
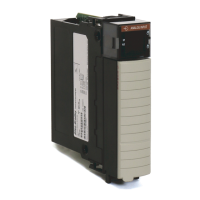
Chapter 5 1756-OF8I Isolated Analog Output Module
In the example project the routines are called R001, R002, and so on. One
chassis per routine.
6. Add an I/O module to the chassis routines.
7. Insert an Add-On Instruction for each digital input module you have in
the chassis.
8. If the digital input module is only 16 channels, set the I16_Ch tag to 1
(true).
This will limit input processing to the first 16 Booleans and reduce
controller scan time.
If you have a digital module that is not compatible with any of the Add-On
Instructions from the example project, you can use the
Redundant_Digital_Input Add-On Instruction to map each channel
individually. You can also create your own Add-On Instruction for the
module.
9. Add the default value for each channel to the Add-On Instruction.
The default value is the value the input will be set to when communication
through both Ethernet modules to the input module is faulted.
10. Insert a rung with two CPS (Synchronous Copy File) instructions for each
Digital Output module that you have in the chassis.
In the example project, the rung number was equal to the slot number of
the module being referenced. We used rungs with only an NOP (No
Operation) instruction to hold the rung number for slots without an
analog module.
11. In each routine add rungs for the analog modules that you have.
Most analog modules have their own Add-On Instructions.
Be aware of the channel count of the AOI and module.
– If the analog module is in Differential mode, the channel count is cut in
half.
– If you have an analog module that is not compatible with any of the
Add-On Instructions from the example project, you can use the
Redundant_Analog_Input Add-On Instruction to map each channel
individually. You can also create your own Add-On Instruction for the
module.
– In the example project the rung number was equal to the slot number of
the module being referenced. We used rungs with only an NOP (No
Operation) instruction to hold the rung number for slots without an
analog module.
12. Keep the Add-On Instruction at Hold Last State or set Hold Last State to
0 (zero) to use the default value.
13. Add the default value for each channel to the Add-On Instruction.
The default value is the value the input will be set to when communication
through both Ethernet modules to the input module is faulted.
 Loading...