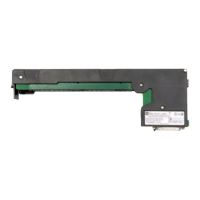
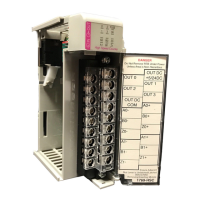
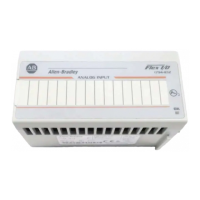
ControlLogix Voltage/Current Input Module 7
Publication 1756-IN040C-EN-P - October 2000
2. Connect the insulated wires to the field-side.
Connect ungrounded end of the cable
1. Cut the foil shield and drain wire back to the cable casing and
apply shrink wrap.
2. Connect the insulated wires to the RTB.
A. Remove a length
of cable jacket
from the
connecting cable.
B. Pull the foil shield
and bare drain
wire from the
insulated wire.
C. Twist the foil shield
and drain wire
together to form a
single strand.
D. Attach a ground lug
and apply heat
shrink tubing to the
exit area.
20104-M
20918-M
E. Connect the drain wire to a
chassis mounting tab.
Use any chassis mounting
tab that is designated as a
functional signal ground.
Chassis mounting tab
Drain wire with ground lug
4M or 5M (#10 or #12)
phillips screw and star
washer (or SEM screw)
4M or 5M (#10 or #12)
star washer
Spring Clamp RTB Cage Clamp RTB
20860-M 20859-M
A. Strip 7/16 inch (11mm) maximum
length of wire.
B. Insert the screwdriver into the inner
hole of the RTB.
C. Insert the wire into the open
terminal and remove the
screwdriver.
A. Strip 3/8 inch (9.5mm) maximum length
of wire.
B. Insert the wire into the open terminal.
C. Turn the screw clockwise to close the
terminal on the wire.
 Loading...