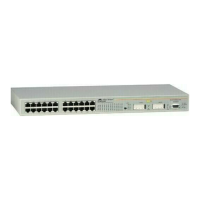
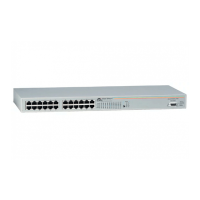
AT-8000 Series Fast Ethernet Switches Installation Guide
67
As power is applied to the switch, the Fault LED (shown in Figure
34) flashes briefly as the switch loads its operating software. This
process takes only a few seconds. After the switch has finished
loadings its software, the Fault LED will stop flashing and remain
OFF.
Figure 34. Fault LED
Note
Refer to the section ”System LEDs” on page 34 for information on
the system LEDs.
The switch is ready for network operations.
If you want to manage the switch and configure its operating
parameters, go to the next procedure for instructions on how to start a
local management session.
Note
No further installation steps are required if you do not need to
change the default parameter settings of the switch, which are
listed in the AT-S39 Management Software User’s Guide.
However, if you want to manage the switch, refer to ”Starting a
Local Management Session” on page 71.
100
FULL
ACT
ERROR
LINK
PORT B
FAULT
MASTER
RS-232 TERMINAL PORT
PWR
MODE
RPS
Fault LED

 Loading...
