Commissioning
Commissioning
First connect the MSR device to the LAN cable and connect the 230 V mains voltage to ST5 with the
supplied power supply or counter plug. Please note the safety instructions. The Linux system needs
about 90 seconds for the boot process, in this time no activity is executable. After completion of the
boot process, the ACT LED starts to flash. Afterwards, the MSR device can be reached via the web
interface.
Notes:
• Please use a current browser such as Microsoft Edge, Chrome or Firefox.
• After setting all network parameters, please run the "Update Check" function (see section
Configuration/Network Settings).
• Recommendation: After commissioning, give meaningful names in the web interface of your
application
Establish first connection with LAN cable
Connect your MSR Appliance to your Ethernet switch using the attached LAN cable. Make1.
sure that the connectors snap in clearly audible.
Connect between the MSR device and the PC/MAC: The device communicates with the2.
connected components using the TCP/IP protocol. To detect the MSR device from its PC/MAC,
the PC/MAC and the MSR device must be in the same network segment. By default: IP
address: 192.168.0.100 Subnet Mask: 255.255.255.0
No username or password required3.
Please now set the PC or MAC temporarily to a free Address between 192.168.0.1 and4.
192.168.0.254 (not 192.168.0.100 this is already pre-occupied by the device).
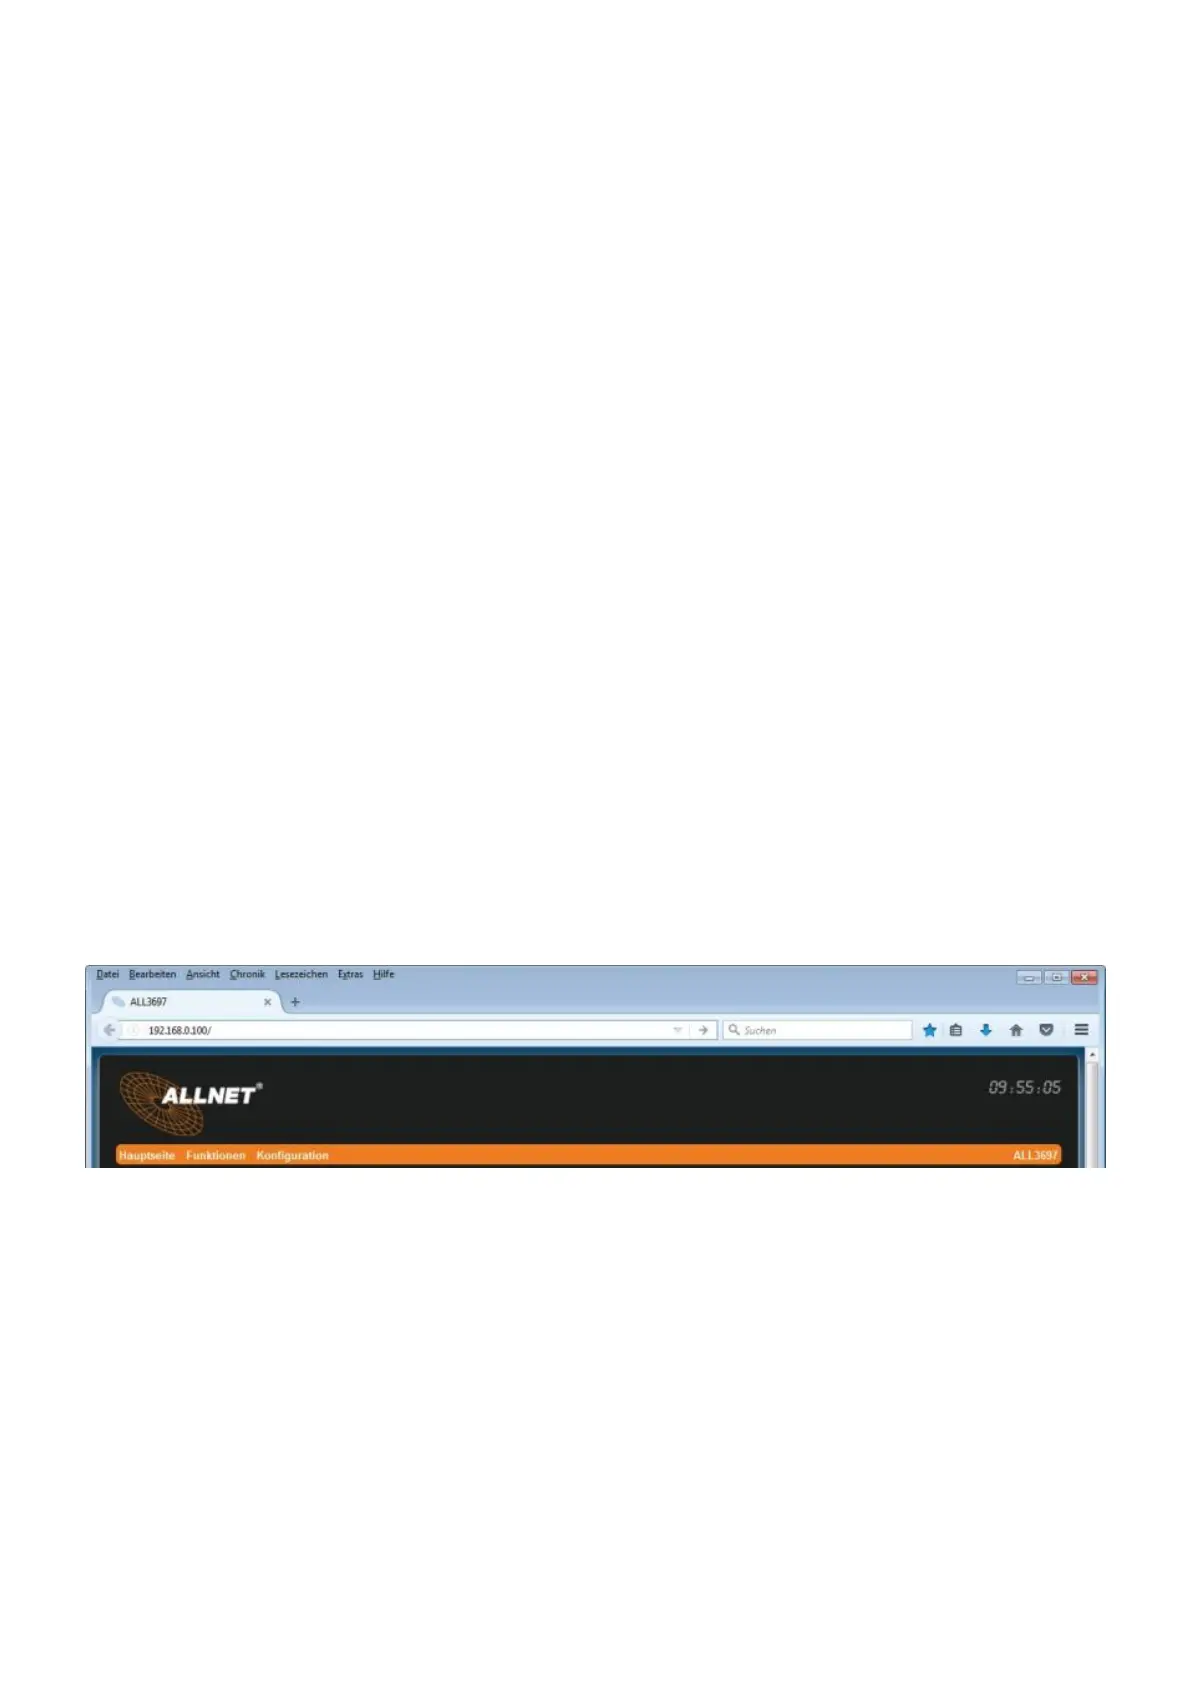
Now enter in the web browser (Internet Explorer, Firefox...) the Address 192.168.0.100, the5.
start page of the MSR device appears.
Now continue with the settings of the LAN parameters.6.
After completing the LAN setting, we recommend to perform an update check,7.
If you want a Wi-Fi connection, please proceed to the Network Settings entry, otherwise you8.
can skip this point.
If the device is to be used as a DHCP server, continue with the DHCP settings. This should9.
only be done by experienced users.