EasyManuals Logo

Alpha-InnoTec WZS Series User Manual

Alpha-InnoTec WZS Series
52 pages
To Next Page IconTo Next Page
To Previous Page IconTo Previous Page
Page #28 background imageLoading...
Page #28 background image
28
We reserve the right to modify technical specifications without prior notice.
UK830501/200520 © Alpha-InnoTec GmbH
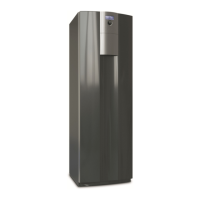
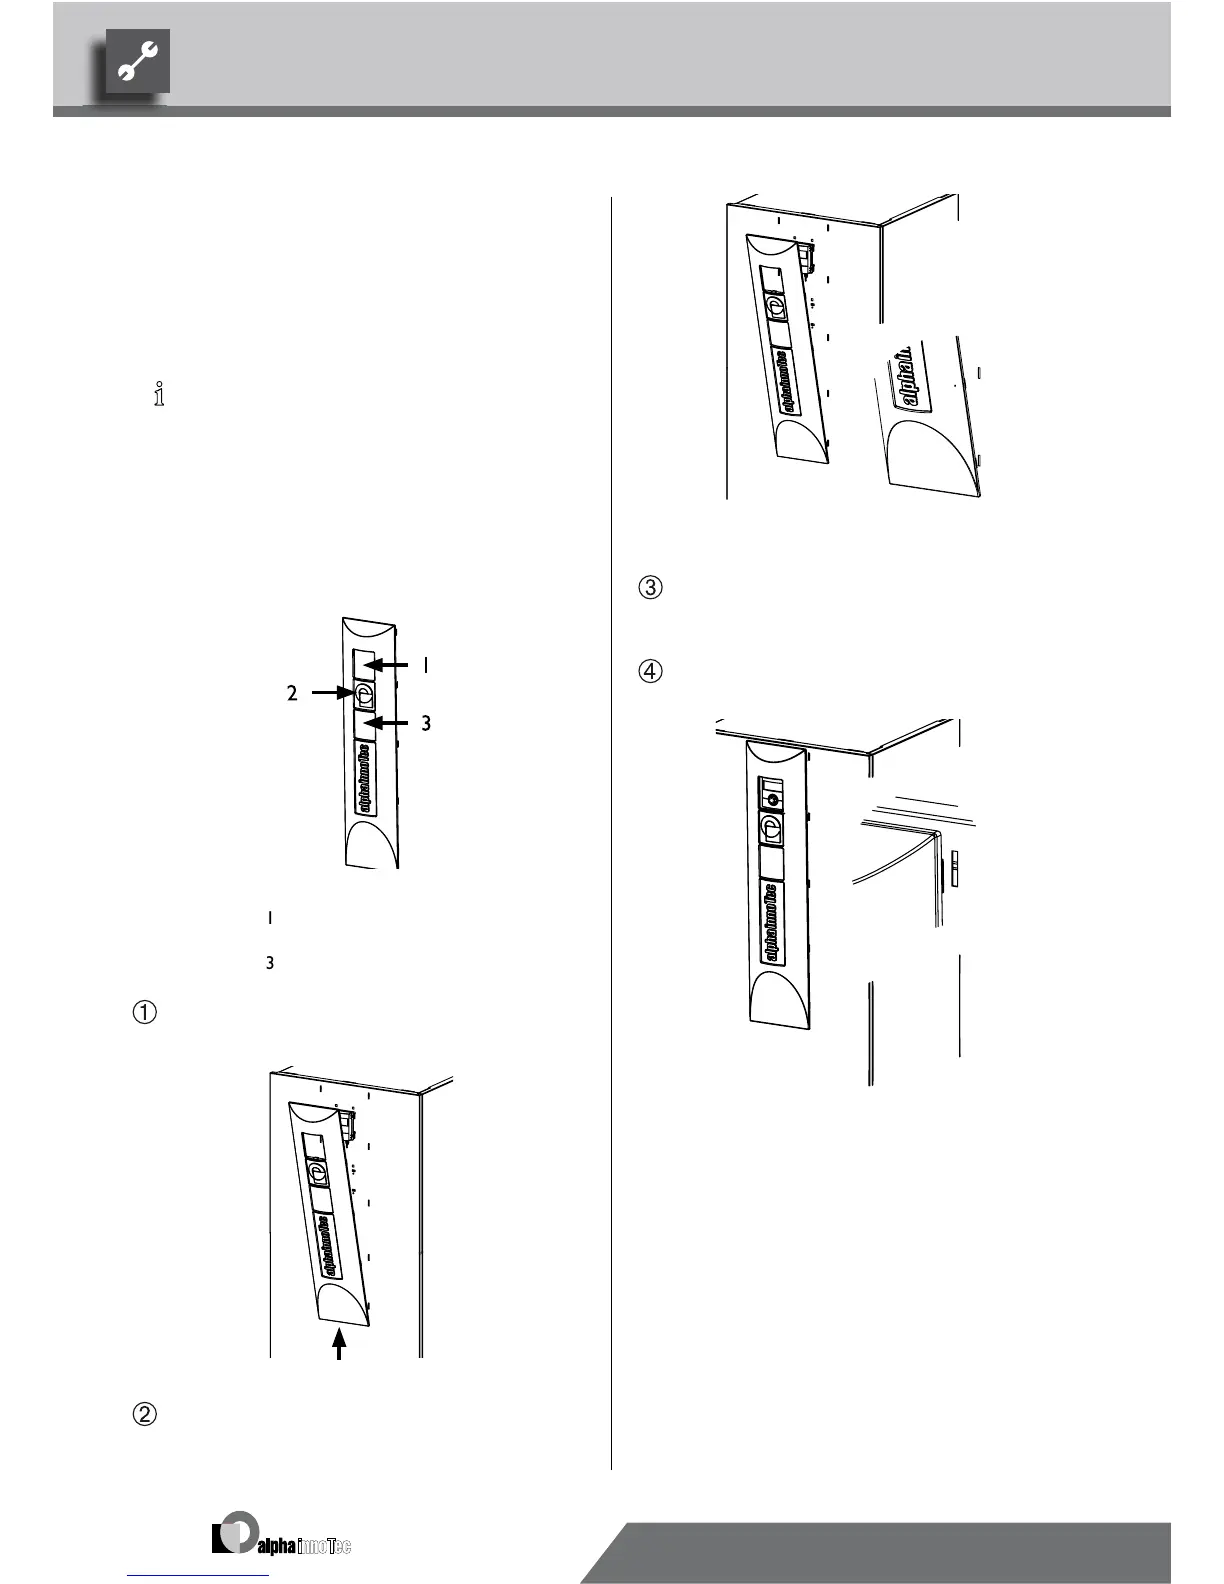
Installation and removal of the
screen
INSTALLING THE SCREEN
N
OT
IC
E.
T
he screen is
p
rovided at the time of
delivery so that the control element may
b
e
i
nserted
i
n the u
pp
er recesses o
f
the
f
ront facade.
I
f
t
h
e
co
n
t
r
o
l
e
l
e
m
e
n
t
h
as
bee
n
i
n
se
r
ted
i
n
t
he lower recesses o
f
the
f
ront
f
acade,
y
ou
must rst remove the screens tem
p
orary
c
over and then reinsert it above the logo
.
S
creen at time of deliver
y
:
1
r
ecess
f
or control element
2
l
ogo
3
t
em
p
orar
y
cove
r
F
i
rst, insert the screen belo
w
, in the
p
rovided slots
o
n
t
h
e
f
r
o
n
t
of
t
h
e
faca
d
e…
B
eginning rst on one side and moving upwards,
l
oc
k
t
he
screen
s sna
p
-in lu
g
s in
p
lace
i
n the slots
p
rovided on the front of the facade
N
e
xt, on the opposite side, moving upwards
.
L
ock the screen
s sna
p
-in lu
g
s
i
n
p
lac
e
in t
h
e s
l
ots
p
rovided on the
f
ront o
f
the
f
acade
F
i
nally, press the screen’s upper snap-in lugs into
the slots provided on the
f
ront o
f
the
f
acade.
REMOVING THE SCREEN
In order to remove the screen, the sna
p
-in lu
g
s must
rst be loosened by pressing one sid
e
completely
towa
r
d
t
h
e
m
idd
l
e
of
t
h
e
sc
r
ee
n
.
Thereafter, remove
t
he sna
p
-in lu
g
s from the o
pp
osite side
.

Table of Contents

Questions and Answers:

Question and Answer IconNeed help?

Do you have a question about the Alpha-InnoTec WZS Series and is the answer not in the manual?

Alpha-InnoTec WZS Series Specifications

General IconGeneral
BrandAlpha-InnoTec
ModelWZS Series
CategoryHeat Pump
LanguageEnglish

Related product manuals