ALPINE S2-A36F/S2-A55V 68-44781Z80-A (EN/DE/FR/ES/IT/SE/RU)ALPINE S2-A36F/S2-A55V 68-44781Z80-A (EN/DE/FR/ES/IT/SE/RU)
7-EN
EN
ES
DE
IT
RU
FR
SE
Cautions on wire lead connections
When using third-party wire cables (power supply
wire), use the supplied screws to simplify the
connection. Refer to the description below for the
proper procedure. If you are in doubt about how to
make this connection, consult your dealer.
1. Check the wire size.
• For details on the wires size to be used, refer to
the supplied “Cautions on Power Supply Wires
Connection” and “Cautions on Power Supply
Wires” (page 17), and then use the wire of
the specified size.
• If the wire gauge used is unknown, ask your
dealer.
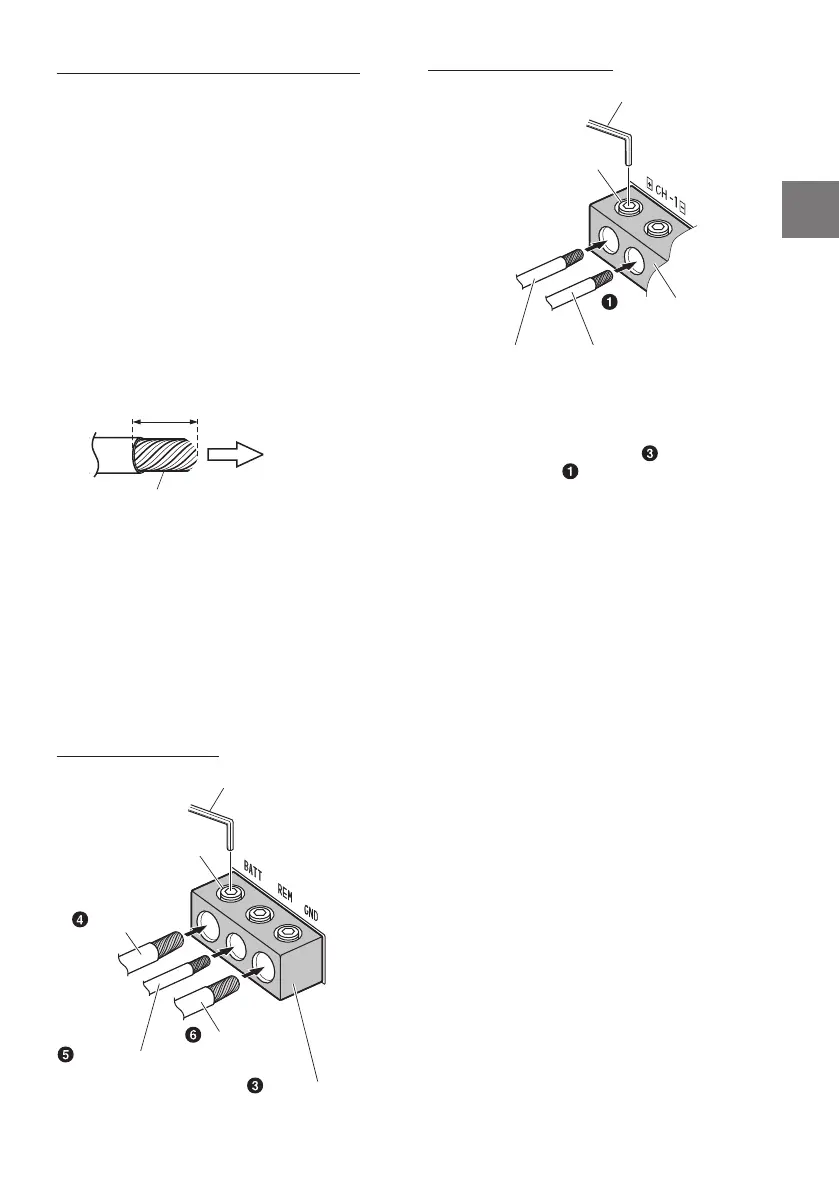
2. Remove the insulation from the ends of the wire
leads by about 7 – 10 mm (9/32” – 13/32”).
Lead end side of
the product
Twist the tip of wire leads
7 – 10 mm
(9/32” – 13/32”)
NOTES:
• If length of the exposed wire is too short, a poor
connection may occur causing operation failure
or sound interruption.
• On the other hand, if the length is too long, an
electrical short-circuit may occur.
3. Tighten the hexagon hole screw with the
hexagon wrench (included) to secure the lead.
Before making this connection, use insulated
shrink tubing to cover any exposed wire
extending beyond the terminal.
Power Supply Terminal
Hexagon Wrench (included)
Battery Lead
Remote Turn-On Lead
Power Supply Terminal
Ground Lead
Hexagon hole screw
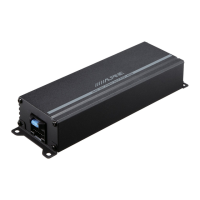
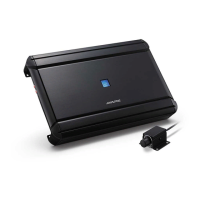
(e.g. S2-A36F)
Speaker Output Terminals
Hexagon Wrench (included)
Hexagon hole screw
Speaker Output Lead (+)
Speaker Output Lead (–)
Speaker Output Terminals
(e.g. S2-A36F)
NOTES:
• Be sure to use the Hexagon hole screw attached
to the Power Supply Terminal ( ) or Speaker
Output Terminals ( ).
• For safety reasons, connect the battery leads last.
• To prevent disconnection of the leads or
dropping of the unit, do not use the cabling to
carry the unit.
Remote Turn-On Lead (sold separately)
Connect this lead to the remote turn-on
(positive trigger, (+) 12 V only) lead of your head
unit. If a remote turn-on lead is not available, see
“CONNECTION CHECK LIST” section on
page 8 for alternative method.
• When connecting the speaker output leads of
the head unit to this unit with a Speaker-RCA
Conversion cable (sold separately), you do not
need to connect the remote turn-on lead,
owing to the “REMOTE SENSING” function of
this unit. However, the “REMOTE SENSING”
function may not work depending on the
signal source connected. In such a case,
connect the remote turn-on lead to an
incoming power supply cord (accessory
power) in the ACC position.
Ground Lead (sold separately)
Connect this lead securely to a clean, bare metal
spot on the vehicle’s chassis. Verify this point to
be a true ground by checking for continuity
between that point and the negative (–)
terminal of the vehicle’s battery. Ground all your
audio components to the same point on the
chassis to prevent ground loops while keeping
wire length as short as possible.
• For details on the wires size to be used, refer to
the supplied “Cautions on Power Supply Wires
Connection” and “Cautions on Power Supply
Wires” (page 17), and then use the wire of
the specified size.
RCA Input Jacks
Connect these jacks to the line out leads on your
head unit using RCA extension cables or
Speaker-RCA Conversion cable (sold separately).
Be sure to observe correct channel connections;
Left to Left and Right to Right.
Remote Bass Control (optional)
Connect the Remote Bass Control Unit
RUX-KNOB.2 (sold separately) to adjust the
output level remotely. This is not to replace
appropriate gain level setting between the
amplifier and head unit.