Demonstration Source Code
Project directory: tPad_Camera
Bit stream used: tPad_Camera.sof
Demonstration Batch File
Demo Batch File Folder: tPad_Camera\demo_batch
The demo batch file includes the following files:
Batch File: tPad_Camera.bat
FPGA Configure File: tPad_Camera.sof
Demonstration Setup
Load the bit stream into FPGA by execute the batch file „tPad_Camera.bat‟ under
tPad_Camera\demo_batch\ folder
The system enters the FREE RUN mode automatically. Press KEY[0] on the DE2-115 board
to reset the circuit
Press KEY[2] to take a shot of the photo; you can press KEY[3] again to switch back to
FREE RUN mode and you should be able to see whatever the camera captures on the LCD
display
User can use the SW[0] and KEY[1] to set the exposure time for brightness adjustment of the
image captured. When SW[0] is set to Off, the brightness of image will be increased as KEY[1]
is pressed longer. If SW[0] is set to On, the brightness of image will be decreased as KEY[1]
is pressed shorter
User can use SW[17] to mirror image of the line. However, remember to press KEY[0] after
toggle SW[17]
Note: execute the tPad_Camera.bat under tPad_Camera\demo_batch will automatically
download the .sof file.
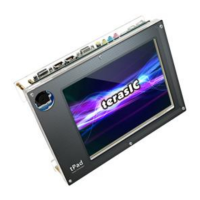
Table 4-3 summarizes the functional keys of the digital camera. Figure 4-13 gives a run-time
 Loading...