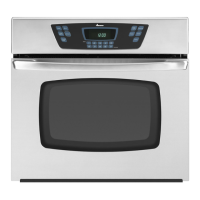
General Use and Oven Controls
17 RA233001 Rev. 3
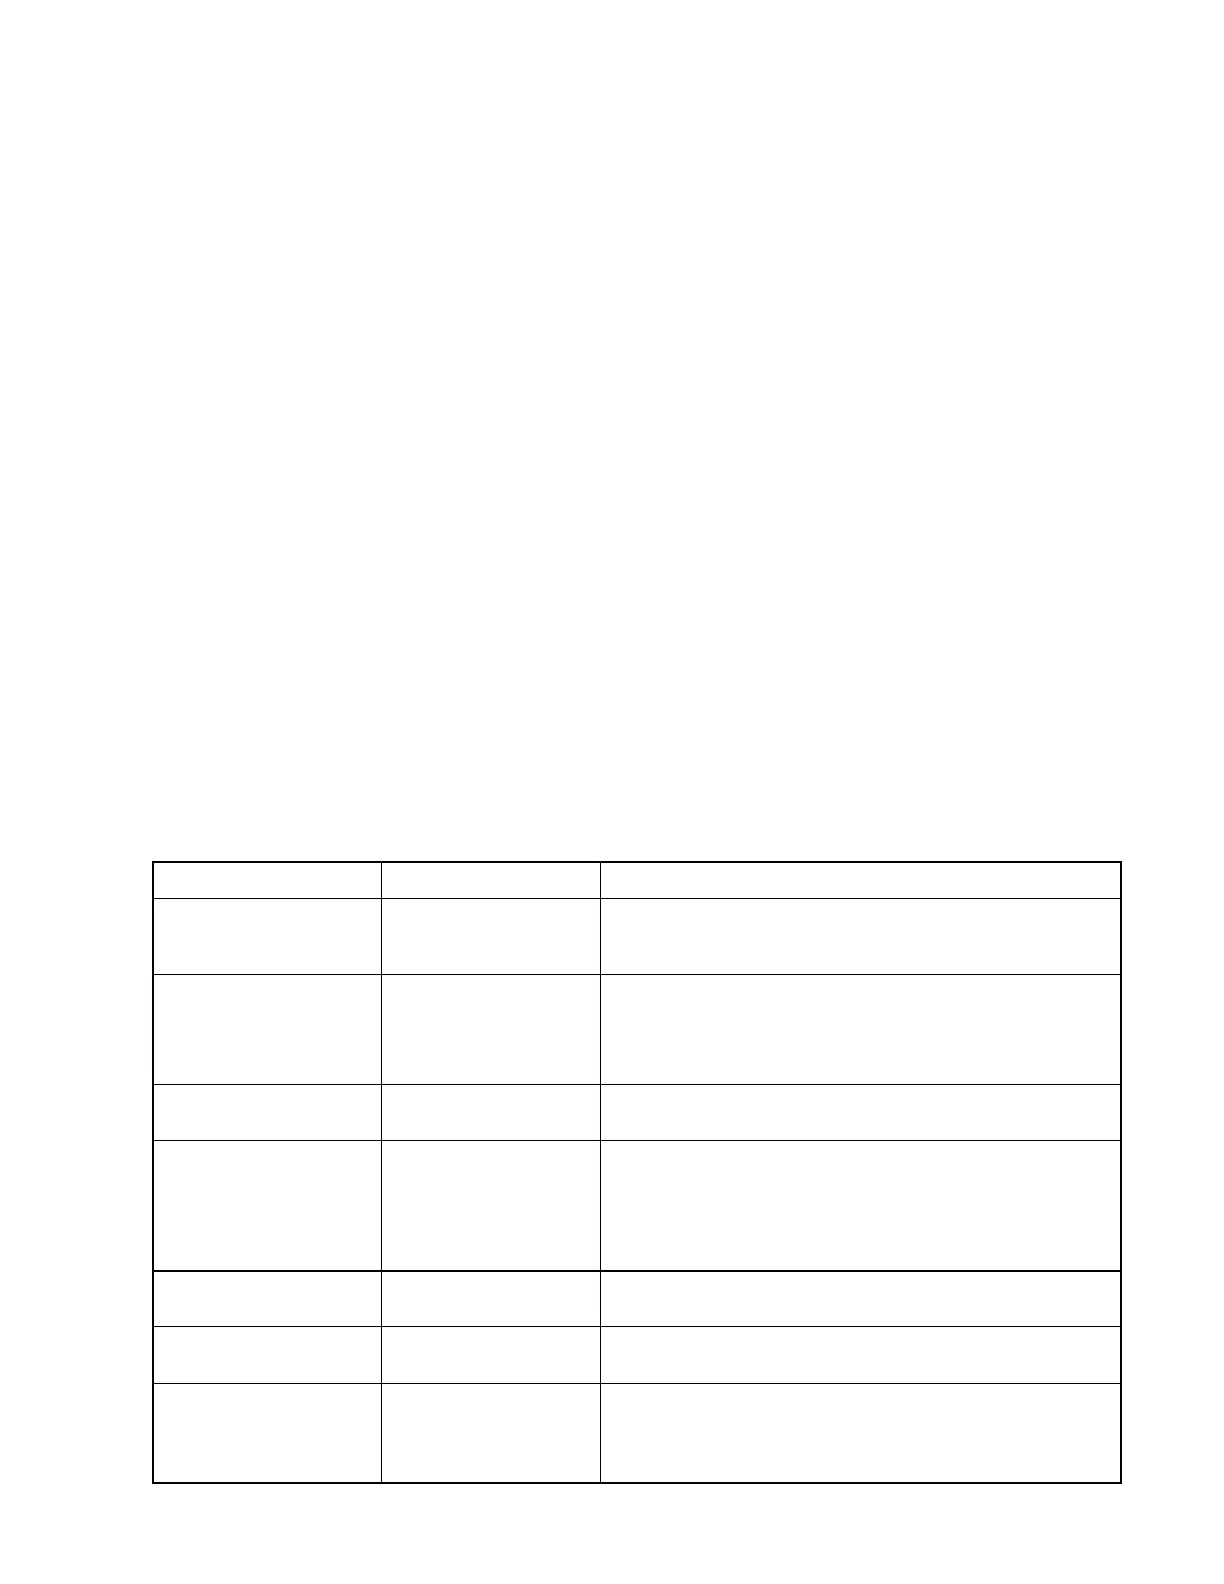
Oven Part Cleaning Materials General Directions
Bake, Broil Burners and
Ignitors
Do not clean the bake or broil burner. Any soil will burn
off during cooking. Never attempt to clean the ignitors.
Broiler Pan and Grid
Soap, Nonabrasive
Scouring Pad and
Water
Drain fat, cool pan and grid slightly. Sprinkle with soap.
Fill the pan with warm water. Let pan and grid stand for a
few minutes. Wash and scour if necessary. Rinse and
dry. Broiler pan and grid dishwasher safe.
Control Knobs Mild Soap and Water
Pull off knobs. Wash gently, but do not soak. Dry and
return controls to range.
Interior Oven Door
Outside Oven Door
Soap and Water
Cool before cleaning. Frequent wiping with mild soap and
water prolongs time between major cleanings. Rinse
thoroughly. A mild abrasive can be used on extra-dried
soil. Never use strong abrasives, gritty cleaners,
commercial oven cleaners or steel wool.
Oven Door Gasket Do Not Clean
Gasket should not be cleaned. Care should be taken not
to wet or rub the gasket.
Oven Racks Soap and Water
For heavy soil, clean by hand and rinse thoroughly.
Remove oven racks for ease in cleaning.
Outside of Oven Soap and Water
Wash all glass with cloth dampened in soapy water.
Rinse and polish with dry cloth. If knobs are removed, do
not allow water to run down inside the surface while
cleaning.
Delayed Self-Cleaning
1. Remove oven racks and cooking utensils from oven.
2. Wipe up large spillovers.
3. Wipe soil from around outside of the oven. Do not
rub the oven door gasket.
4. Verify clock shows correct time of day.
5. Push the
CLEAN TIME
button. Adjust the clean
time from two to four hours by turning the
SET TIME
knob.
6. Push the
STOP TIME
button. Turn the
SET KNOB
to the desired stopping time.
7. Turn the selector knob to
UPPER CLEAN
or
LOWER CLEAN
depending on which oven is to be
cleaned.
8. Push in and turn the upper or lower temperature
control to
CLEAN
.
9. Close and lock the oven door.
Clock displays the stop time. The oven begins to clean
automatically and finishes at the preset stop time. The
oven indicator, casserole dish and an arrow over
STOP
TIME
will light. An arrow will flash over the
CLEAN TIME
until the cleaning cycle is finished. When the oven
reaches cleaning temperatures, the
CLEAN
indicator
will light. To check the remaining clean time, push the
CLEAN TIME
button.
The fan may continue to operate until the electrical
components are cool. When the oven has cooled to a
safe temperature, unlock the door. After the door is un-
locked, turn the temperature control knob to
OFF
and
turn the selector knob to
MANUAL
.
Canceling Remaining Cleaning Time
1. Push
CLEAN TIME
button twice.
2. When the oven has cooled to a safe temperature
unlock the door.
3. Turn the temperature control knob to
OFF
.
4. Turn the selector knob to
MANUAL.
Important Note: The door latch can only be oper-
ated when the temperature control and selector are
set to the clean position
Important Notes:
• The oven should be cleaned before it gets exces-
sively dirty.
• The ovens must be cleaned separately because a
timed function can only be used in one oven at time.
The oven that is not being cleaned can be used for
manual baking or broiling.
• It is normal to see a small amount of smoke escape
from the oven while cleaning.
• The oven door cannot be unlocked if the clean light
is on or if the selector and temperature control
knobs are not set at clean. Do not try to force the
lock. This may damage the locking system.
 Loading...