8
STEP 2. CONNECT HEAT PUMP UNIT TO SYSTEM
OPEN THE LIQUID VALVE FIRST! I
F
THE
GAS
SERVICE
VALVE
IS
OPENED
FIRST
,
OIL
FROM
THE
COMPRESSOR
MAY
BE
DRAWN
INTO
THE
INDOOR
COIL
OR
TXV
RESTRICTING
REFRIGERANT
FLOW
AND
AFFECTING
OPERATION
OF
THE
SYSTEM
.
POSSIBLE REFRIGERANT LEAK!
T
O
AVOID
A
POSSIBLE
REFRIGERANT
LEAK
,
OPEN
THE
SERVICE
VALVES
UNTIL
THE
TOP
OF
THE
STEM
IS
1/8”
FROM
THE
RETAINER
.
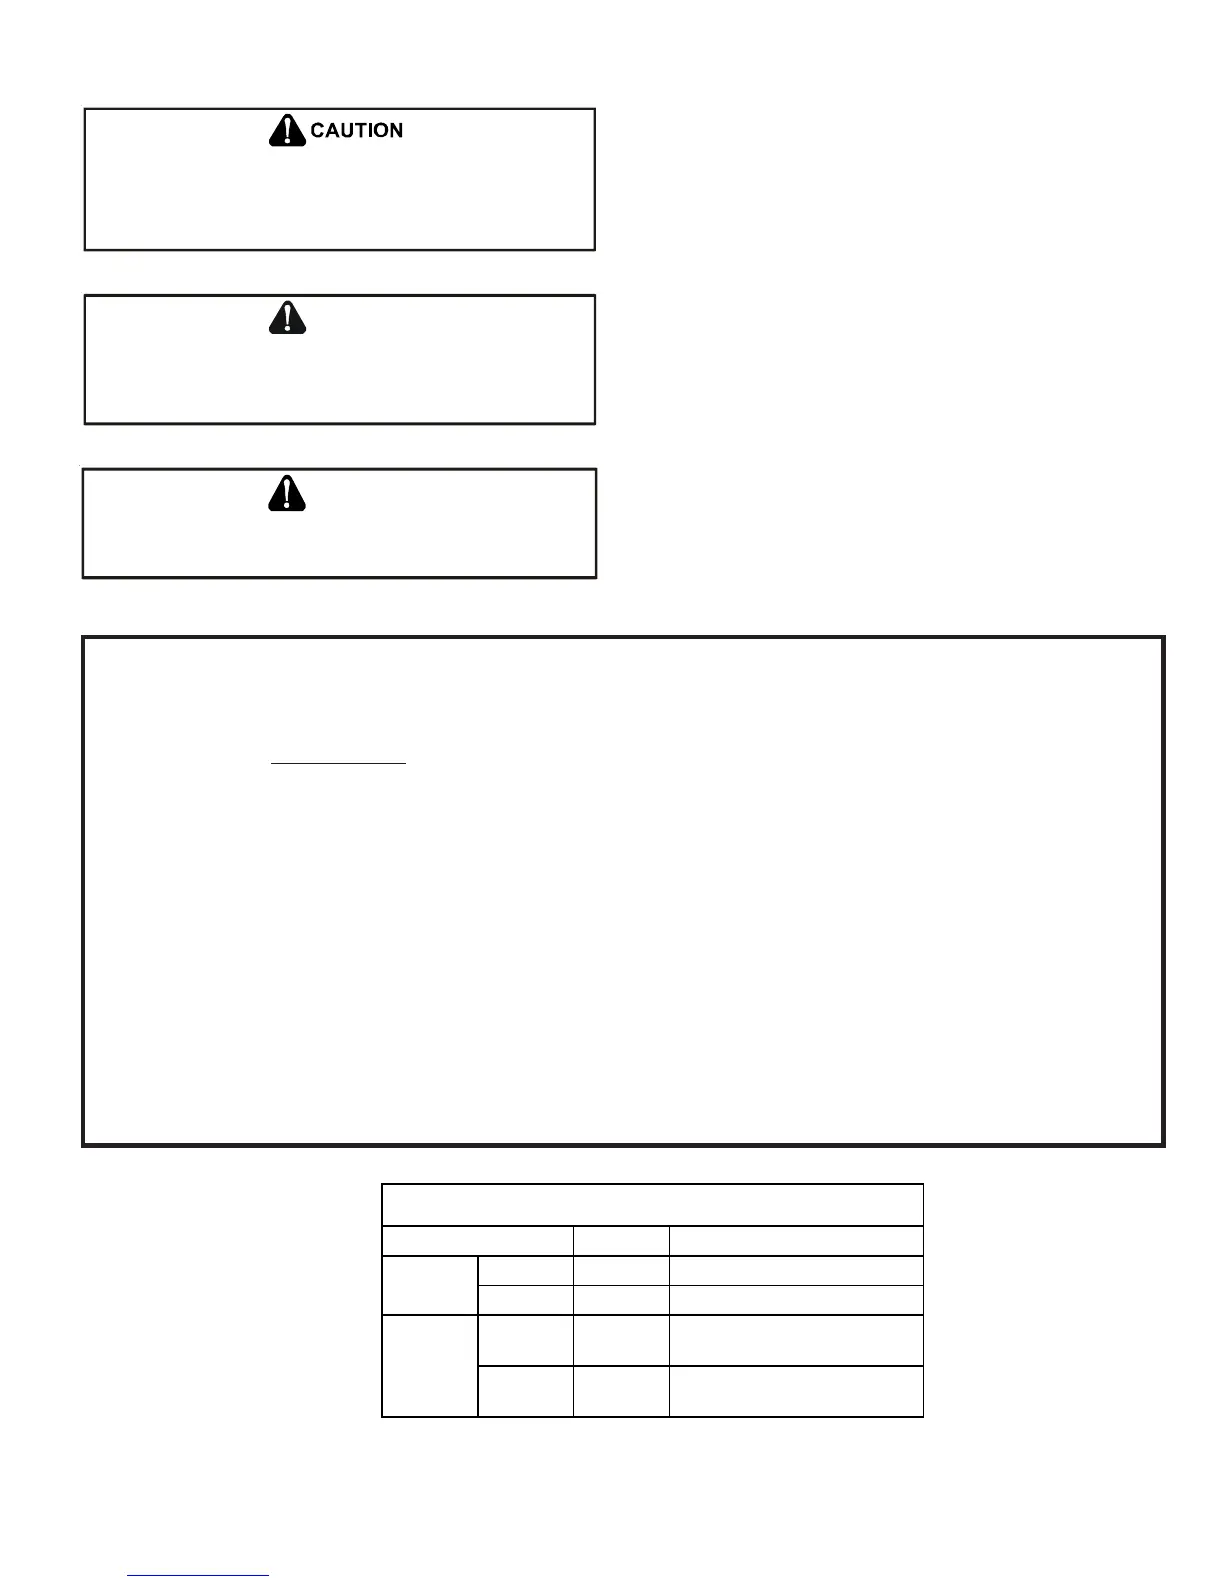
CAUTION
E
NSURE
VALVES
ARE
OPEN
AND
ADDITIONAL
CHARGE
IS
ADDED
PER
CHART
BEFORE
APPLYING
POWER
.
CAUTION
When opening valves with retainers, open each valve only until
the top of the stem is 1/8” from the retainer. To avoid loss of
refrigerant, DO NOT apply pressure to the retainer. When open-
ing valves without a retainer, remove service valve cap and in-
sert a hex wrench into the valve stem and back out the stem by
turning the hex wrench counterclockwise. Open the valve until it
contacts the rolled lip of the valve body.
NOTE: Units may utilize ball valves or front seating valves. These
are not back-seating valves. It is not necessary to force the stem
tightly against the rolled lip.
After the refrigerant charge has bled into the system, open the
liquid service valve. The service valve cap is the secondary seal
for the valves and must be properly tightened to prevent leaks.
Make sure cap is clean and apply refrigerant oil to threads and
sealing surface on inside of cap. Tighten cap finger-tight and then
tighten additional 1/6 of a turn to properly seat the sealing sur-
faces.
Do not introduce liquid refrigerant from the cylinder into the
crankcase of the compressor as this may damage the compres-
sor.
Break vacuum by fully opening liquid and gas base valve.
ATTENTION INSTALLER - IMPORTANT NOTICE!
Please read carefully before installing this unit.
• For AVZC20, do not install the 24 Volt Transformer that is included with the CTK04 Thermostat in the Heat
Pump Unit; it is not needed.
• Do not attach any wires to the R & C Terminals on the Heat Pump Unit, as they are not needed for inverter unit
setup.
•DATA LINE TERMINALS #1 AND #2 ARE POLARITY SENSITIVE. ONLY THE DATA LINES, 1 AND 2, ARE REQUIRED BETWEEN THE INDOOR AND
OUTDOOR
UNITS.
•DATA LINE TERMINAL #1 FROM OUTDOOR UNIT MUST CONNECT TO TERMINAL #1 ON INDOOR UNIT AND DATA LINE TERMINAL #2 FROM
OUTDOOR
UNIT MUST CONNECT TO TERMINAL #2 ON INDOOR UNIT. VERIFY WIRES ARE NOT REVERSED.
•IT IS STRONGLY RECOMMENDED TO USE WIRE NUTS AT THE INDOOR UNIT WHEN CONNECTING MULTIPLE DATA LINES OR LOW VOLTAGE WIRES
TOGETHER
. IT IS NOT RECOMMENDED TO USE THE TERMINAL BLOCK TO CONNECT TWO OR MORE WIRES.
• Calculate the Liquid Line Set length and weigh in 0.6 ounces per foot of R410A refrigerant for any length over
15 feet.
Or
• Charge by Sub-cooling.
Sub-cooling should be between 7° and 9°F. Allow 10 minutes of running in Charge Mode between each
amount of refrigerant added.
Setting Purpose
1 ON CT Communication Enabled
2 ON CT Communication Enabled
1ON
Cooling Emergency Mode
for Future Use *
2ON
Cooling Emergency Mode
for Future Use *
OD DS1
OD DS2
Switch #
DIPSWITCH FACTORY DEFAULT SETTINGS
* OD DS2 switch 1 and 2 both must be turned on
during normal operation mode
 Loading...