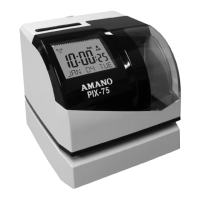
PIX-75 www.amano.com/time • 1-800-253-9836 1-7
Chapter 1 - Quick-Start Instructions
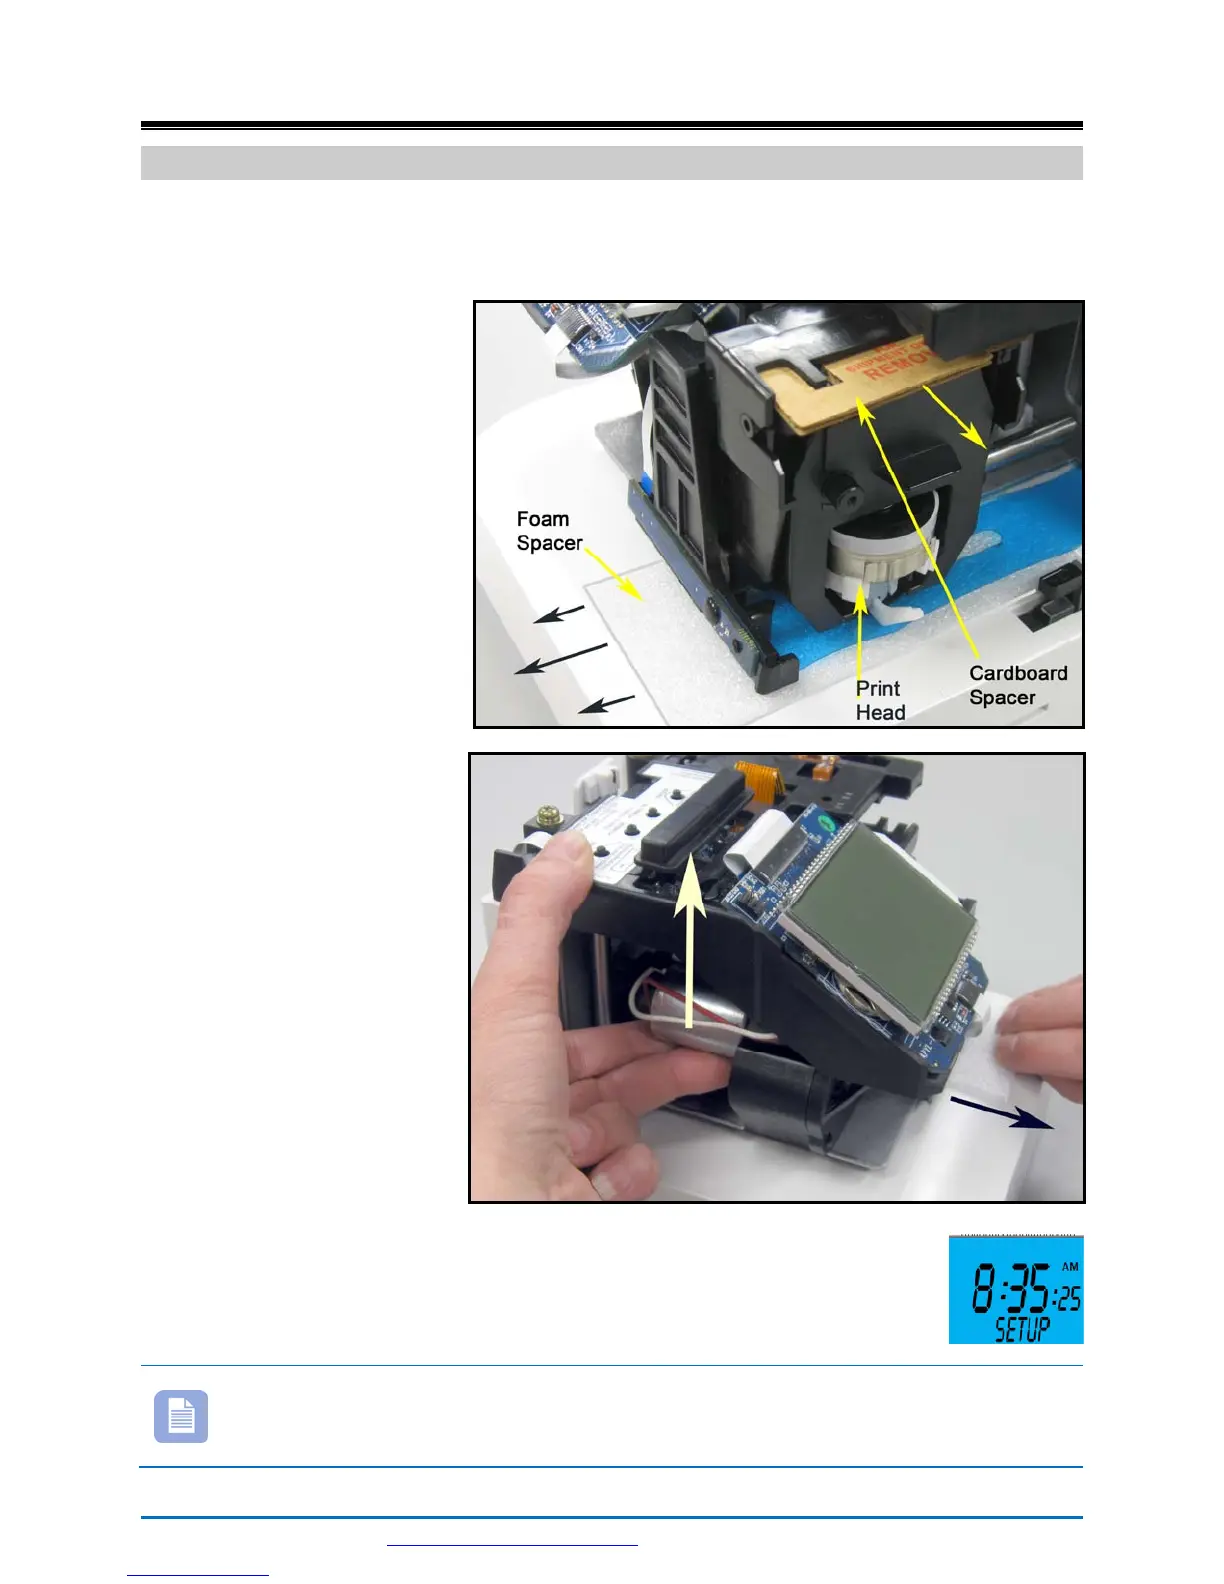
Step 1 – Remove the Cover & Packing Material
1. Insert the key provided into the keyhole on top of the clock, turn
clockwise ¼ turn to unlock the cover and lift the cover to remove (see
Figure on previous page).
2. Remove the cardboard
spacer located above
the ribbon cartridge by
pulling straight out
(see right-hand
Figure).
3. Lift up the printer
carriage by placing
your fingers under the
metal motor on the
left-hand side and
remove the foam
spacer (white) located
under the print head
(see right-hand
Figures). Release the
printer carriage.
4. After removing the
foam spacer with the
cover off plug in the
clock!
5. The clock will announce “Voice mode enabled” and display
Setup (see right-hand Figure) on the bottom line.
Note –Should the clock not power up, verify that the AC Adapter is
plugged into the rear of the clock. See Figure 2 on page 1-11 and
Figure 8 on page 2-30 for AC Adapter plug-in location.
 Loading...