1-8 www.amano.com/time • 1-800-253-9836 PIX-75
Step 2 - Setting the Time
Using this method does not zero the seconds as the seconds continue to roll
during setting the hours and/or minutes.
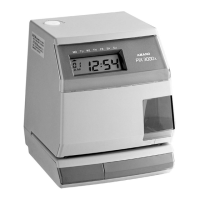
1. Press the HOUR button to advance hour by increments of one (1) until
the correct hour appears.
2. Press the MINUTE button to advance minutes by increments of one (1)
until the correct minute appears.
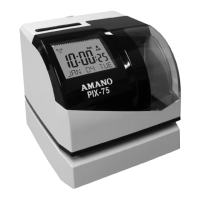
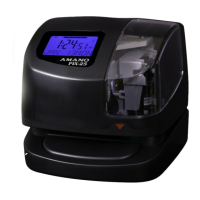
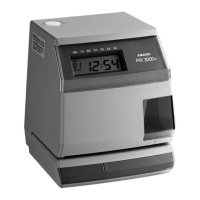
Figure 1: Programming Button Locations.
3. The default print format is Format-1 (YEAR, MONTH, DATE and TIME with
AM or PM).
If this format is acceptable replace the cover and the clock is ready for
use. If you need to change the print format proceed to Step 3 on the next
page.
Note – If your PIX-75 is located in an area that cannot receive the
Atomic time signal, DO NOT be concerned. The PIX-75 will
accurately keep the time using its Quartz mechanism (plus or
minus three seconds per week).
When you first receive the clock, it may be necessary to adjust the
time so the test printout may not show the accurate time.
However, under normal conditions upon power up, the PIX-75 will
automatically search for and synchronize with the atomic time
signal.
 Loading...