34
• HTTPS: This field enables the use of the HTTPS protocol for accessing the camera.
• HTTPS Port: This field designates the Hypertext Transfer Protocol Secure (HTTPS) port number. The default value is 443.
To reset to default settings, click the Reset Defaults button. To refresh the page, click the Refresh button. To save the settings,
click the Save button.
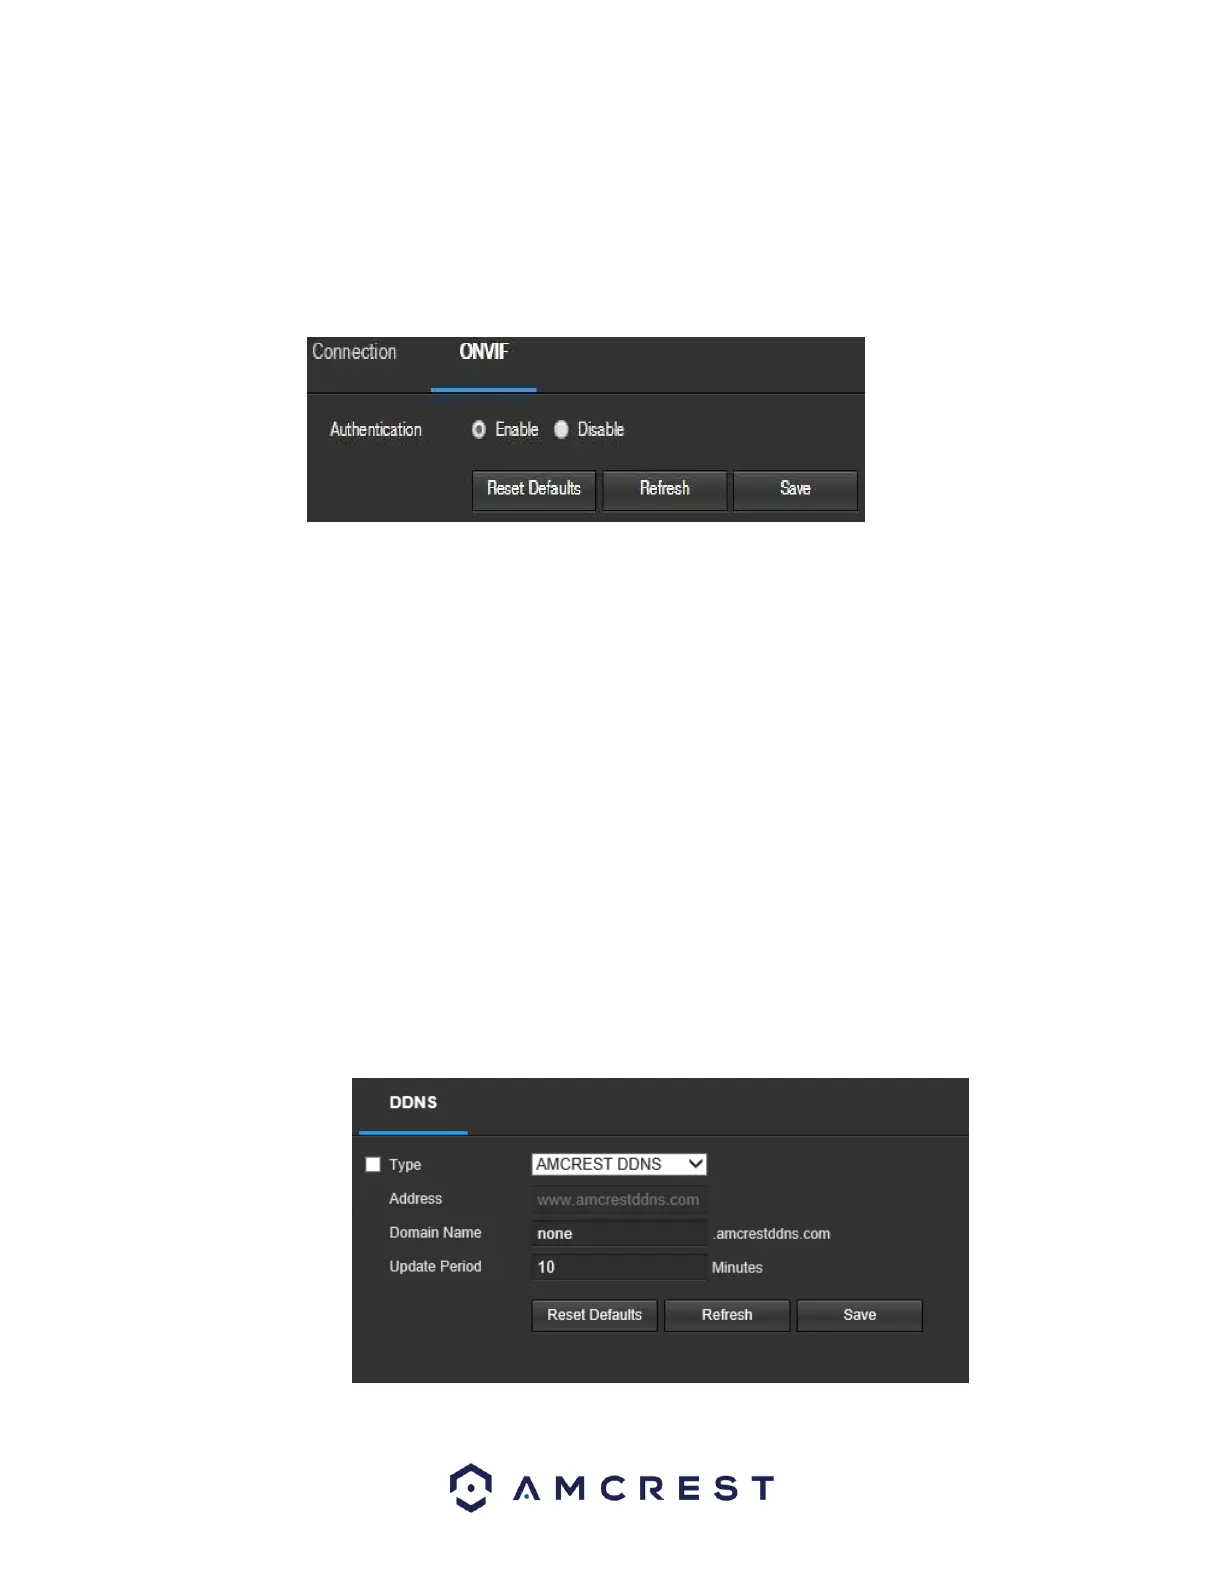
5.4.2.2.2 ONVIF
The ONVIF tab is where users can configure authentication via the ONVIF standard. Below is a screenshot of the ONVIF settings
tab:
To enable ONVIF, click the radio button next to Enable, and then click the save button.
To reset to default settings, click the Reset Defaults button. To refresh the page, click the Refresh button. To save the settings,
click the Save button.
5.4.2.3. DDNS
DDNS stands for Dynamic Domain Name Server. This technology is used to automatically update name
servers in real time to help the camera maintain a persistent address despite changes in location or
configuration. What this means is that even when the camera is restarted, moved, or reconfigured, it can
keep the same IP address, thus allowing remote users uninterrupted access to the camera, rather than
having to request a new IP address to use for remote access anytime a change is made.
To use this feature, users will need to setup an account with a DDNS service. The camera supports a
variety of DDNS services such as Quick DDNS, NO-IP DDNS, CN99 DDNS, and Dyndns DDNS. Based on
which service is selected, different options may show on this screen. For purposes of this guide,
AmcrestDDNS will be used. AmcrestDDNS is a free DDNS service provided by Amcrest, and it must be
renewed every year. A renewal reminder email will be sent to the email entered in the username field
below.
Below is a screenshot of the DDNS settings screen, configured to AmcrestDDNS: