Do you have a question about the American Dish Service ET Series and is the answer not in the manual?
Always disconnect power before servicing. Refer to MSDS for chemical handling and safety.
Dishmachines require a 120V, 20 amp clean circuit and proper ground connection.
Do not operate with spray arm installed until flushed with water to prevent damage.
Read and observe all CAUTIONS and WARNINGS. Wear approved Personal Protective Equipment, including SAFETY EYE-WEAR.
Install to allow for motor and rear plumbing service, using flexible lines for pumped drain models.
Details optional accessories like timers, adapters, dishracks, and table packages.
Connect 1/2" FPT line. Ensure min. 15 PSI flow and 120-140°F water temp. from primary heat source.
Solutions for low water pressure include increasing pipe diameter or using a pressure tank.
Covers gravity and pumped drain requirements, pipe sizes, height limits, and trap connections.
Connect gravity drain outlet to waste pipe, ensuring straight runs and no higher than 7" from floor.
Connect 3/4" hose to barb fitting for pumped drain; ensure wall drain trap and hose barb under 20" height.
Overflow protection for pumped drains depends on hose height not exceeding 20" from floor.
Hook up 120 volt, 20 amp power supply to the junction box using correct wire connections.
Wear PPE, especially safety eyewear, when connecting chemicals to prevent damage and injury.
Explains the three peristaltic pumps for dispensing Detergent, Sanitizer, and Rinse-aid.
Use commercial grade, non-foaming chemicals. Avoid chlorine with certain metals and do not exceed 100 PPM.
Guides on adjusting timer cams to set specific cycle functions like detergent and sanitizer dispensing.
Tune by adjusting fill cam relative to drain cam to eliminate soiled water before drain closes.
Troubleshoots vapor lock by adjusting water temp. or pump wiring for proper fill and spray pressure.
Confirm power is OFF at the master switch and circuit breaker before performing checks.
Turn on main power breaker and dishmachine master switch to ON to start the unit.
Run a flush cycle with water but no spray arm to remove installation debris before re-installing.
Caution: Do not open the door while the machine is in cycle to avoid personal injury.
| Brand | American Dish Service |
|---|---|
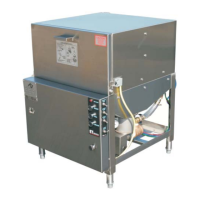
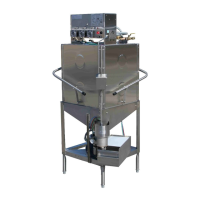
| Model | ET Series |
| Category | Dishwasher |
| Language | English |