Do you have a question about the American Standard Town Square S Series and is the answer not in the manual?
Apply putty to flange underside and insert into lavatory drain. Assemble gasket, washer, and lock nut from below.
Place seal into tailpiece, tighten against drain body. Align pivot rod opening and tighten lock nut.
Assemble pivot rod, clip, and seal. Insert stopper into drain and connect to P-trap. Adjust stopper height.
Fill sink with water to check drain stopper seal and all drain connections for leaks.
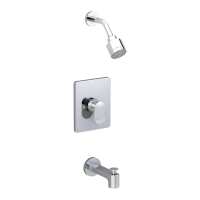
Adjust handle stop washer by 90 degrees to change directional movement of the handle.
Remove handle, adapter, and screw to access and remove the cartridge by counter-clockwise rotation.
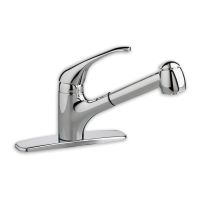
Remove aerator using the aerator key to rinse out debris causing reduced water flow.
| Product Line | Town Square S Series |
|---|---|
| Brand | American Standard |
| Category | Plumbing Product |
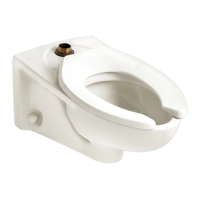
| Product Type | Toilet |
| Collection | Town Square |
| Toilet Style | Two-Piece |
| Bowl Shape | Elongated |
| Material | Vitreous China |
| Seat Included | No |
| Rough-In | 12 inches |