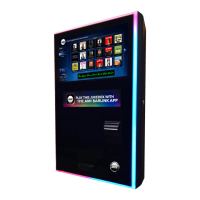
22022623 Rev B 12 NGX Mini 2 Jukebox
Lighting Controller
The NGX MINI 2 lighting assembly can be
programmed for several different modes of operation.
By default, the lighting assembly is set to display
random colors and random patterns.
To change the mode, open the main door of the
jukebox. The LED controller is located on the back of
the door just above the currency panel. There are two
adjustment pots on the board marked BRIGHT and
SPEED. These are used to set the brightness of the
LEDs and adjust the speed of color changes for the
color cycle display modes.
The five position DIP switch is used to set the
operating mode of the controller. Use the following
table to set the mode.
Beat to the Music
The NGX Mini 2 includes an audio interface, located
next to the LED Controller, which allows the LEDs to
change to the beat of the music.
To disable this feature, move jumper JP1 to the “P”
position and rotate the pot R14 fully clockwise, or
simply disconnect the audio cable going to the board.
OFF OFF OFF OFF ON Color cycle – quick change between colors
ON OFF OFF OFF ON Static – Red
OFF ON OFF OFF ON Static – Yellow
ON ON OFF OFF ON Static – Green
OFF OFF ON OFF ON Static – Cyan
ON OFF ON OFF ON Static – Blue
OFF ON ON OFF ON Static – Magenta
ON ON ON OFF ON Static – White
OFF OFF OFF ON ON Static – Orange
ON OFF OFF ON ON Static – Rose
OFF ON OFF ON ON Color cycle – Rainbow: Pastels
ON ON OFF ON ON Color cycle – Patriotic: Red, White and Blue
OFF OFF ON ON ON Color cycle – Holiday: Reds and Greens
ON OFF ON ON ON Color cycle – programmed colors and patterns
om colors and patterns (default)
ON ON ON ON ON Color cycle – gradual change between colors
--- --- --- --- OFF LED lighting OFF
Marquee Display
Graphic Panel
The back lit Graphic Panel in the marquee can easily
be changed to your own custom panel. To change
the graphic panel, follow these steps.
1. Power off the jukebox.
2. Disconnect the 15 pin connector separating
the door harness from the cabinet harness.
Disconnect the two pin connector at J2 of the
LED Controller, disconnect the USB cable at
the back of the card reader.
3. Remove the two cable clamps holding the
door harness (or take the harness out of the
clamps).
4. Remove the 4 screws holding the currency
panel to the door. Remove the currency
panel from the front of the jukebox.
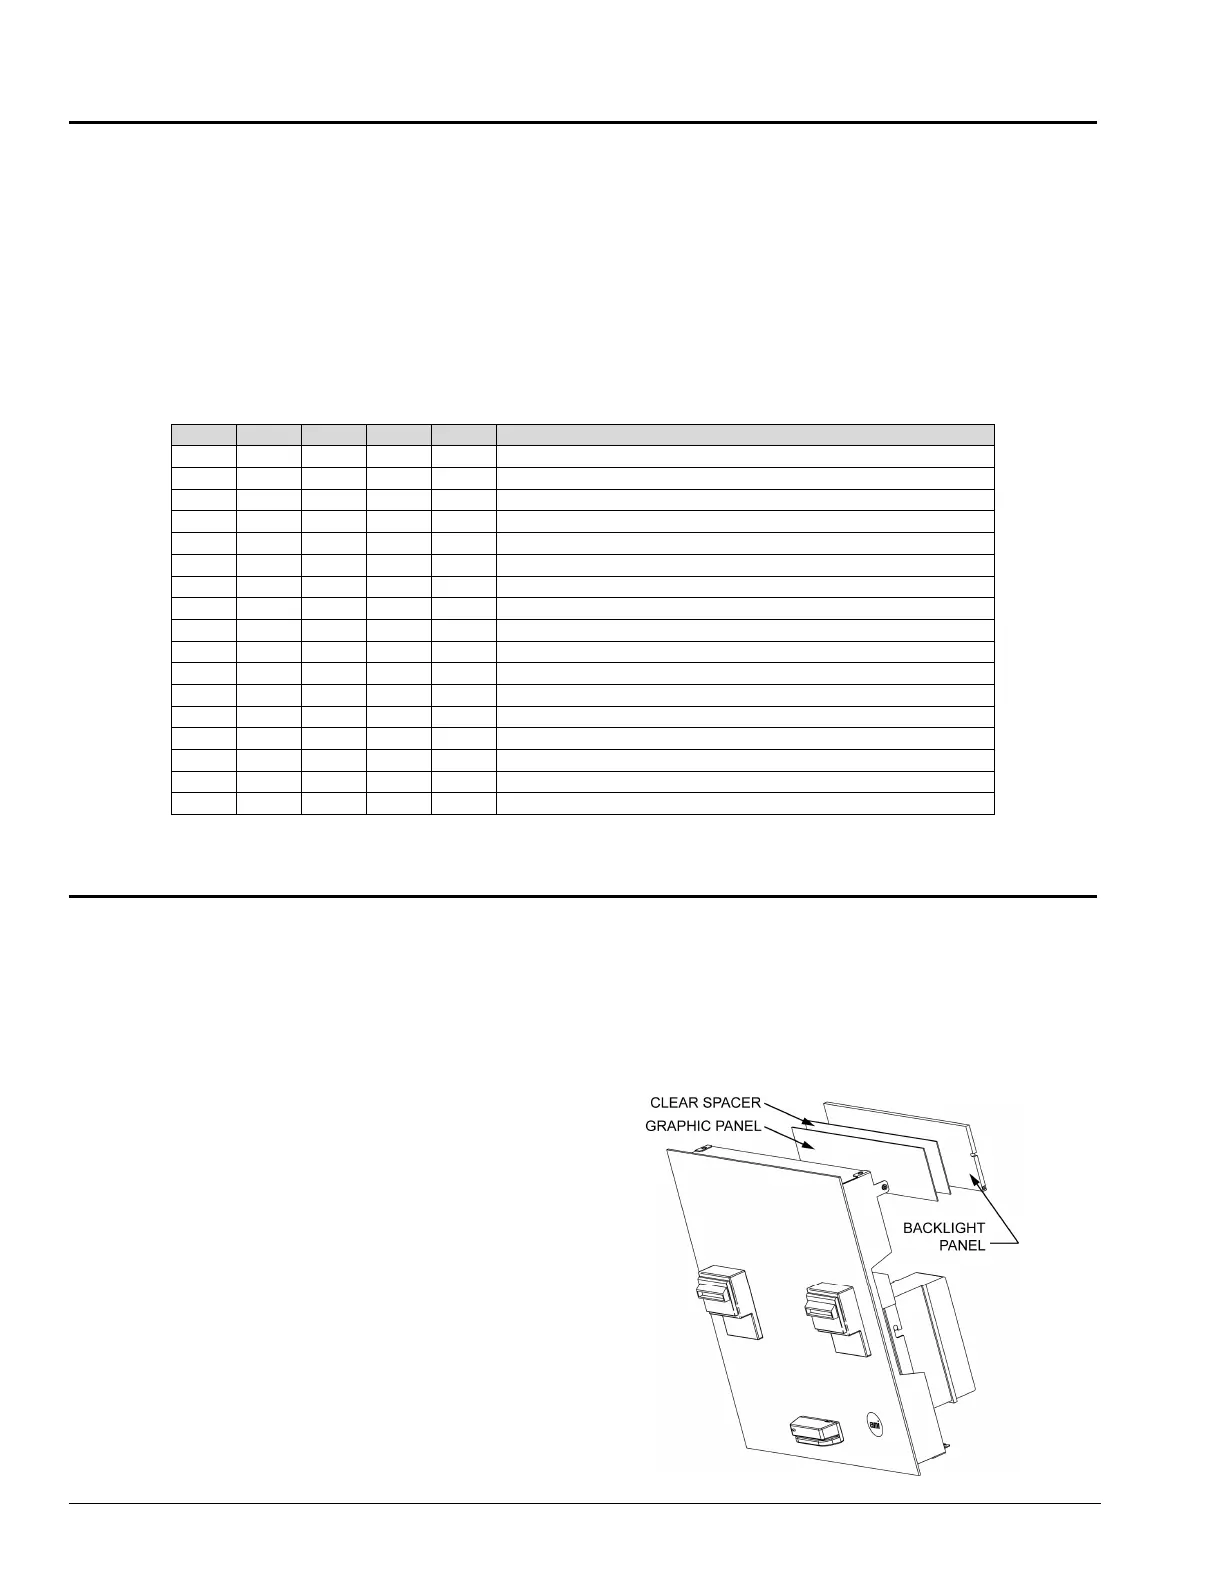
5. Place the currency panel face down on a
work surface. Remove two #8-32 hex nuts
and lift off the backlight panel. Remove the
clear spacer and the graphic panel.
Place the new graphic panel in the opening and
reverse the steps to reinstall your currency panel.
Graphic Panel specifications (recommended):
Material: Backlit Duratrans (or equivalent)
Finished thickness: 7 mils
Dimensions: 3-1/4” high x 14” long