6
BATTERY OPERATION
Battery Level Indicator
The Explorer PRO sound system features a built in battery level
indicator that shows the battery level in three steps at power on.
1. GREEN: Battery is fully charged.
2. YELLOW: Battery level is depleted.
3. RED: Battery level is becoming low (about 15-30 minutes
before automatic system shutoff).
Charging Batteries
The system is equipped with a built in rapid charger, designed to
quickly charge and maintain the battery. Charge indicator light:
1. YELLOW Flashing: When AC power is connected indicates
that the unit is testing the battery (about 30 seconds).
2. YELLOW Solid: Battery is in good condition and rapid
charging has begun.
3. GREEN: Battery is fully charged.
4. RED: This indicates a battery fault, please contact Anchor
Audio customer service department at (800) 262-4671.
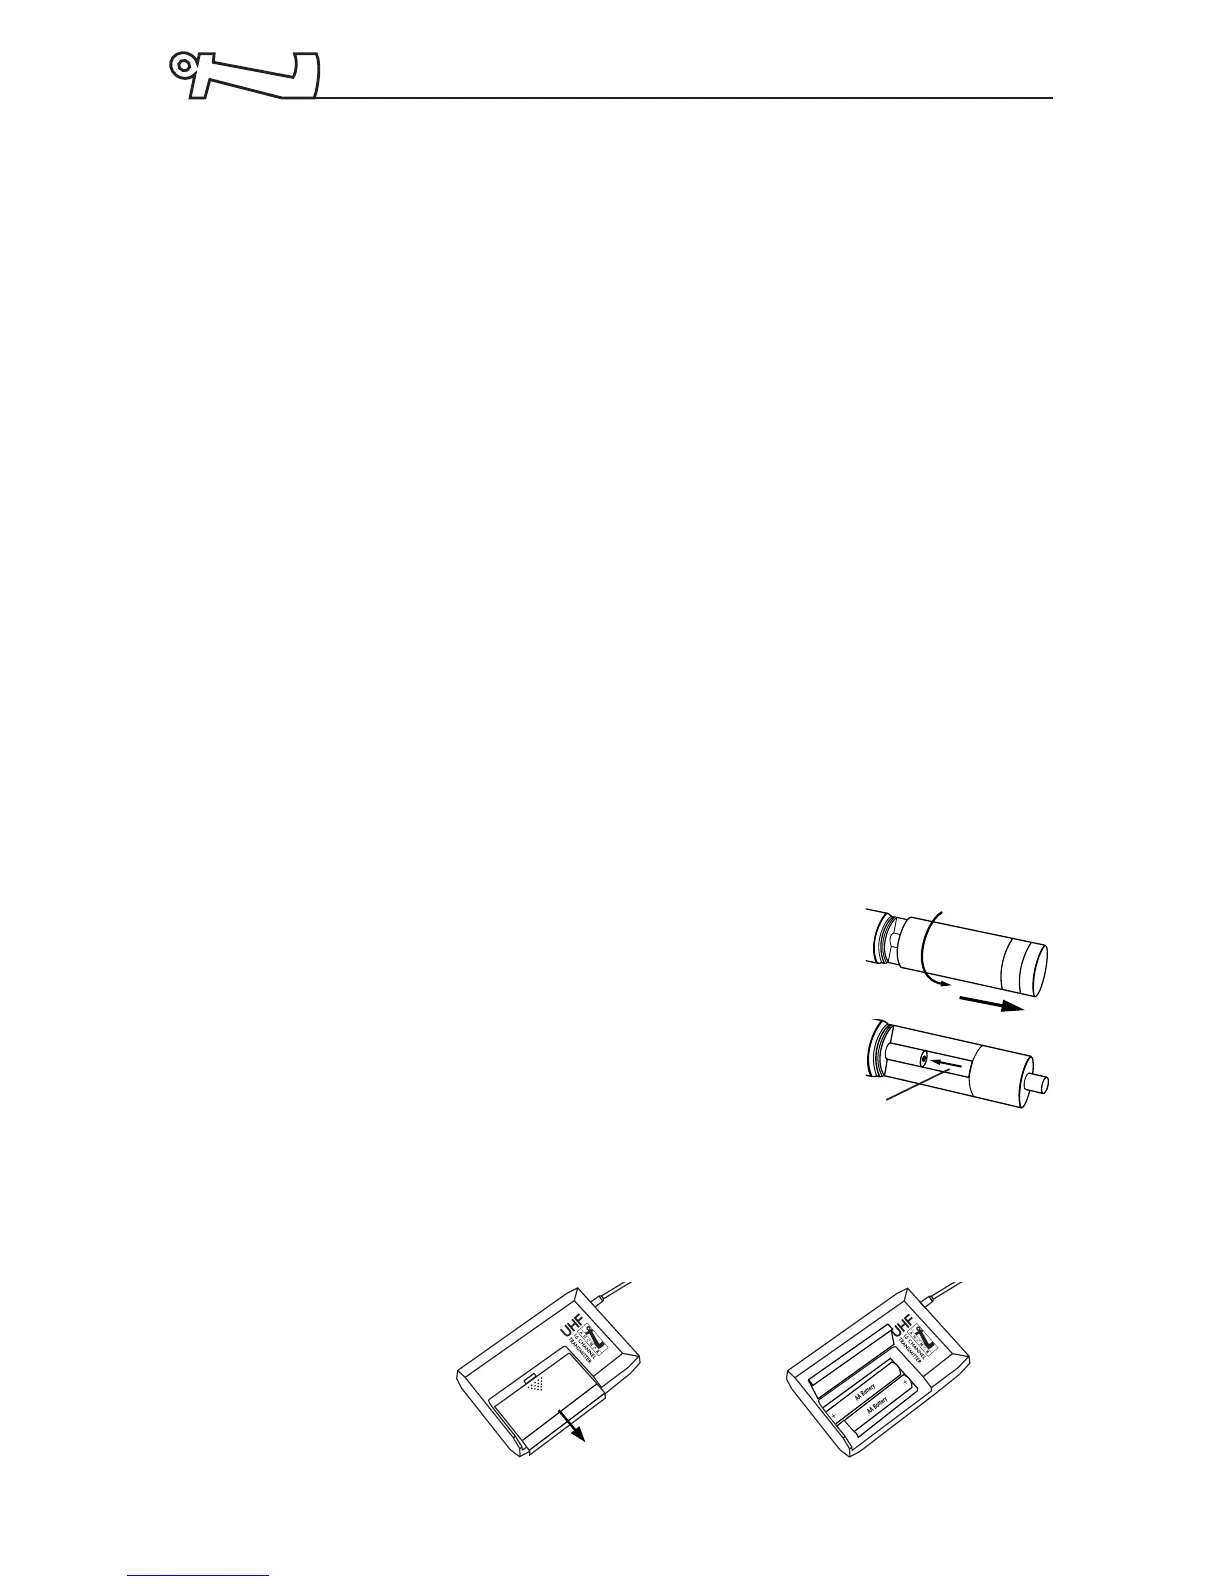
Replacing Transmitter Battery
Handheld Transmitter:
1. Unscrew battery compartment cover
on lower end of mic.
2. Install 2 fresh ‘AA’ alkaline batteries.
3. Replace the battery cover.
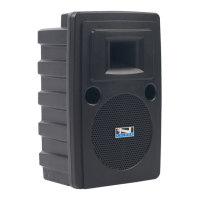
Body-pack Transmitter:
1. Slide open battery cover on front of transmitter box.
2. Install 2 fresh ‘AA’ alkaline batteries.
3. Close the battery cover.
NOTE:
Transmitter
power switch
must be in the
OFF position
when
changing
batteries
Place batteries into slot
and slide forward