— 9 —
STEP 4
Test Unit Functions
• Plug the unit in and test all of the functions before
installing.
WARNINGS:
• PleasemakesuretoreadALLsafetyinstuctionson
pages 4 and 5.
• Usethreepeopletomoveandinstallrangehood.
• Failuretofollowtheseinstructionscanresultinserious
injury.
Installation
STEP 5
Venting Installation Guidelines
• The following steps are for exterior ventilation.
• If you require a ductless installation, please visit
anconahome.com to purchase a recirculation kit.
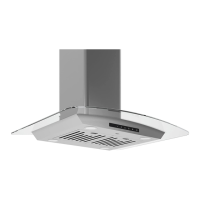
Height and Clearance
IMPORTANT:
•
Vent system must terminate to the outside (roof or side wall).
• DONOT
terminate the vent system in an attic or other
enclosed area.
• DONOTuse4”(10.2cm)laundry-typewallcaps.
• Usemetal/aluminumventonly.Arigidmetal/aluminum
vent is recommended.
• DONOTuseaplasticvent.
• Alwayskeeptheductcleantoensureproperairflow.
• Calculatethefollowingfiguresbeforeinstallation:
1. Distance from the floor to the ceiling
2. Distance between the floor and the countertop/stove
3.
A distance of 24” to 30” is recommended between
stove top and the bottom of range hood. 30” minimum
is required for gas stove tops.
4. Height of hood and duct cover.
For the most efficient & quiet operation:
• Itisrecommendedthattherangehoodbevented
vertically through the roof through 10” (15.3 cm) or
bigger round metal/aluminum vent work.
• Thesizeoftheventshouldbeuniform.
• Usenomorethanthree90°elbows.
•
Make sure there is a minimum of 24” (61 cm) of
straight vent between the elbows if more than one
elbow is used.
• DONOTinstalltwoelbowstogether.
•
The length of vent system and number of elbows should be
kept to a minimum to provide efficient performance.
• Theventsystemmusthaveadamper.Ifrooforwall
cap has a damper, you may remove damper flaps from
damper to increase air flow.
•
Use silver tape or duct tape to seal all joints in the
vent system.
•
Use caulking to seal exterior wall or roof opening
around the cap.
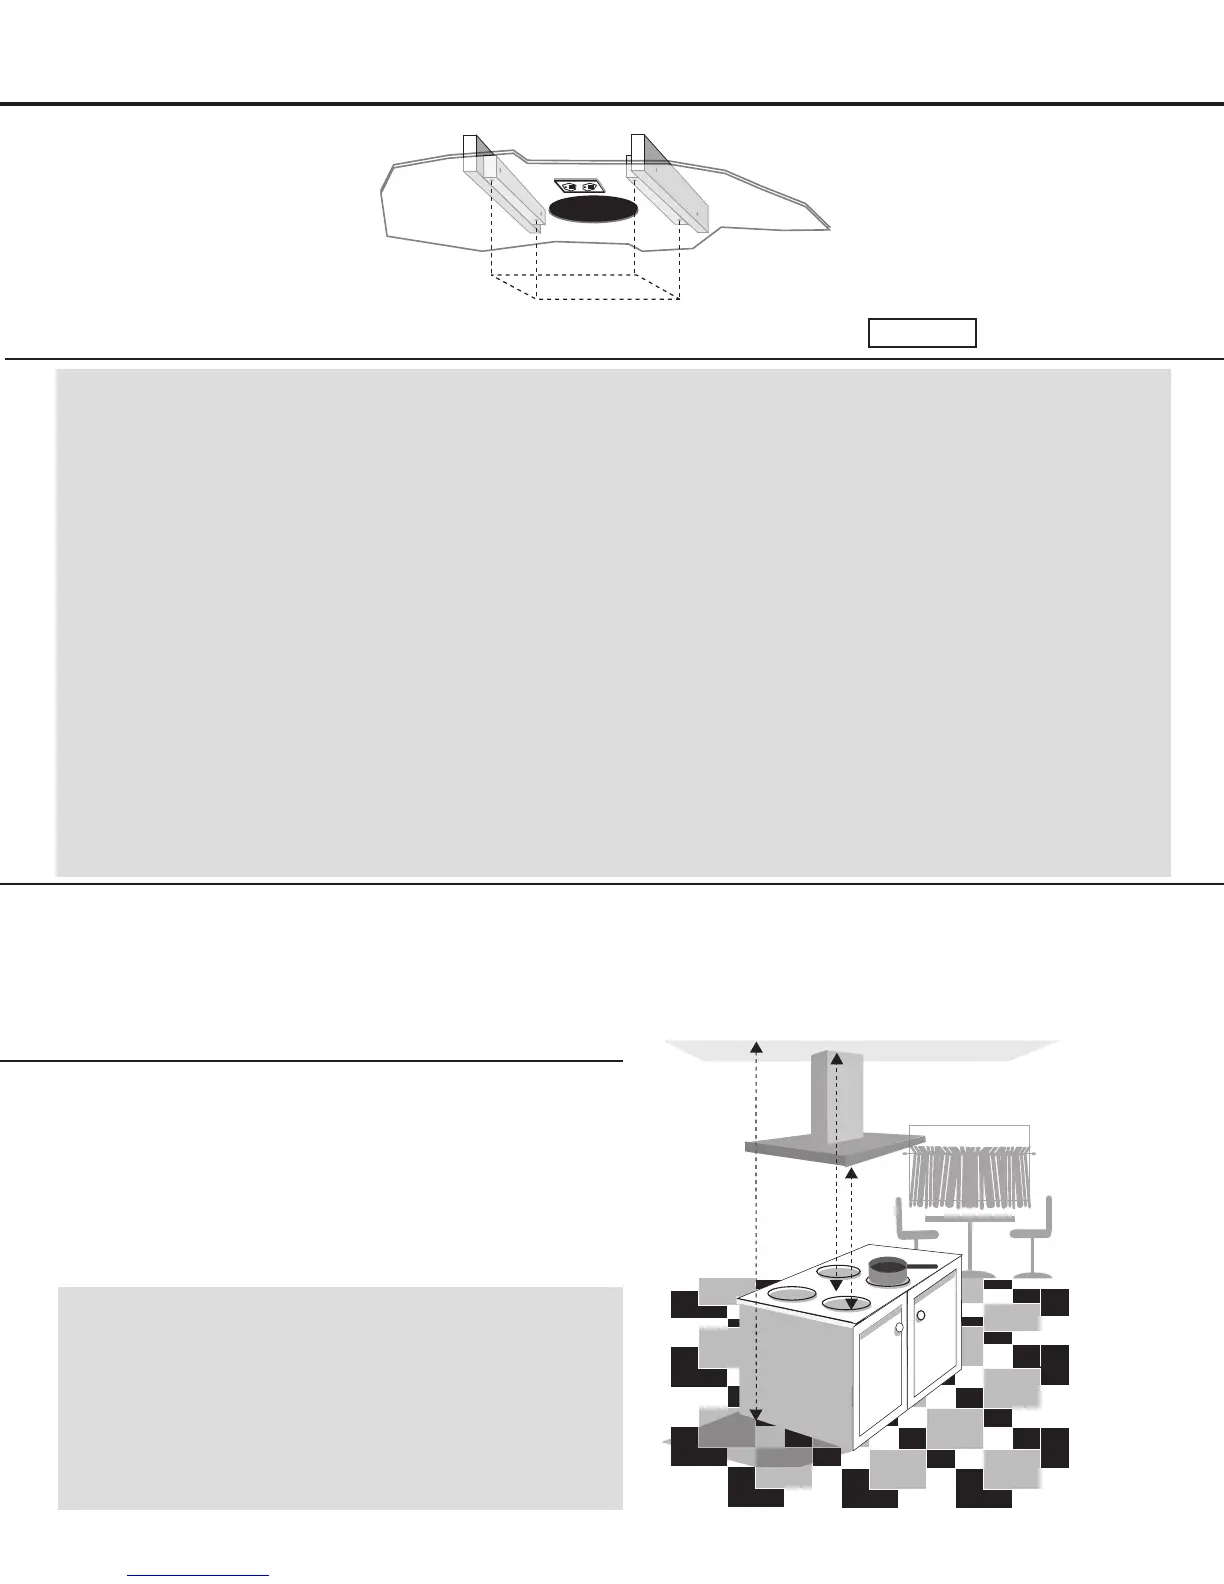
C
B
A
A - Floor to ceiling height
B - Ceiling to cooking surface (center/plumb line height)
C - Cooking surface to bottom of hood height
Outline of ceiling mounting bracket
Figure 3