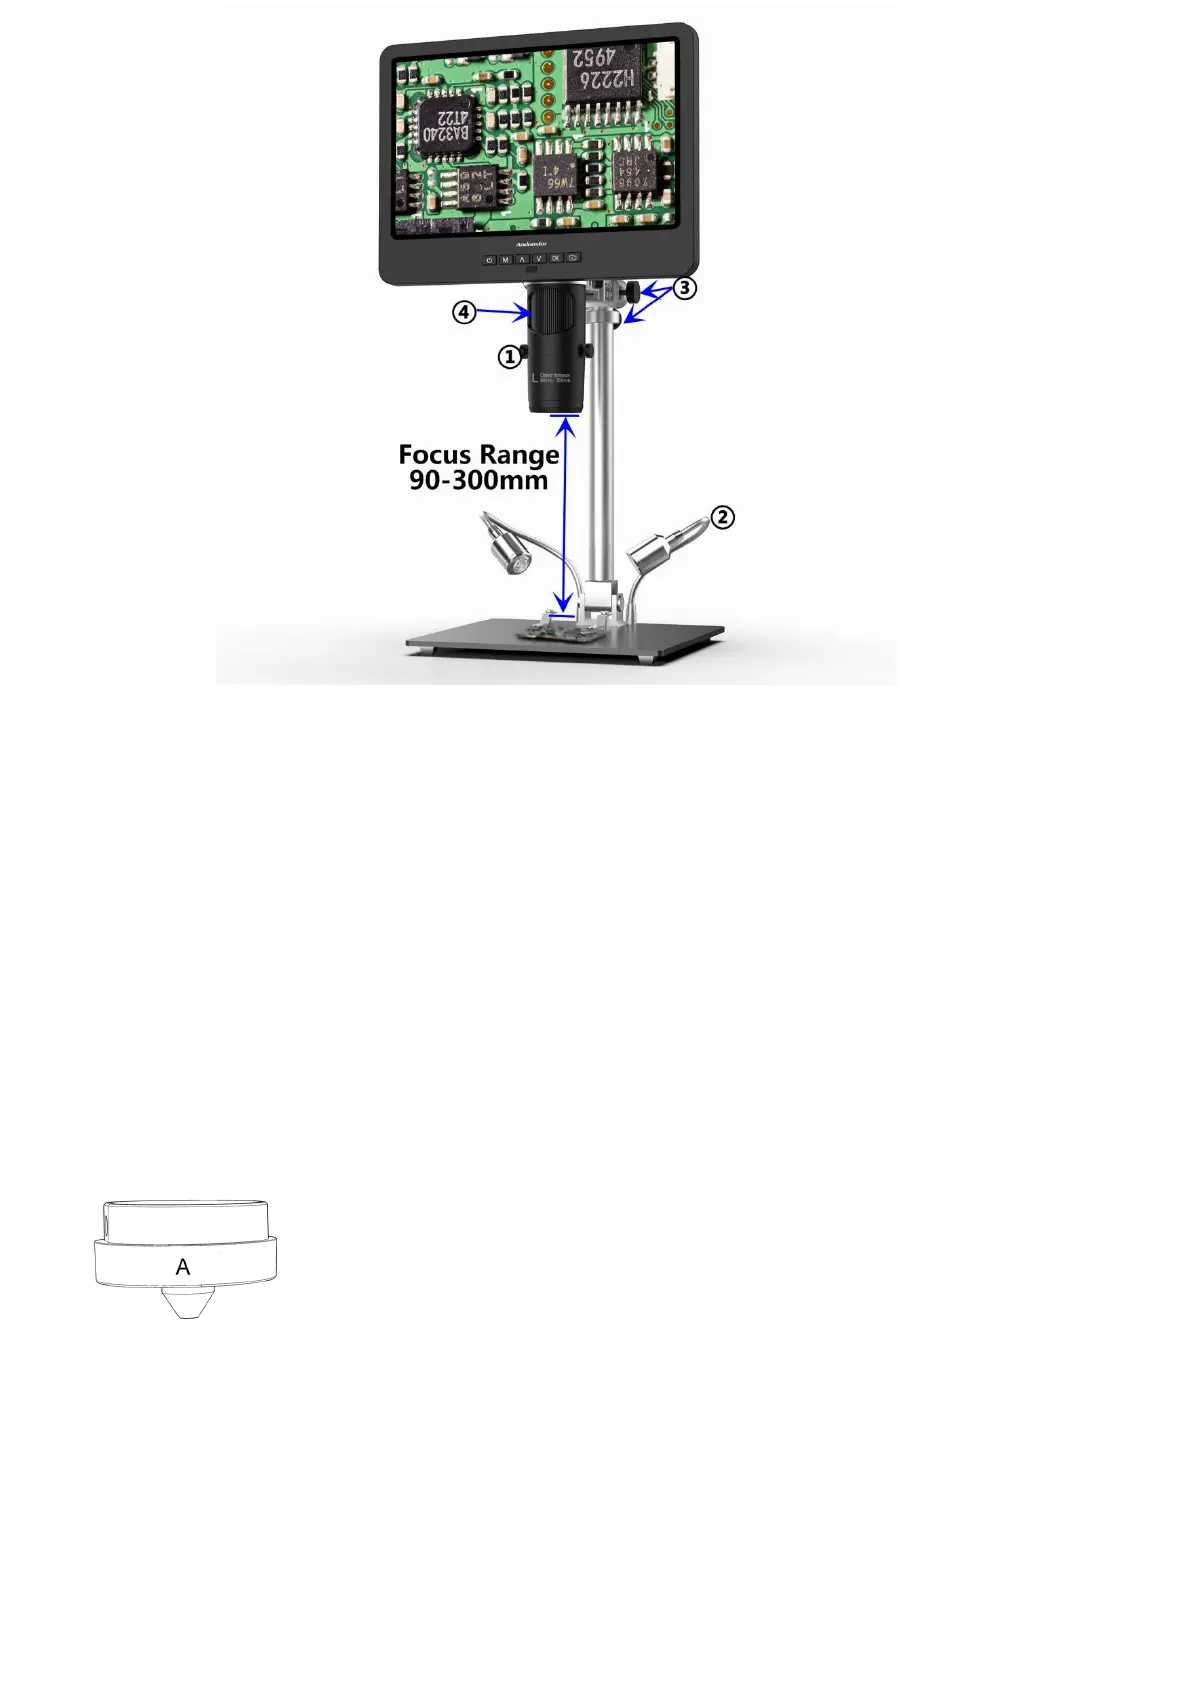
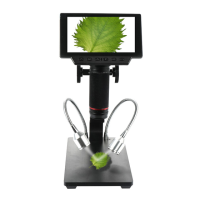
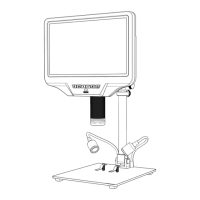
(pic 5 Go with lens L)
Steps:In pic 5 it marked out which parts of the microscope are involved to each step.
①Install and fix lens L to the bottom of the focusing tube.
②Bend the two goose-neck spot lights, make the field of view enough illuminated.
③Loose the Arm V-locker, locate the whole monitor part to a desire height (distance from the lens to the
specimen should be around 90mm to300mm), then fix the V-locker. In order to adjust object distance
more precisely, adjust the height of the secondary bracket. The shorter the object distance is, the bigger
magnification is.
④Turn the focusing tube to get a clear image. Turn it clockwise to zoom in and the other way to zoom
out.
Lens A:
Working distance:12mm-320mm,
Magnification:4.5-180x(with3 times digital zoom)
Applications: observe whole size or part of coins, stones/stamps collect, circuit
board observe etc.