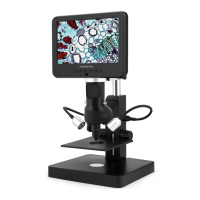
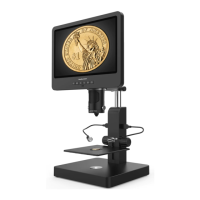
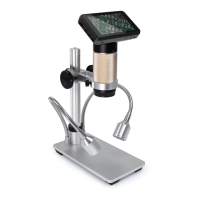
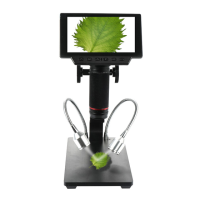
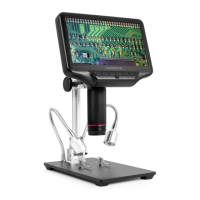
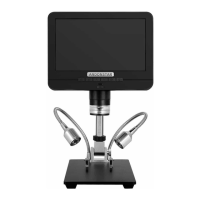
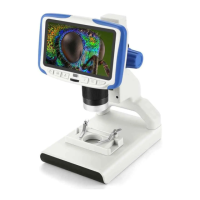
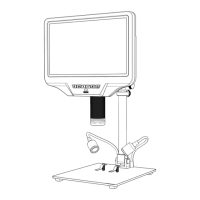
This document describes a digital microscope, models 246 and 249, featuring a metal stand. It serves as a user manual, covering safety, specifications, usage, and maintenance.
Function Description
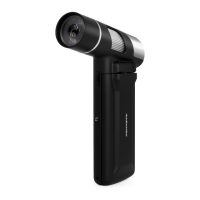
The digital microscope is designed for observing and magnifying various objects. It can capture images and record videos, storing them on a micro-SD card. The device offers different lenses for varying magnification and working distances, making it suitable for applications such as circuit board observation, watch repair, coin/stamp collection, and examining microscope slides. It includes a monitor for direct viewing, spot lights for illumination, and a remote control for convenient operation.
Important Technical Specifications
- Video Resolution: FHD 1920x1080 30FPS; 1080P 1440x1080 30FPS; 720P 1280x720 30FPS.
- Video Format: AVI.
- Frame Rate: Max 30fps.
- Photo Resolution: Max 4032x3024 (12M).
- Photo Format: JPG.
- Storage: Micro-SD card, up to 32GB (not included). A Class 10 high-speed TF card is recommended.
- Power Supply: 5V 2A and above.
- Stand Size: 20cm x 18cm x 33cm.
- Lenses:
- Lens A: Magnification 4.5-180x (with 3 times digital zoom), Working Distance 12mm-320mm. Ideal for observing whole coins, stones, stamps, or circuit boards.
- Lens D: Magnification 450-510x (with 3 times digital zoom), Working Distance 4mm-5mm. Specifically designed for microscope slides.
- Lens L: Magnification 15-60x (with 3 times digital zoom), Working Distance 90mm-300mm. Suitable for circuit board observation and watch repair.
- Package Includes: Microscope, Metal stand, 3 Lenses (A, D, & L), Slide holder, Remote, Dimmer cable, Slides kit, Tweezers, Bug box.
Usage Features
- Quick Start: Connect to power, press and hold the power button until the monitor lights up. The device may switch on automatically upon power connection.
- Lens Selection: The manual provides detailed instructions for installing and using each of the three lenses (L, A, D), including recommended working distances and applications.
- Lens L (90mm-300mm working distance): Focus is achieved by adjusting the monitor height via the Arm V-locker and then fine-tuning with the focusing tube.
- Lens A (12mm-320mm working distance): Similar to Lens L, adjust monitor height and then use the focusing tube for clear images. For observing parts of objects, lower the arm height to shorten the object distance.
- Lens D (4mm-5mm working distance): Due to its high magnification and short working distance, it's recommended to adjust the height of the secondary bracket for precise focusing. Requires careful and patient operation due to high sensitivity to movement.
- Illumination: Goose-neck spot lights are provided for general illumination with Lens A and L. For Lens D, a slide holder with its own power source is used for proper illumination.
- Digital Zoom: Use the "up" and "down" buttons on the monitor (or remote) to digitally zoom in and out.
- Recording and Capturing:
- Video Recording: In video mode, press the "OK" button on the monitor or remote to start/stop recording.
- Photo Capture: In photo mode, press the "OK" button on the monitor or the camera button on the remote to take pictures. The camera button on the remote only works while recording videos.
- File Management:
- Micro-SD Card: Insert a micro-SD card (up to 32GB, Class 10 recommended) into the TF slot before powering on to save images and videos.
- Formatting: If "card error" or "card is full" appears, format the card via the Settings menu (Menu -> Setting menu -> Format).
- Playback: Enter Playback mode using the "M" button, then use "up" or "down" to browse files. Press "OK" to play/pause videos, and "M" to stop.
- Settings: Access settings by pressing and holding the "M" button until the video/photo/playback menu appears, then press "M" again to enter the Setting menu. Options include Resolution, Loop Recording, Exposure, Record Audio, Date Stamp, Date/Time, Language, Frequency, Format, Default Setting, and Version.
- Date/Time Setting: Select "Date/Time" in the settings menu, press "OK", use "up"/"down" to select numbers, and "OK" to confirm. Press "M" to exit.
- Remote Control: The remote offers functions such as Menu, Mode, Zoom, Brightness, OK/Start Record, 50/60Hz, Sharpness, Contrast, Inverse, Black&white, Cross line, Lock/unlock file, Default set, and Image rotate.
- Freeze: Stops the image on display in video/photo/recording modes.
- Illumination+/-: Adjusts exposure compensation from +2.0 to -2.0.
- Sharpness: Three levels: Soft/Normal/Strong.
- Contrast: Similar to Sharpness, adjusts contrast levels.
- Inverse/Black&white: Toggles image display modes.
- Image Rotate: Rotates the image.
Maintenance Features
- Safety Precautions:
- Read the manual carefully to avoid permanent damage.
- Contains tiny, non-edible parts; supervise children and teens.
- Not for outdoor use; not waterproof.
- Keep in a safe, clean, dry environment, away from oil, gas, water, and corrosive potions.
- Not for medical use.
- Cleaning:
- Lens: If the image is blurry, cut power, wipe the lens with a soft cloth moistened with alcohol, and ensure it's dry before powering on.
- Monitor: The screen is fragile. Clean with a soft, dry material. Do not drop, hard press, or expose to sharp objects. Only wipe the INSULATED part of the monitor.
- Troubleshooting:
- Monitor Stops/Freezes: Pin the Reset hole (pic 2 #⑩) at the back of the monitor to reset. This will revert all settings to factory defaults but will not delete saved files.
- Device Not Switching On: Check power connection (5V 2A and above) and stability. If issues persist, try resetting the device.
- Unclear Images: Ensure proper illumination, adjust boom arm/secondary bracket height, and turn the focusing tube. If still blurry, clean the lens.
- Settings Not Saved: To save settings, turn off the microscope by pressing and holding the POWER BUTTON ON THE MONITOR. Do not cut off power or use the dimmer cable to switch off.
- Microscope Reboots Repeatedly: Check cable connection firmness and power supply stability (high-quality 5V 2A adapter).
- "Card Error" or "Card is Full": Format the micro-SD card as described in the "Save files to micro SD card" section.
The warranty covers manufacturing defects but excludes:
- Lack of purchase proof or if the product was bought as second-hand.
- Damage from improper environment (heat, wet, wrong power supply).
- Faults caused by accident, oversight, faulty operation, or natural disasters.
- Damage from unauthorized repacking, repair, or dismantling by non-company personnel or users not following advice.
- Products outside the warranty period.