Netsetting:
Use “Up” and “Down” to select among “cross line”、“line”、“direction”、“position”、“color”and “width”.
Use “Left” and “Right” on the remote to change the settings. Without remote can not change any of the
settings of netsetting.
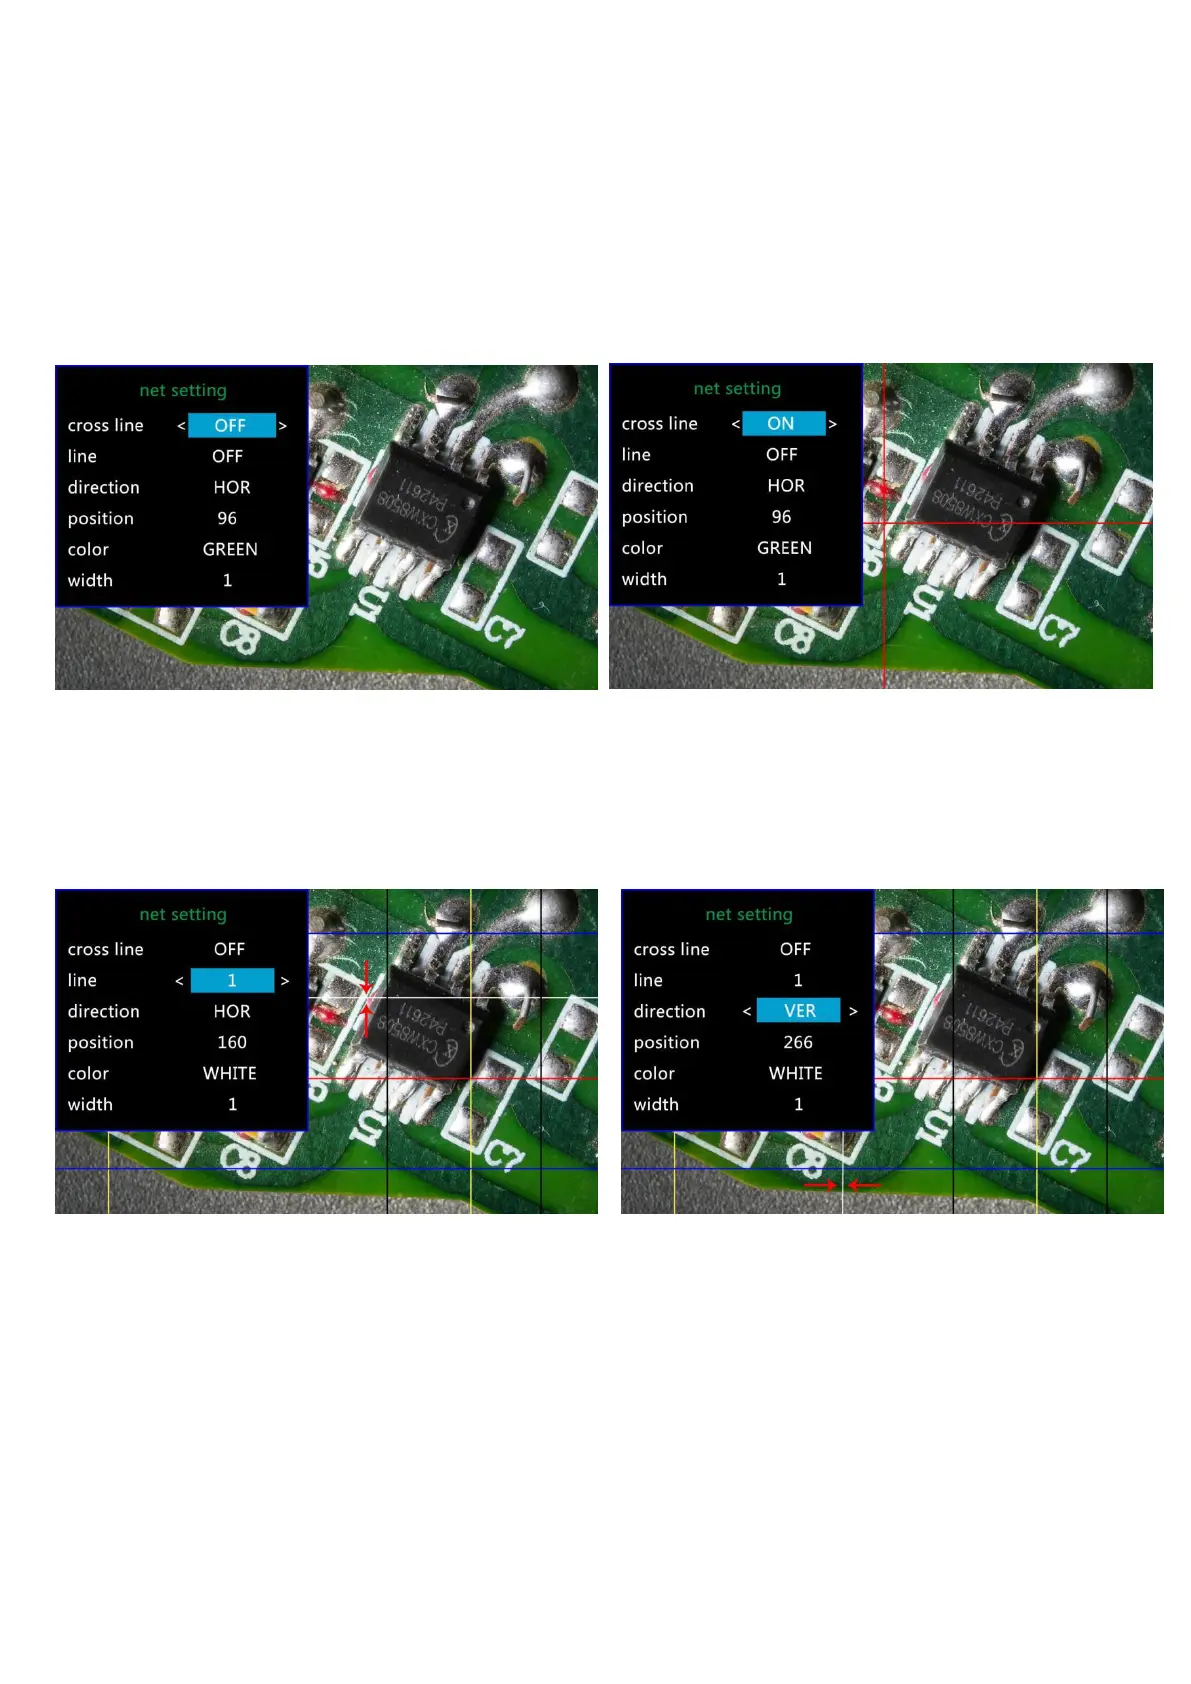
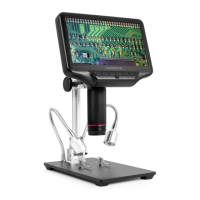
Cross line means 十 shaped lines that located literally in the middle of the view. when you set the cross line
“on”, you will see one horizontal and one vertical showing in the middle of the view.
(P9,netsetting original) (P10,netsetting cross line on)
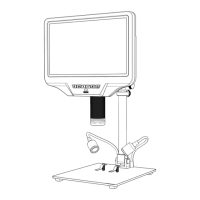
When you turn on the “Line”, there will be 8 lines showing up automatically. For each one, you could change
it’s direction between “HOR” and “VER”(stand for “horizontal” and “vertical”), position, color and width.
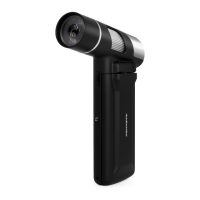
There are 480 positions on direction “HOR”, and 800 positions on direction “VER”. So, when you change the
direction from “HOR” to “VER”, the position would change at the same time, HOR/VER=480/800. For
example, you change a line from HOR&160(p11) to a vertical line, the position would become 266(p12).
→
(P11,line 1,HOR&160) (P12,Line1,VER&266)
If you don’t want that many lines in the view, you could also change the color of the certain lines into
“TRANSPARENT”.