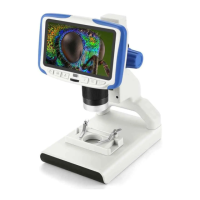
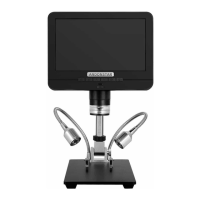
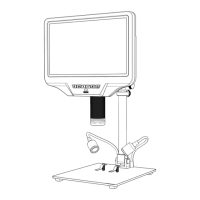
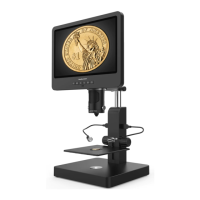
6 / 8
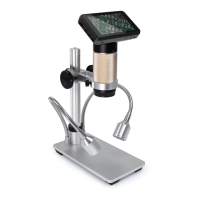
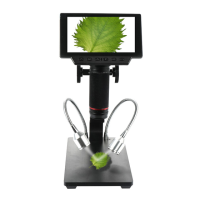
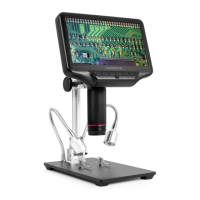
General use
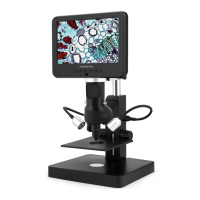
1. Connect the camera to the power supply via USB cable. Also connect LED lights
to the power supply.
2. Press the “ON/OFF” button on the monitor. (Sometimes the camera will
switch on automatically when it is connected to the power supply)
3. Turn on the LED lights, adjust the Distance controller and the Focus controller
to get the image that you want.
4. Use the “UP/DOWN”to do digital zoom.
*To set the menu
1. Press “Menu” until on the screen shows the menu.
2. Press “UP/DOWN”and “OK” choose what to set.
3. Press “Menu”when you are done.
*To switch mode
1. Press “Mode” shortly.
2. Icons :
: standby mode; : capture mode; : record mode; : image playback
mode
: video playback mode (If the files are videos, press “OK” to play the video file)
: Lock the file which is being recording
*To capture pictures.
Press “Mode”shortly to get into the Capture mode. Press “OK” to take
pictures.
* To record a video
1.Press “Mode”shortly to get into the Standby mode. Press “OK”to start
recording.
2.Press “OK”to stop recording.
HDMI display output mode
·First, make sure that the monitor connecting to the microscope is literally HDMI
monitor. Otherwise it won’t perform as good as we expect.
 Loading...