7 / 8
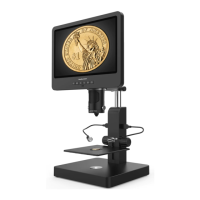
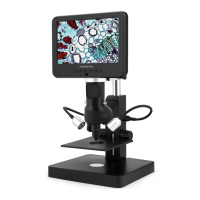
·Second, connect the microscope to the HDMI monitor, also, connect it to the
power supply. Because there is no built-in battery in the device, so make sure the
microscope is always in charging when you use it.
·Third, turn on the microscope and adjust the distance. Then put the object on the
table and adjust the focus controller.
·It won’t show anything on it’s own screen when it is connecting to other
equipments. So it’s normal that when you use it as HDMI output, the 3 inchs
screen keeps being dark.
·You still can take pictures and save them if you have a memory card inside the
microscope. But you can’t record videos in this output mode.
USB output mode
1.Connect the microscope with the PC
2.It will show 2 options, PC camera & Mass storage on the screen of the
microscope. Choose the “PC camera”.
3.Open the software, the title will show the Video Storage path.
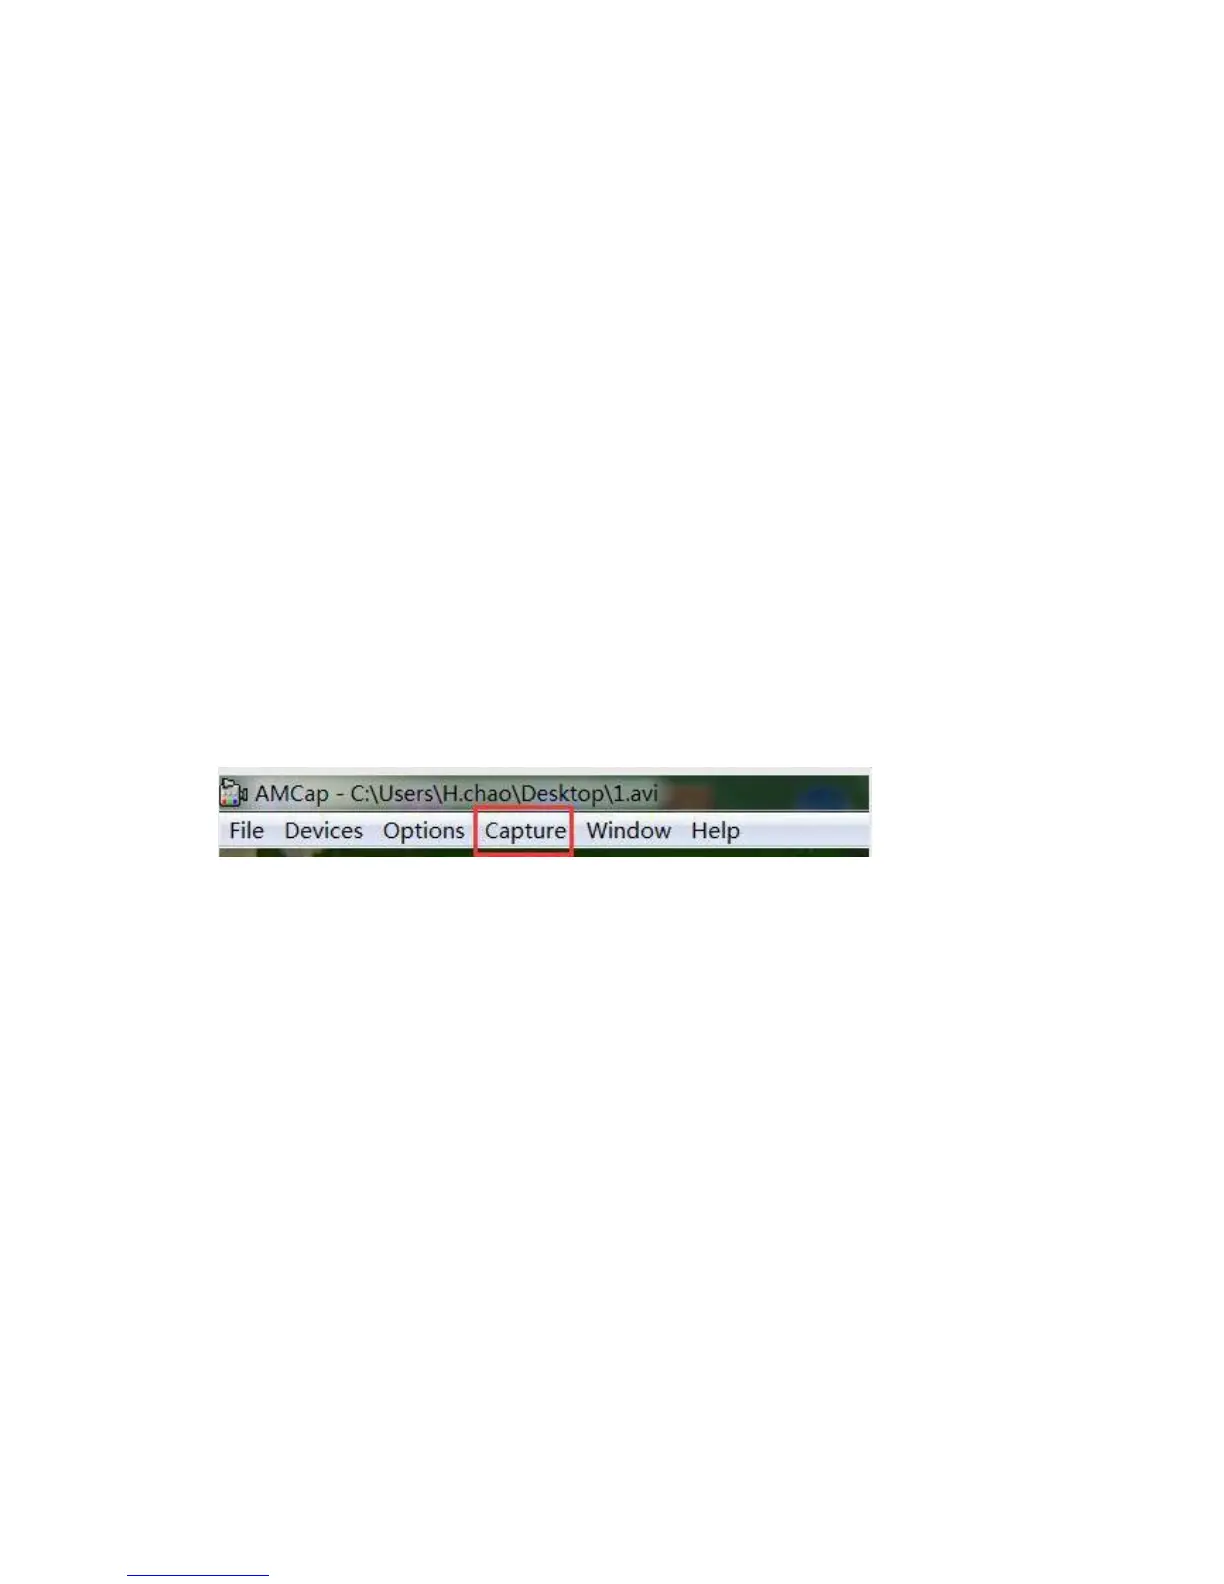
4.Record a video: Capture→start capture→OK→stop capture
5.The video will automatically be saved by the path which the title shows. To
change the save path: File→Set capture file
6.Capture a picture:
Capture→still→enable√
capture→still→folder(choose a storage path)
capture→snap(capture a picture, or you can just press “Enter” on your keyboard)
(PS: At this USB output mode, maximum resolution ratio can get to 1080*720P )