EN 6059 EN
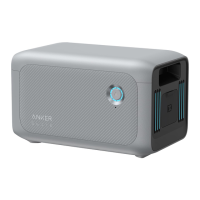
4. Tighten all the screws with 5N.m torque.
N x1
5N.m
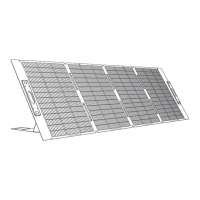
5. Connect the solar panel with the solar panel extension cable.
Note: To avoid falling, secure the solar panel extension cable on the balcony railings temporarily with zip ties.
1.5m
6. Fasten the Mounting Auxiliary Rope to the bracket and the balcony railing. Make sure the rope is tightened.
O x1
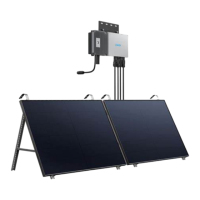
7. Hang the solar panel on the balcony railing and adjust the U-shaped racks manually to fit the shape of the balcony railing.
Then, secure the U-shaped racks with stainless steel hose clamps.
Hold the solar panel until the U-shaped racks are firmly secured with stainless steel hose clamps.
Pressing the U-shaped racks too often may cause the paint surface to crack.
T
·
Tighten the stainless steel hose clamps clockwise.
·
Loosen the stainless steel hose clamps counterclockwise.
K x2
8. Install the solar panel's support brackets on the balcony railing, then secure them using fastening clamps and stainless steel
hose clamps.
*For balconies with railings, stainless steel hose clamps can be used to reinforce the panels.
E x1
K x2
G x4
J x4
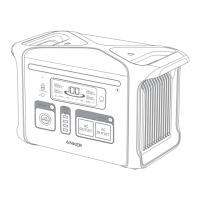
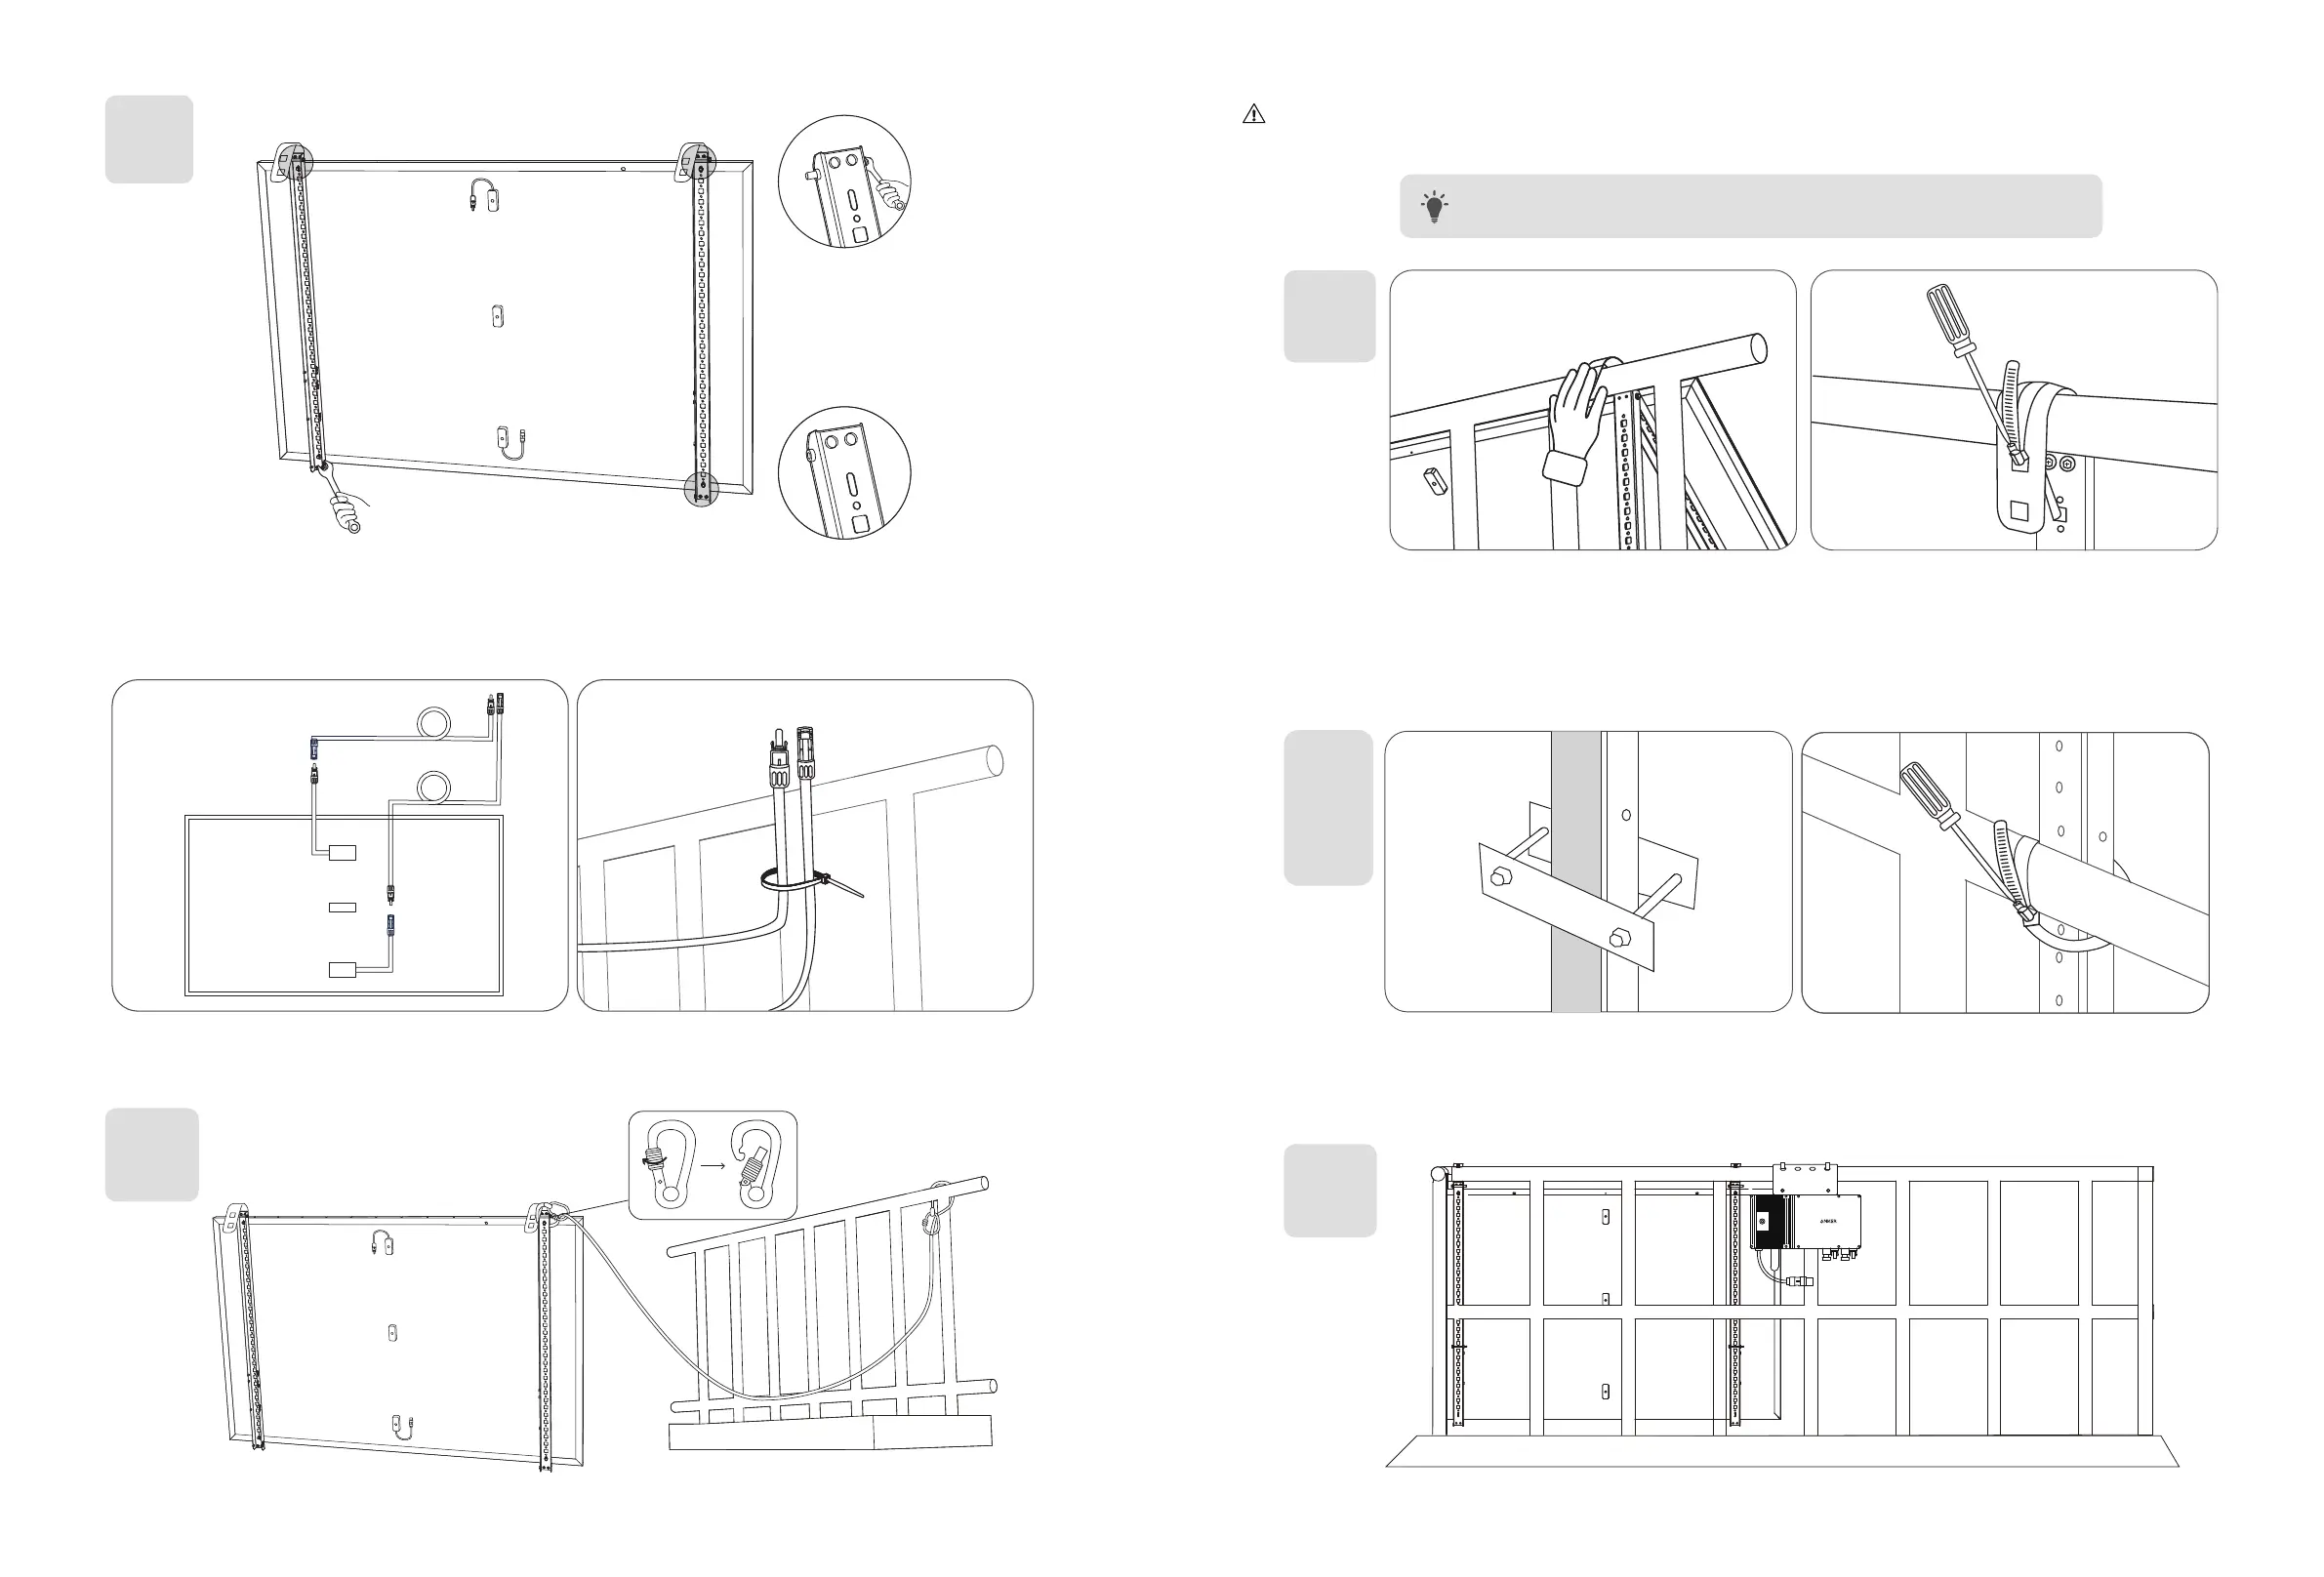
9. Install the microinverter to the balcony railing with stainless steel hose clamps.
Note: The microinverter's front surface (with the Anker logo) should face outwards.
K x2
Check if all screws are tightened and complete the installation.