9
2.1 Setting Up
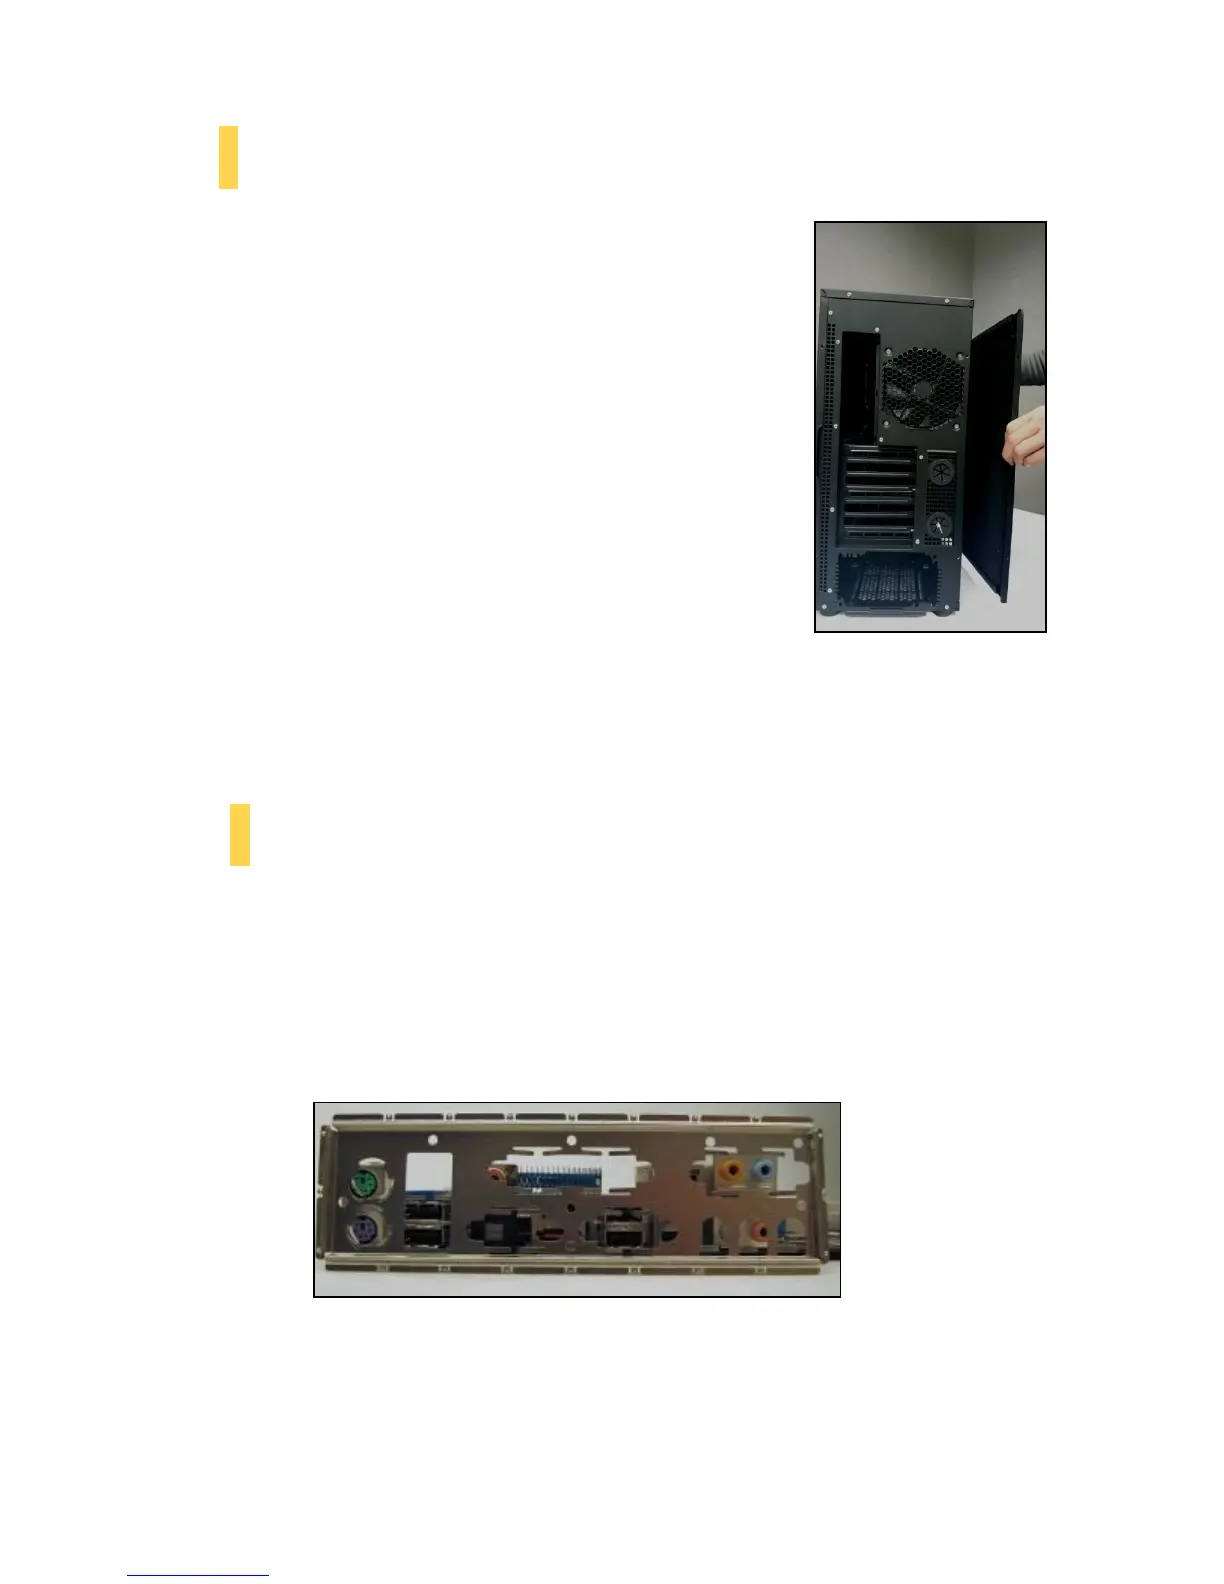
Put the case upright on a flat, stable surface so that the rear panel
(power supply and expansion slots) is facing you.
To remove the left and right side panels, remove these
thumbscrews first.
Note: Place the panel thumbscrews aside carefully and remember
where they are.
Remove the panel by gripping the end of the panel
at the top & bottom and swinging the panel outward.
Do not pull the panel back toward the rear of the chassis.
CAUTION: Do not use your fingernails to pry or lift the panels. Damage to the panels or
injury to your fingernails may result.
2.2 Motherboard Installation
Before proceeding:
Check the manual for your CPU cooler to find out if there are steps you must do before installing the
motherboard.
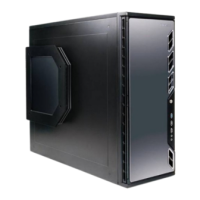
Make sure you have the correct I/O panel for your motherboard. If the panel provided with the chassis
isn’t suitable, please contact your motherboard manufacturer for the correct I/O panel.
Make sure you have the correct I/O panel.
Remove the panel by the end of the panel at the top & bottom and
swing the panel outward.