Disclaimer
This manual is intended only as a guide for Antec's Computer Enclosures. For more
comprehensive instructions, please refer to the user's manuals which come with
your components and drives.
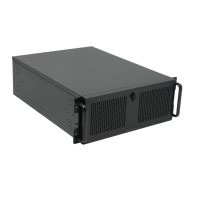
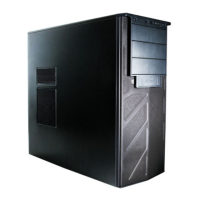
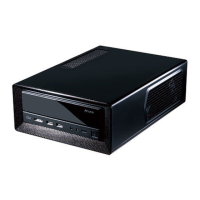
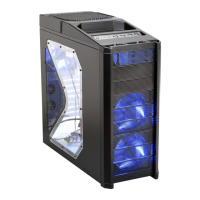
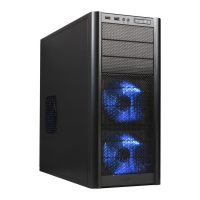
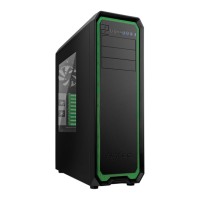
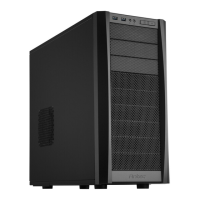
Basics
1. Take the case out of the box.
2. Remove the Styrofoam.
3. Remove the plastic bag.
4. Place the case upright with the power supply fan at the back facing you
on a stable flat surface.
5. Remove the screws and unlock the side panel (the one with latch), swing
panel out, and remove.
Note: Please don't try to use your finger nails to pry or lift the panels.
6. Inside the case you should see the power supply, some wiring (LED's etc.),
an installed I/O panel, a power cord and a plastic bag containing more
hardware (screws, brass standoff, plastic stands, etc.) and 8 piece of
Tension Clips (Drive Rails).
Motherboard Installation
This manual is not designed to cover CPU or RAM or expansion card installation.
Please consult your motherboard manual for specific mounting instructions and
trouble-shooting.
1. Lay the case down so that the open side is up. You should be able to see
the drive cage and power supply.
2. Make sure you have the appropriate I/O panel for your motherboard.
If the panel provided is not suitable for your motherboard, you may
order different styles from Antec directly. Please visit
www.antec-inc.com, under "Service and Support" and then I/O panels,
which will show you the available I/O configurations.
3. Line up motherboard with standoff holes, and determine which ones line up
and remember where they are. (Note: Not all motherboards will match with all
of the provided screw holes, and this is not necessary for proper functionality.
In other words there will likely be extra holes.)
4. Lift up and remove your motherboard.
5. Screw in the brass standoffs to the threaded holes that line up with your
motherboard.
6. Place your motherboard on the brass standoffs.
7. Screw in your motherboard to the standoffs with the provided metallic
Phillips head screws.
8. Your motherboard is now installed into the case.
Power Connections
ATX12V power supplies have a single 20-pin (single large) power connector,
a 6-pin AUX Power connector and a 4-pin +12V power connector to the motherboard.
Note: ATX12V is a backwards compatible power supply. If your
motherboard does not support the Aux Power Connector or the
12V connector you can still use this power supply.
1
2
1. Connect the 20-pin ATX power connector and other power connectors to
your motherboard.
2. Reset (labeled RESET SW) connects to your motherboard at the RST
connector. The label should be facing the front of the case, and for all
of the following connectors as well.
3. Power LED (labeled POWER LED) connector is located behind the
Reset connector.
4. Power Switch (labeled POWER SW) connects to the PWR connector
on the motherboard.
5. Speaker (labeled SPEAKER) connector is behind the PWR connector.
6. Hard Drive LED (labeled HDD.LED) connects to the IDE connector.
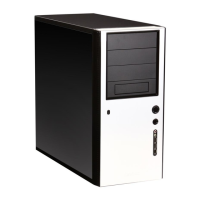
3.5" Device Installation
With the front bezel facing you, swing the plastic bezel cover out. You can see
there are four 5.25" and two 3.5" external drive bays.
Inside the case there are two 3.5" drive cages.
1. Pull the quick release lever towards the rear of the case and release
the top cage first.
Looking from the rear of the case you can see some metal grills over the
exposed (external) drive bays. Carefully put a screw driver through the metal
grill and gently push the plastic drive bay cover until it comes off. Use your
hands to twist the metal plate back and forth until it breaks off.
Note: Don't take off the covers and plates for the drive bays that you
are not using now.
2. Install your floppy drive into the top drive bay.
3. Mount your other 3.5" device into the drive cage.
4. Slide and lock the drive cage back into the case.
5. Release the second cage.
Note: Inside the cage you will find a fan bracket. This is for one of the
optional 80mm cooling fans. If you want to install the optional fan you
should do it now. For fan installation please see the Fan Installation
section of this manual.
6. Mount your other 3.5" devices into the drive cage.
7. Slide and lock the drive cage back into the case.
8. Find a small 4-pin white connector on the power supply and connect it
into the male 4-pin connector on the floppy drive.
9. Connect a large 4-pin white connector from the power supply to the
male 4-pin connector on each of the other devices.
5.25" Device Installation
1. Take off the plastic drive bay covers and metal plates as described above.
2. Take two pieces of the Tension Clips and mount them onto the sides
of the 5.25" device. Make sure the metal portion is angled on the
outside and facing forward.
3. Slide the device into the drive bay until you hear a click.
4. Mount the other devices accordingly. Connect a large 4-pin white
connector from the power supply to the male 4-pin connector on each
of the devices.
 Loading...