E-ITN 40
Manual for installation service and operation M2021/8a EN
7. MOUNTING METHODS
7.1. ALLOCATOR INSTALLATION
The back plate is mounted on the radiator using mounting material in compliance with EN 834:2014 and with
Installation and service manual. Mounting material is provided by manufacturer and supplied with allocator.
Installation can be done only by person professionally trained by the manufacturer.
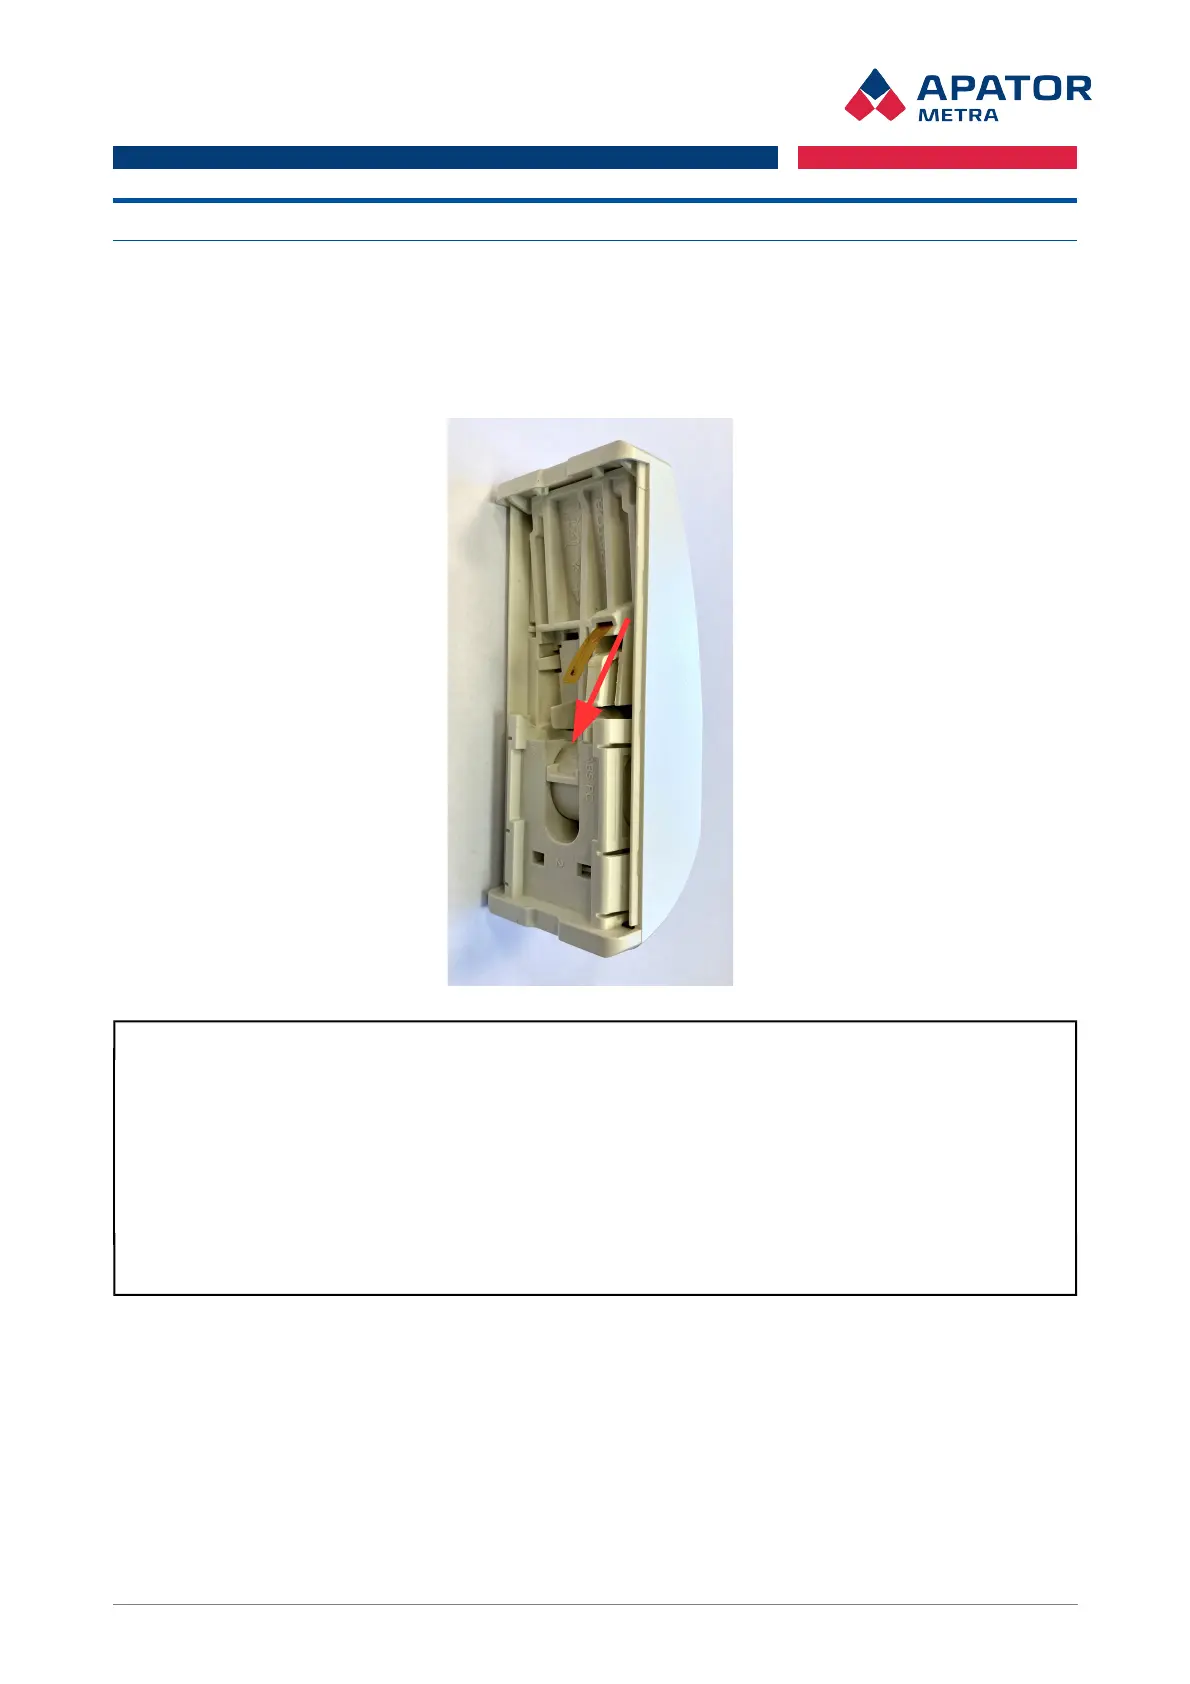
When installing allocator, make sure the temperature sensor is pointed downwards.
Warning!
Static electricity is harmless for humans but can seriously damage electronic devices. When
handling or installing the product follow these rules:
• discharge accumulated static electricity by touching the hand with a grounded metal object (e.g.
radiator) before installation,
• keep the product in antistatic package until installation,
• never remove PCB from the housing.
Use only original parts or parts approved by the manufacturer for installation, pay attention to the
tightening of mounting material specified torque (more in chapter 8.4).
7.2. ALLOCATOR BACK PLATE
The back plate is made of aluminium alloy and designed to have the best heat transfer from the radiator to
the allocator. it is necessary to install back plate to the radiator with recommended mounting material to
ensure the optimal thermal contact.
17 / 22

 Loading...