15
Ball Valve
(Recommended)
Tee fitting for
icemaker
Water
Z
H
Refrigerator
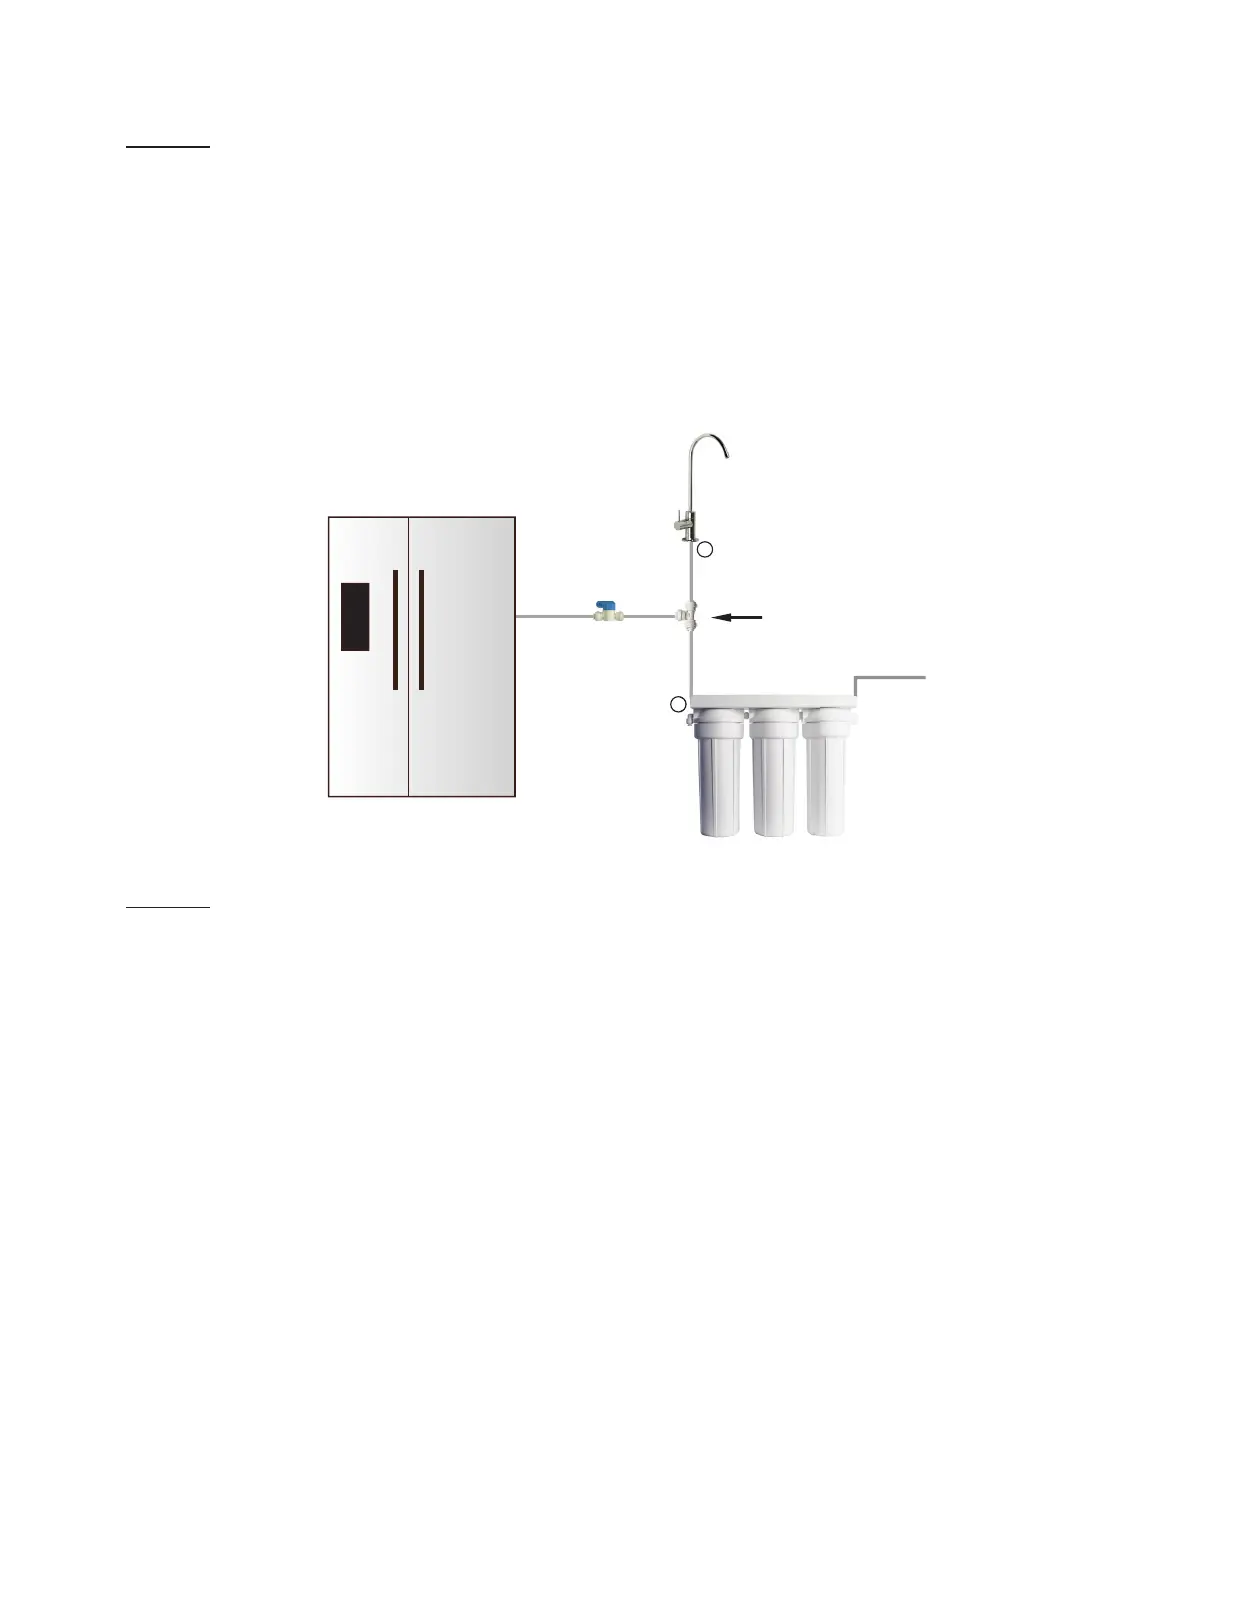
Fig. 9
Option: Ice-maker Connection
If you want to connect product water from the System to your ice-maker, you will need:
• One T-fitting, preferably the quick-connect type fitting
• Extra ¼ “ tubing long enough to go from the system to your ice-maker
• Optional: One shut-off valve, preferably the quick-connect type.
See Fig.9. Before connecting the product water line from Point Z to H, add a T-fitting near point
H to divert product water to both the ice-maker and the faucet.
Option: Multiple Outputs - Add Shut Off Valve:
If your system is feeding several output points (icemaker, fridge, bathroom), you should add a
Shut-Off valve to each output line (except the spigot line). This way, if you ever need to diag-
nose a problem in the system, you can easily shut off these lines to isolate the water flow for ac-
curate troubleshooting.
Step 7: System Start-Up
1. Turn on feed water: Slowly, turn on your Cold water supply. Turn on the Needle Valve (turn
counter-clockwise) to allow the raw water to enter the system. Check for leaks!
2. Clean up area: Allow the system to run while cleaning up tools and work area.
3. Check for leaks! Make sure no leaking at joints, fittings, valves, and tubing connections.
4. Flush the System and new filters for up to 5 minutes before use.
Congratulations! You have successfully installed the System!
 Loading...