10
TX Second Stage Regulator Maintenance Manual
11
TX Second Stage Regulator Maintenance Manual
Spindle.
8. Install a new, lubricated ‘O’ ring (27) onto the
Counterbalance Adjuster Knob.
9. Install the Counterbalance Adjuster Knob into the Valve
Spindle. There should now be spring tension on the Lever.
Continue to screw clockwise until the holes for the Spring
Pin are clear. Install the Spring Pin (21). Be sure that it
sits evenly in the hole. Back the Adjuster Knob out anti-
clockwise to apply tension to the Pin and keep it from
falling out.
10. Install a new, lubricated ‘O’ ring (13) onto the Venturi Lever
(14). Point the Venturi Lever upward and insert it into the
Case. Press it against the Case so the ‘O’ ring is captured.
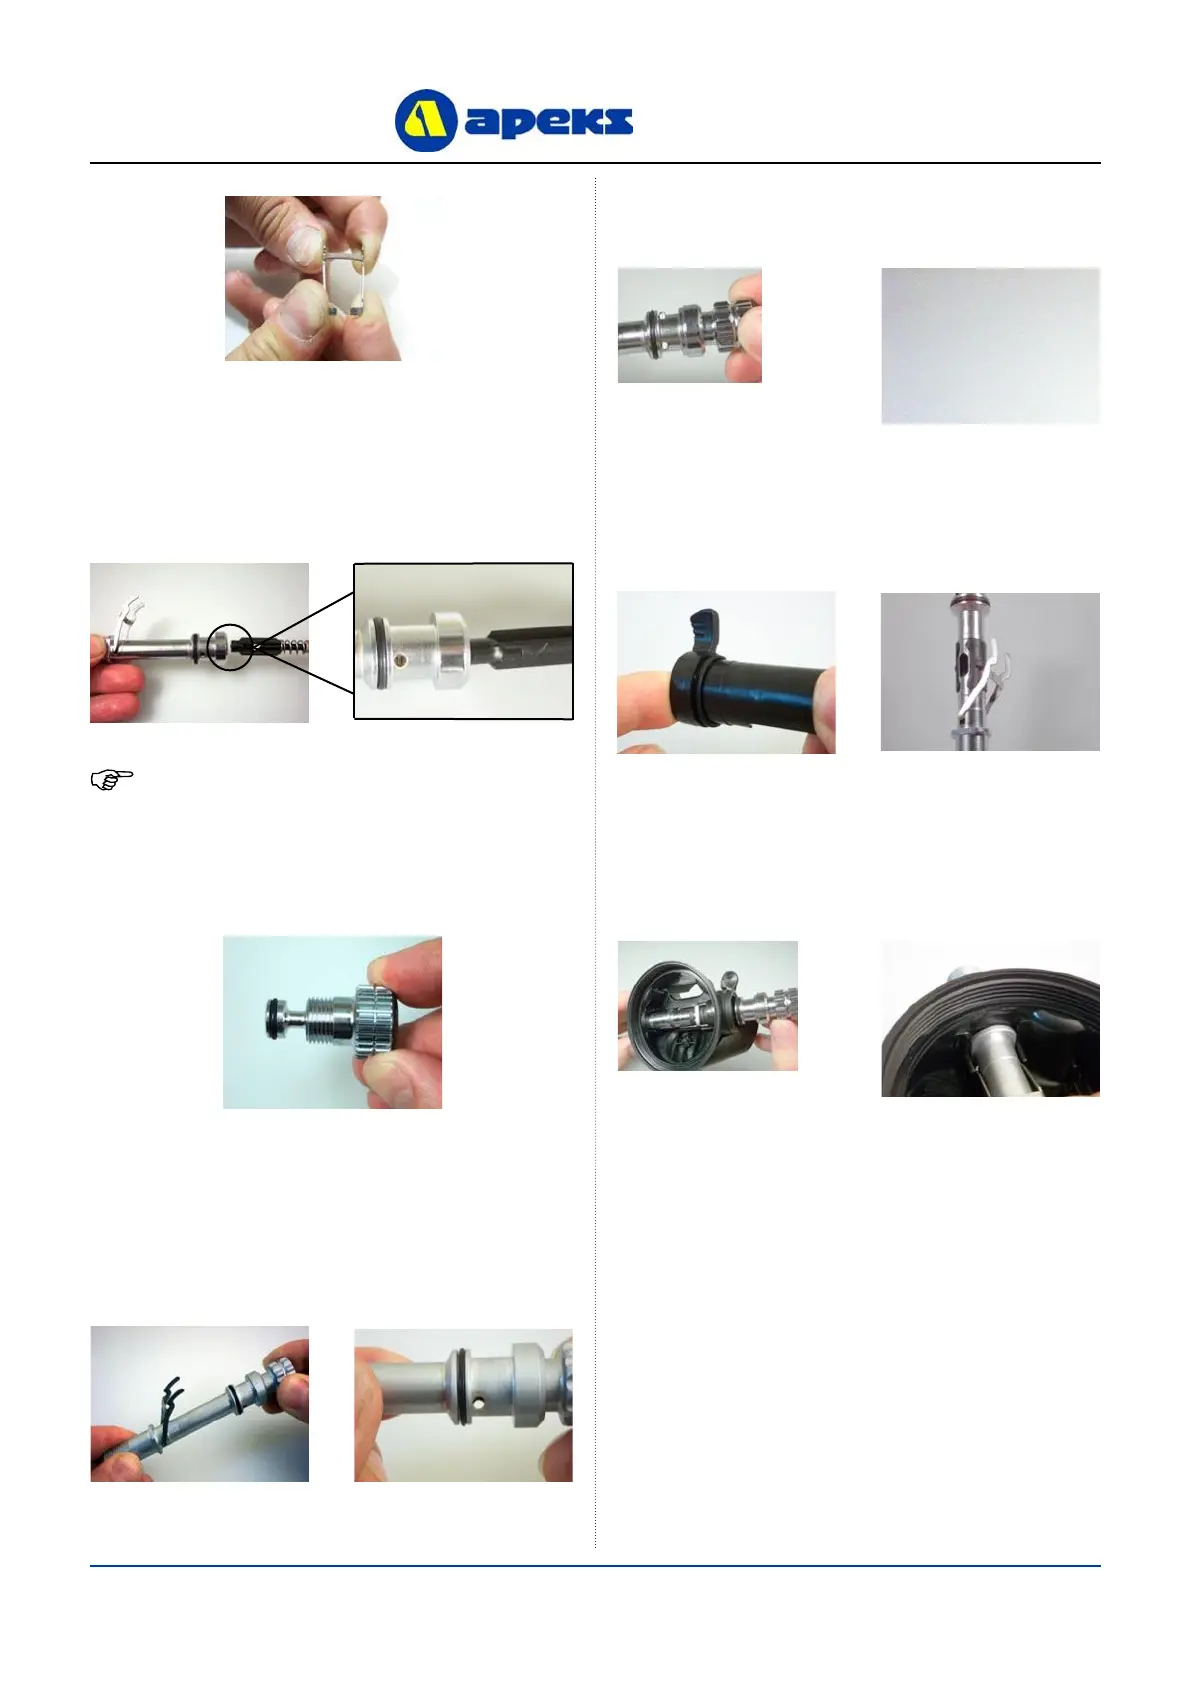
7. With the “feet” of the Shuttle Valve pointing downward
(away from the Lever) and the Lever pointing straight
up (perpendicular to the Valve Spindle), insert the Valve
assembly into the Valve Spindle. Using your nger, press
the Shuttle Valve assembly all the way into the Valve
NOTE: Ensure that the Lever has a full range of
movement and does not catch on the Valve Spindle.
11. While depressing the Lever, insert the Valve Spindle
through the Venturi Lever and into the Case. Be sure
that the two ats and the two Lever feet engage in the
tabs moulded into the Case .
 Loading...