11
XTX Second Stage Regulator Maintenance Manual
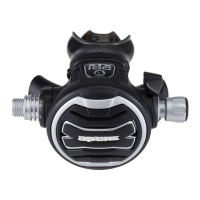
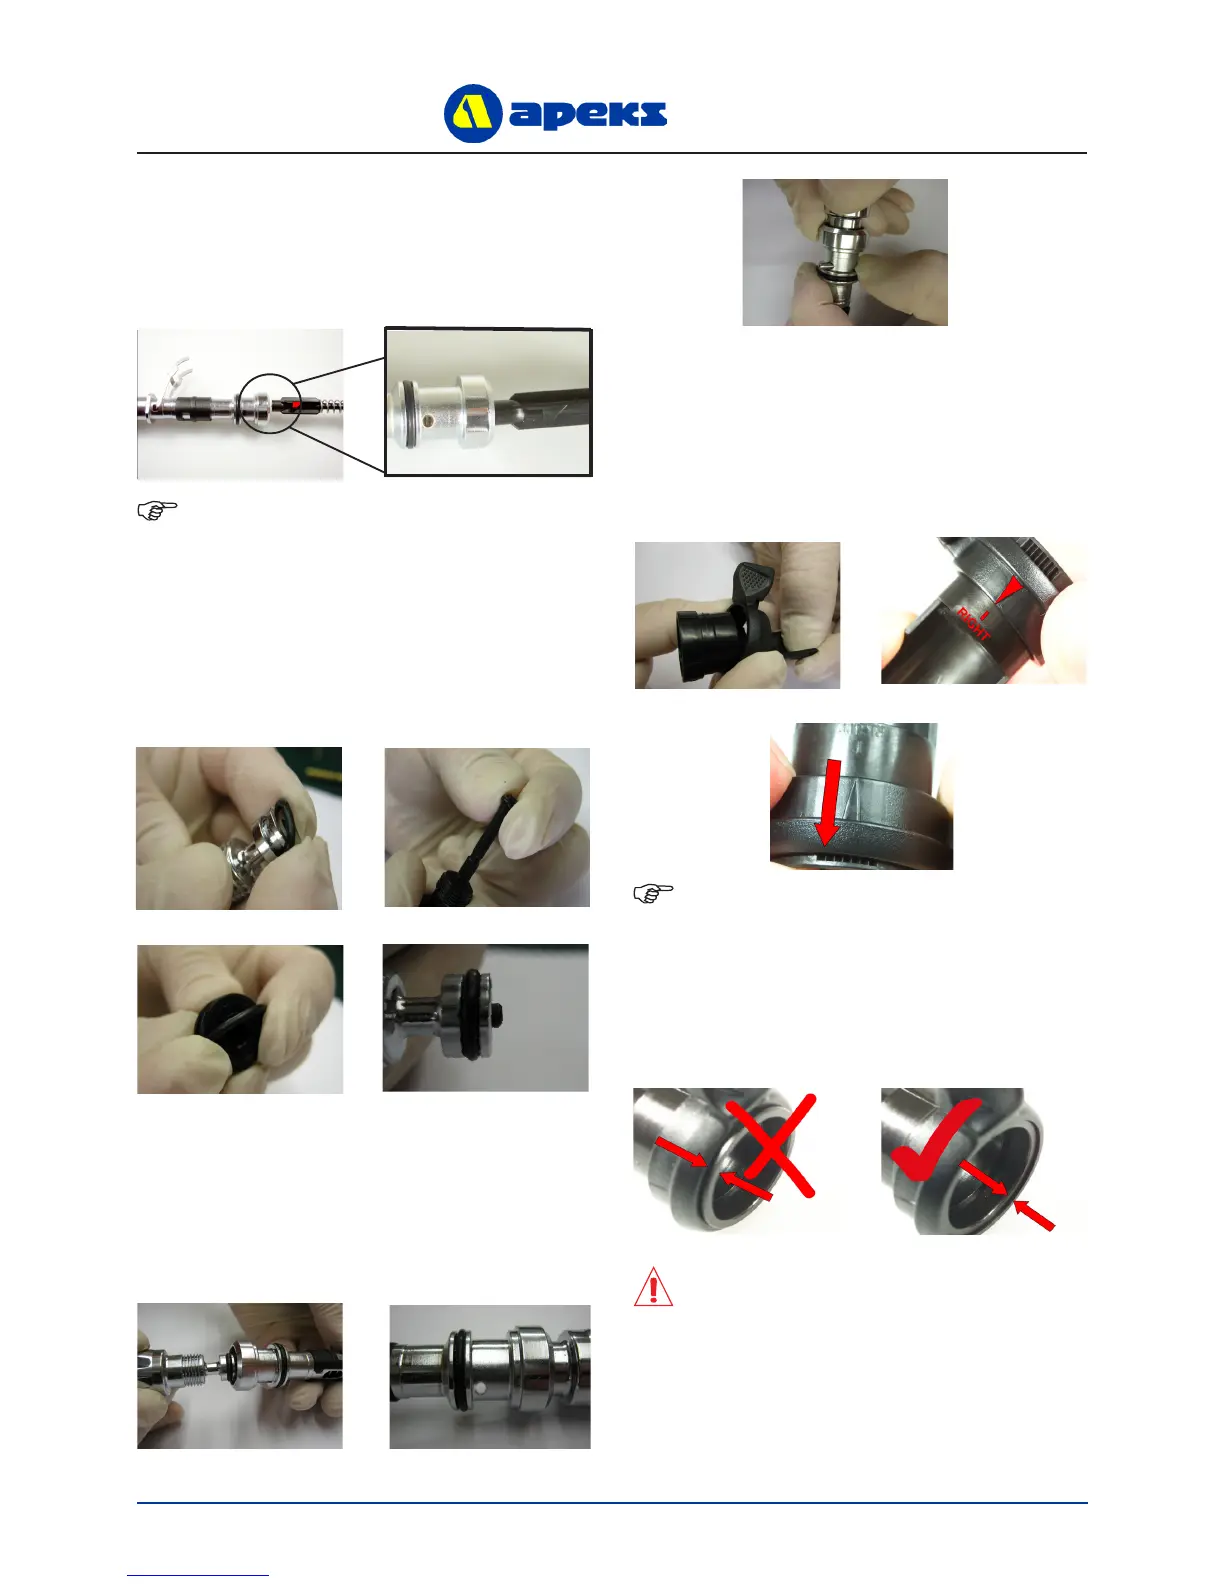
NOTE: The Arrow and line must be aligned to
ensure that the two parts fasten together correctly.
Ensure that the correct conguration of regulator
is selected. I.e. if the Regulator is to be congured
as Right Handed, then the arrow must be aligned
to the line with RIGHT underneath. See the sec-
tion titled Converting the XTX Regulator to Left
Handed Conguration on page 15 for further
information.
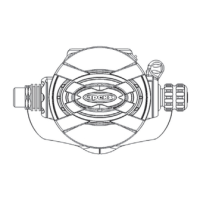
CAUTION: Ensure that the parts of the
Venturi Lever are rmly pressed together.
There should be a step as shown in the
photo on the right above. An audible click
should be heard when pressing together.
NOTE: Ensure that the Lever has a full range
of movement and does not catch on the Valve
Spindle. Ensure that the spring can be seen
through the Valve Spindle Hole.
10. With the “feet” of the Shuttle Valve pointing
downward (away from the Lever) and the Lever
pointing straight up (perpendicular to the Valve
Spindle), insert the Valve assembly into the Valve
Spindle. Using your nger, press the Shuttle Valve
assembly all the way into the Valve Spindle.
11. Install a new, lubricated ‘O’ Ring (31) onto the
Adjusting Screw (30) or (37) for XTX40/20. Install new,
lubricated ‘O’ Rings (29 & 28) onto the Spring Adjuster
(38). Using an Allen key, thread the Spring Adjuster into
the Adjusting Screw (30) until it is ush with the end of
the screw, then screw in six full additional revolutions.
12. Install the Adjusting Screw into the Valve Spindle.
There should now be spring tension on the Lever.
Continue to screw clockwise until the holes for the
Spring Pin are clear. Install the Spring Pin (19). Be
sure that it sits evenly in the hole. Back the Adjusting
Screw out anti-clockwise to apply tension on the Pin to
keep it from falling out.
13. If the Venturi Lever was separated slide the Venturi
Ring (13) onto the Venturi Lever Body (14). Align the
Arrow on the Venturi Ring with the line on the Venturi
Lever Body above the RIGHT text. Press the Venturi
Ring rmly onto the end of the Venturi Lever Body,
until it clicks into place.
 Loading...