Do you have a question about the ApexDesk Vortex M Edition and is the answer not in the manual?
Key safety warnings for desk operation, including avoiding obstacles and electrical shock risks.
Defines the intended use of the desk and disclaims liability for improper handling or use.
Lists necessary tools such as screwdrivers and Allen wrenches for desk assembly.
Details the screws, washers, and clips provided with the desk for assembly.
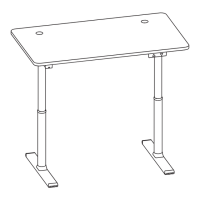
Instructions for laying out components and preparing the assembly area.
Attaching feet to lifting columns and installing leveling studs using Allen wrench.
Securing the top support brackets to the cross beam with screws.
Installing anti-vibration washers and securing the control box with screws.
Carefully placing the assembled frame onto the desktop and securing it.
Mounting the controller and securing the control box with screws.
Instructions for resetting the desk controller, typically after power interruptions.
Guide on programming and recalling preferred desk heights using memory buttons.
Attaching the metal connector to the beam and the tray to the connector.
Adjusting the tray's position by loosening and tightening screws.
Mounting the cable clamps onto the installed tray.
Details what the warranty covers and the manufacturer's responsibilities.
Specifies the warranty length for electric and non-electric parts.
Lists conditions and actions that void the warranty.
Defines the sole recourse available to the customer under the warranty.
Provides company contact information, email, phone, and website for assistance.
| Model | Vortex M Edition |
|---|---|
| Category | Indoor Furnishing |
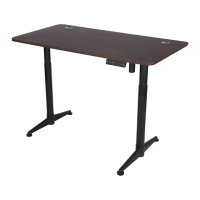
| Desk Type | Standing Desk |
| Height Adjustment | Electric |
| Desktop Size | 60" x 30" |
| Weight Capacity | 170 lbs |
| Frame Material | Steel |
| Desktop Material | Laminate |
| Motor Type | Single Motor |
| Noise Level | < 50 dB |
| Warranty | 2 Years |