YC600 Installation/User Manual
4.APsystems Microinverter System Installation
4.3.4 Step 4 - Ground the systems
a. There already has earth wire inside the AC cable, thus the grounding work could be done
directly by it.
b. For those areas that have special requirements, the external grounding work could be done
by grounding brackets.
Figure 3
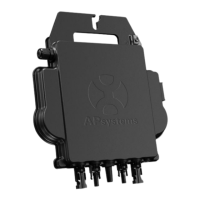
4.3.5 Step 5 - Connect the APsystems microinverter to AC bus cable
Push the microinverter AC connector into the trunk cable connector until you hear a "click". Try to
remove it to check that it is properly locked.
Figure 4
Best Practice: Use the Bus Cable Unlock Tool to split the connectors.
Figure 5
a. Check the microinverter
technical data page(p.18)
for the maximum allowable number of
microinverters on each AC branch circuit.
b. Plug the AC connector of the microinverter into the AC bus
c. Install a AC bus protective end cap on the open AC connector of the last microinverter in
the AC branch circuit.
AC connector interface as follows.
Figure 6
Cover any unused connectors with Bus Cable Y-CONN to protect the connectors.
Figure 7