10
B. Check the box for following items:
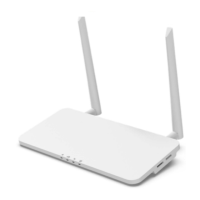
- Aptos MAC
TM
DTU
- Two Antennas
- Adapter
- Bracket
- 5-Pin Plug
C. Choose the way MAC
TM
DTU connects to the Internet:
Use WiFi or Ethernet. Please prepare for the following items, if
needed:
- Ethernet Cable (for Ethernet option).
- Aptos Installer App.
4.6 Install the DTU
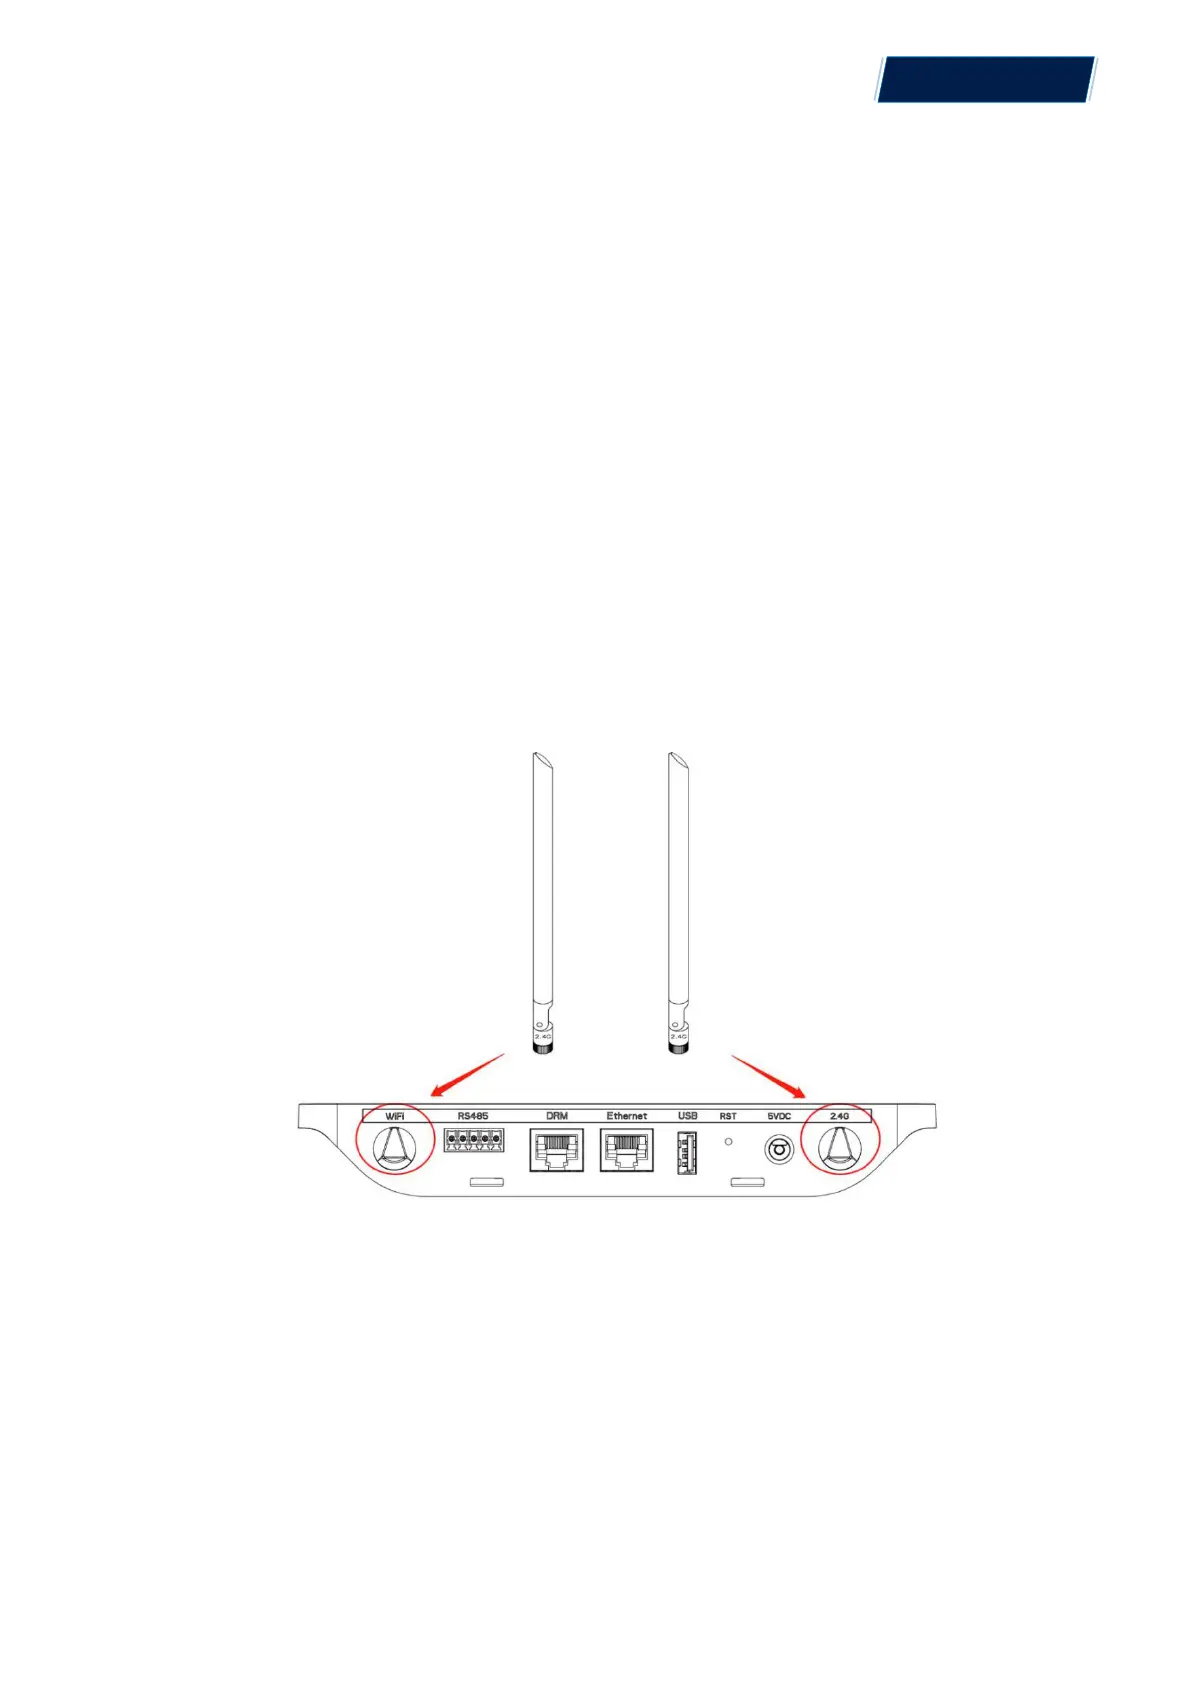
Step 1: Install the antennas
Take two 2.4G antennas out from the box. Screw the antenna into the WiFi port and 2.4G port.
Note:If the DTU installation location is inside the metal box or under the metal / concrete roof,
extended 2.4G cable or 2.4G sucker antenna will be suggested, which can be purchased from
Aptos or local electrical store (Please contact Aptos Tech. support team for the detail type of the
cable or antenna at info@aptossolar.com ).
Step 2: Choose an Installation Location
- Installed on the top floor to increase the signal strength.
- Installed near the center of the PV array.
© 2021 Aptos Solar Technology, LLC. All rights reserved.
MAC
TM
DTU