Shower head systems installation instructions Page 3
Installation instructions
This product must be installed by a competent person in accordance with the relevant Water Supply
Regulations.
In addition to the guide below, it is essential that the written instructions in the main product
installation instructions are read and understood, and that you have all the necessary components
(shown in the main product installation guide) before commencing installation.
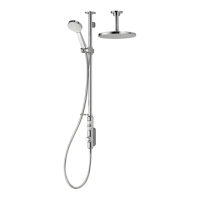
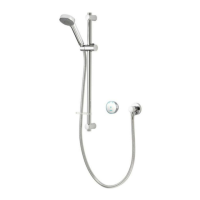
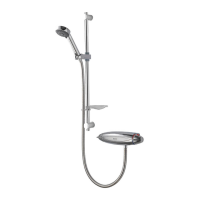
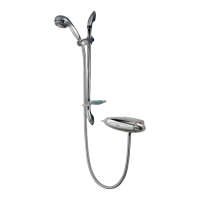
The shower head and rail kit is supplied complete with a 2 year guarantee.
The shower arm and rail kit is supplied with universal fixings intended to secure it to a suitable wall.
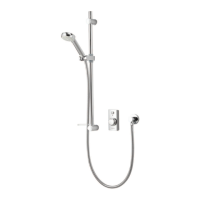
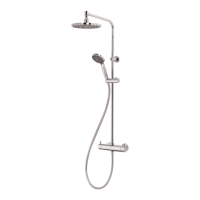
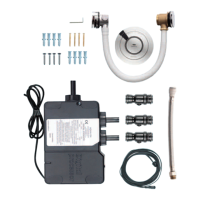
Please follow the main product installation instructions to fit the shower controller and processor/
diverter units (depending on product purchased) prior to installing the shower head and rail kit.
!
!
!
!
Adjustable height head
Ensure the finished wall surface is even, prepare pipework from the processor or diverter to the required
position for the hose outlet using a Ø15mm copper pipe. Slide the wall spacer down the projecting pipe
flush with the finished wall surface.
1
Slide the 15mm gripper ring down the projecting pipe flush with
the wall spacer fitting.
2
Trim the projecting pipe to a length of 15-22mm, measured from the face of the gripper ring, using
a rotary type cutter. If a hacksaw is used, the pipe end must be carefully de-burred and chamfered.
3