AquaMaster
®
Owner’s Manual 1/21/2021 9
Installation Steps and Start-Up Procedures, Cont.
Step 2
Turn Off Water Supply
A. Turn off the water supply.
B. Open the hot and cold water taps to depressurize the lines.
Step 3
Connect Water Lines
Note: See Optional Plumbing Procedures for information
on copper fittings and joining plastic pipe.
a. Lift and remove the cabinet cover.
b. Install connection fittings*. *Connection fittings are
NOT provided with your appliance. Connection
fittings provide a convenient, easy-to-use three-
piece assembly for 3/4-inch copper plumbing or 3/4-
inch CTS CPVC plastic tubing. Ensure that the
three components (1: collar, 2: metal retaining ring,
and 3: nylon sleeve) are correctly installed in
sequence on the pipe.
Note: PTFE tape or plumber’s putty is NOT
necessary and should NOT be used with
connection fittings.
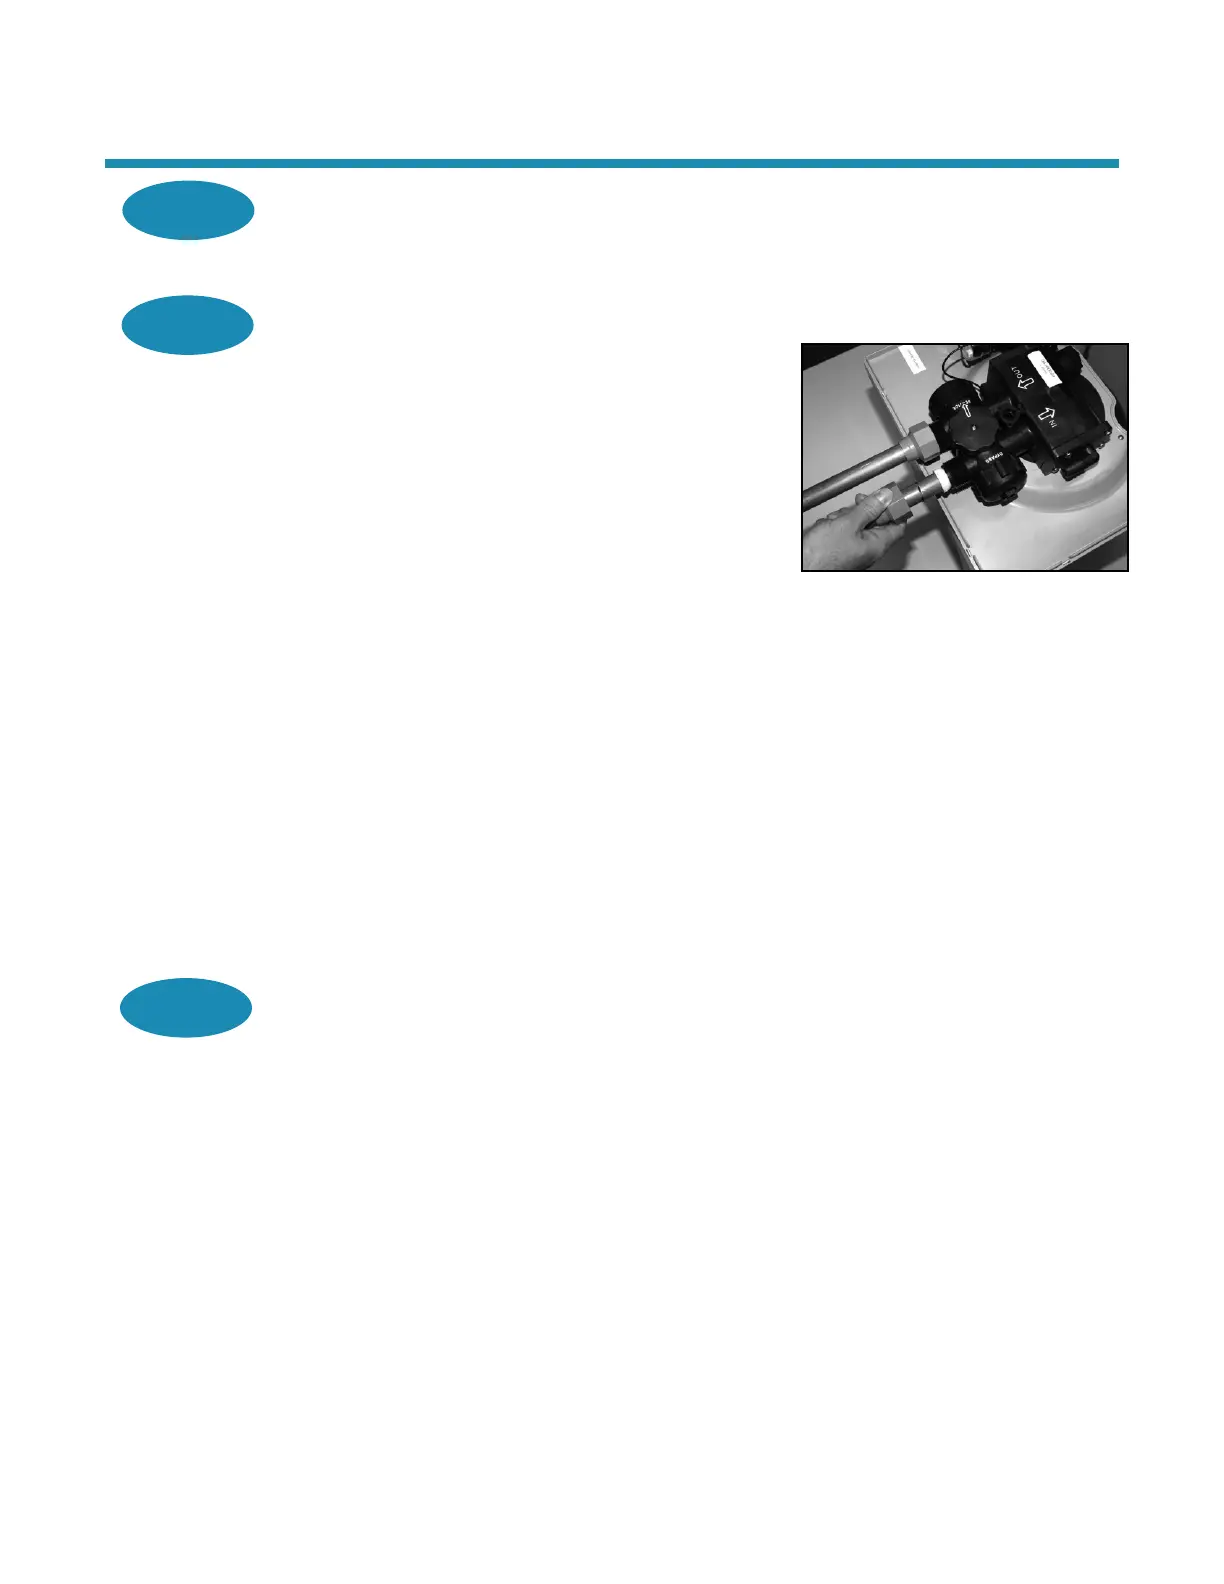
C. Attach the water lines to the appliance in compliance
with all applicable building, plumbing, and electrical
codes. (See Figure 3.) Do NOT over tighten the
connections on the plastic threads.
D. Check the arrows on the valve to ensure that the
water flows in the proper direction.
Caution: Do NOT plumb your appliance in
backward.
Step 4
Connect Gravity Overflow Connection
The overflow line drains away excess water should the
tank fill with too much water or the appliance malfunction.
E. Check that the overflow elbow is in the down
position.
F. Connect 1/2-inch (12.7-mm) I.D. tubing (size cannot
be reduced) between the overflow fitting and a floor
drain, laundry tub, or other suitable waste receptor.
This tubing is not supplied with the appliance. Ensure
that the overflow line ends at a drain that is at least
3 inches (76 mm) lower than the bottom of the
overflow fitting. Maintain a minimum 2-inch (50-mm)
air gap. The gravity line cannot be run overhead.
Figure 2: Connect Water Lines
Note the Bypass Valve Position.
*Connection fittings are
NOT INCLUDED
additional purchase required.