10
STEP 4: System Assembly
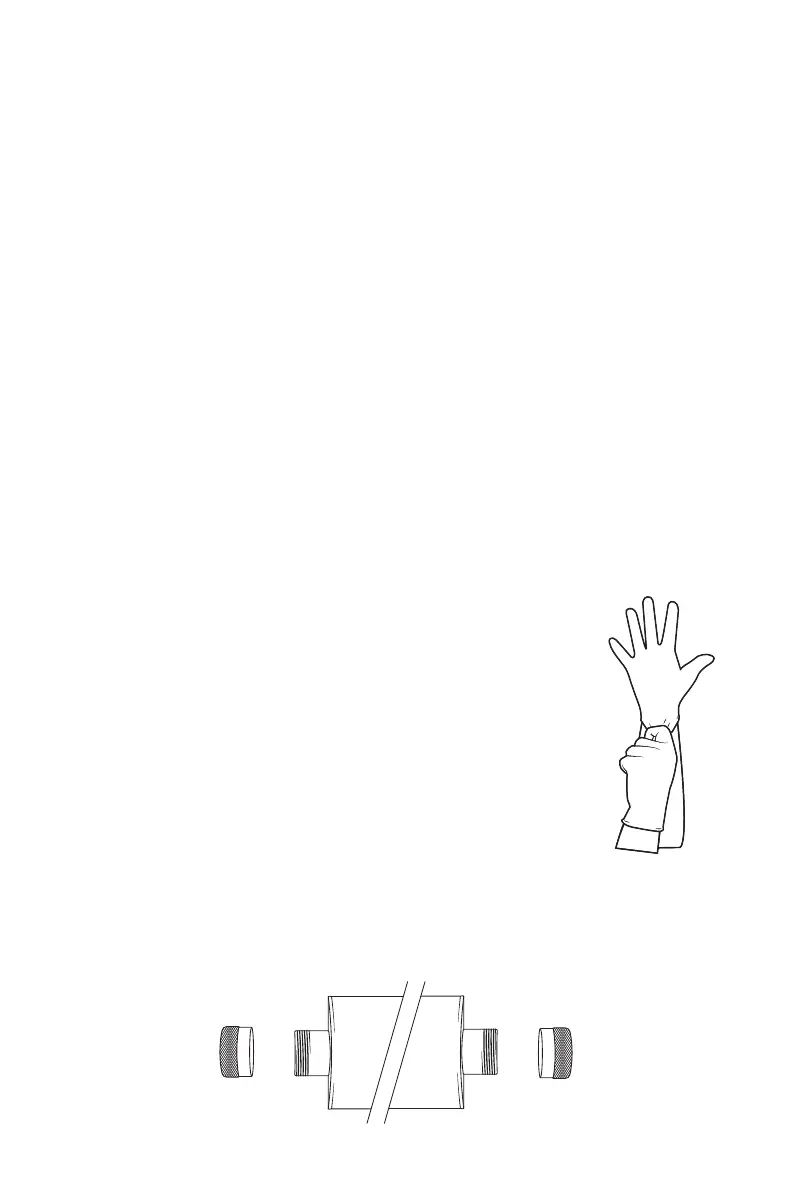
IMPORTANT: During the assembly and handling of
the quartz sleeve and UV lamp it is recommended to
wear plastic gloves. DO NOT touch the quartz sleeve or
UV lamp with bare hands. Fingerprints can reduce the
performance of the UV lamp.
1. Remove the unit from the mounting surface and place the
system on a at, stable surface to assemble.
2. Locate and remove quartz sleeve and UV lamp from the
packaging. If necessary, wipe all ngerprints from quartz
sleeve and lamp with isopropyl alcohol and a dry cotton cloth or paper towel.
3. Locate and remove both end caps from the UV system by unscrewing them
counterclockwise.
STEP 3: Connecng the UV System
IMPORTANT: On copper plumbing systems, be sure to install a grounding
wire between the inlet and outlet piping to maintain grounding.
WARNING! Any solder joints being soldered near the valve must be done
before connecting any piping to the system. Always leave at least 6” (152
mm) between the UV system and joints being soldered when soldering
pipes that are connected to the UV system. Failure to do this could cause
damage to the UV system.
1. The UV system is equipped with 3/4” male NPT connections (18GPM unit is
equipped with 3/4” Female NPT and 1” Male NPT). It is recommended that
these connections are made using 6-10 wraps of plumber’s tape.
2. The ow of the water can go either direction depending on the location.
3. Connect the inlet and outlet of the UV system using appropriate ttings.
Important! Make sure the inlet and outlet connection does not interfere
with the replacement of the UV lamp and quartz sleeves.