Optima 40 29
ADJUSTING PRIMARY AIR
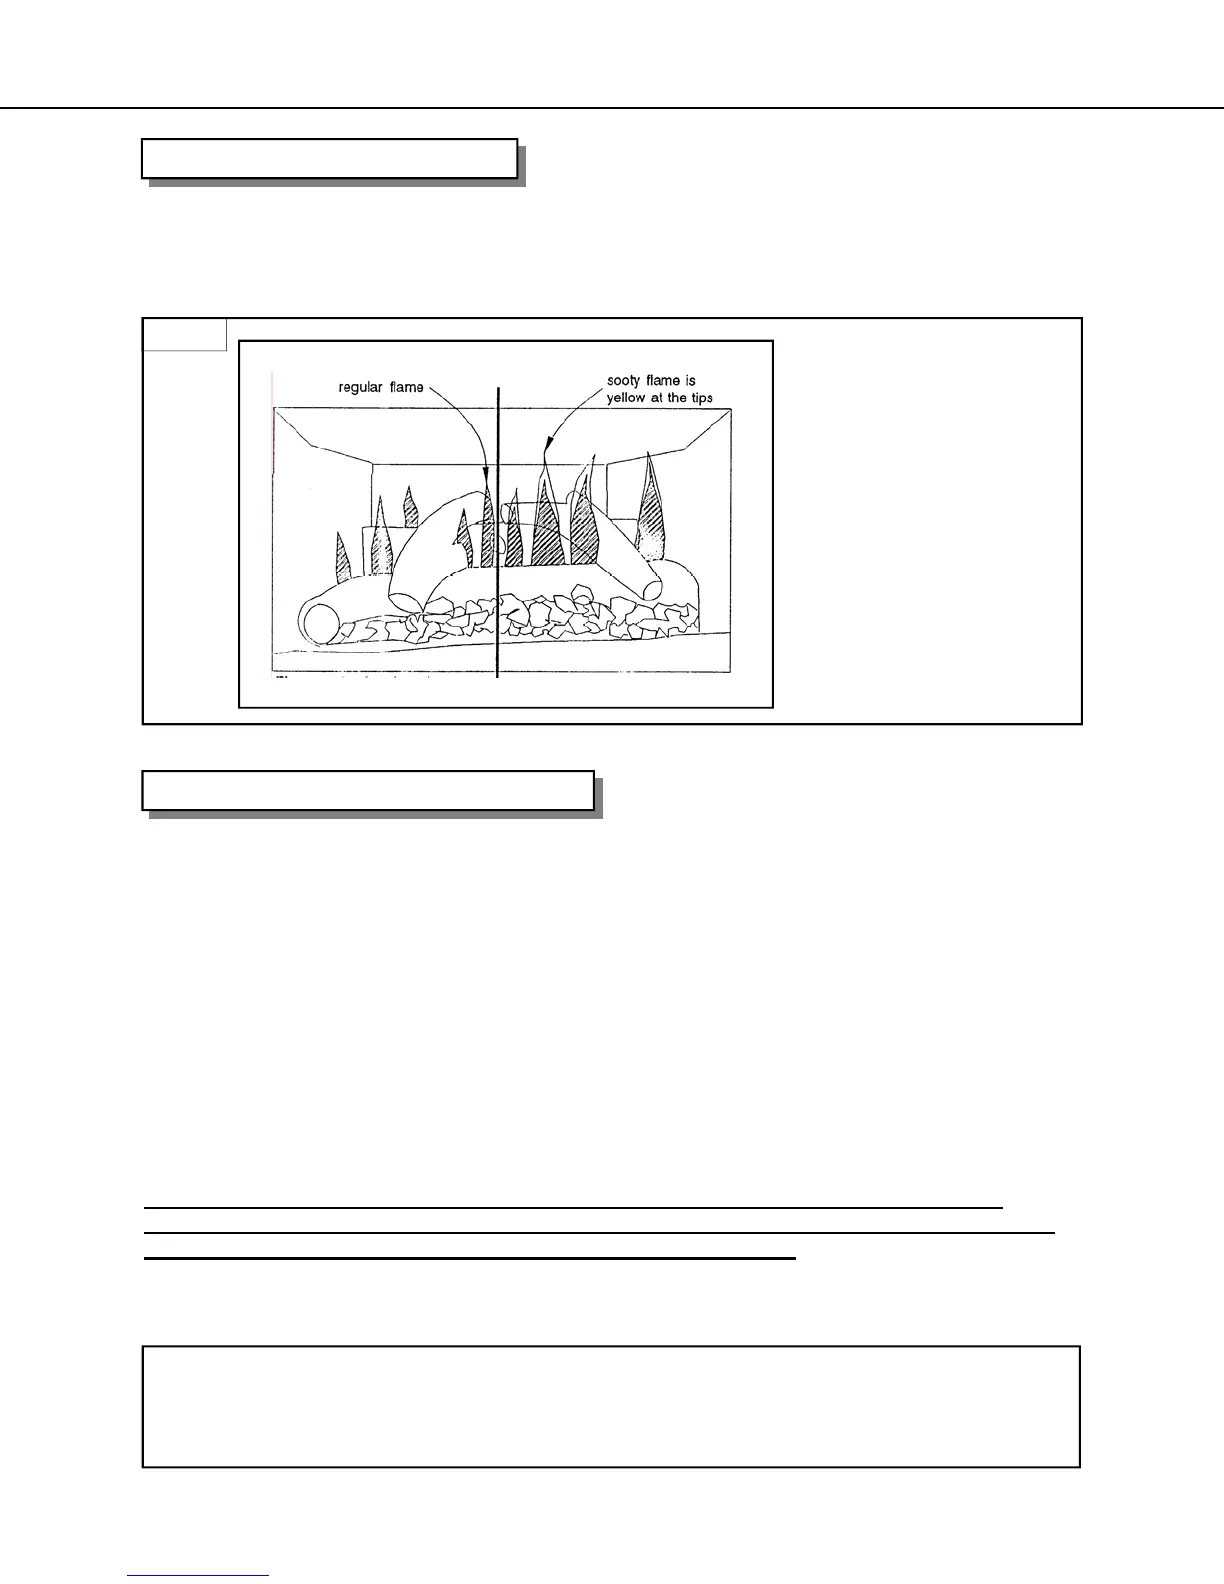
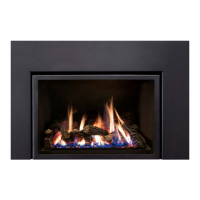
NOTE: Fig. 1. Is to give an example of what is a correct or in-correct flame pattern. It is not a
true representation of what your Optima 40 will look like in the customer’s home environment.
FLAMES...
The left side shows
correct adjustment. The
right side shows yellow
sooty flames requiring
increase in shutter open-
ing or cleaning of shutter
area due to lint buildup.
Fig.1
CHANGING MAIN BURNER ORIFICE
THIS APPLIANCE IS EQUIPPED FOR NATURAL (LP/PROPANE) GAS. Included with the OWNERS
MANUAL, a (LP/propane) main burner orifice is supplied. An additional CONVERSION kit is required to
complete the fuel conversion. To order the CONVERSION kit please contact your Authorized Archgard
Dealer or Archgard to purchase the CONVERSION kit.
1. Remove the glass door. Follow GLASS DOOR REMOVAL instructions within this
manual.
2. Locate & slide the Primary Air Sleeve fully toward the left. This will allow the sleeve to
disconnect from the burner tube. Follow ADJUSTING PRIMARY AIR instructions within
this manual for reassembly.
3. Remove the logs from the FiberFlame bed. See LOG PLACEMENT for instructions.
4. Unscrew the two mounting screws that are located at the back rear of the ember bed.
5. Carefully remove the ember bed by using your index finger’s in the holes and carefully lift
the ember bed (burner) out.
6. Use a 1/2” (13 mm) wrench to remove the orifice cap.
7. Change the orifice cap to the fuel type desired. Use a small quantity of gas thread seal
compound. Do not over tighten.
8. Reverse steps 6 to 1.
WARNING when replacing the ember bed using the two screw, you MUST not over
tighten the screws. Leave the screws “FINGER” tight allowing the ember bed to “float”.
This is required for expansion & contraction of the ember bed.