13
D
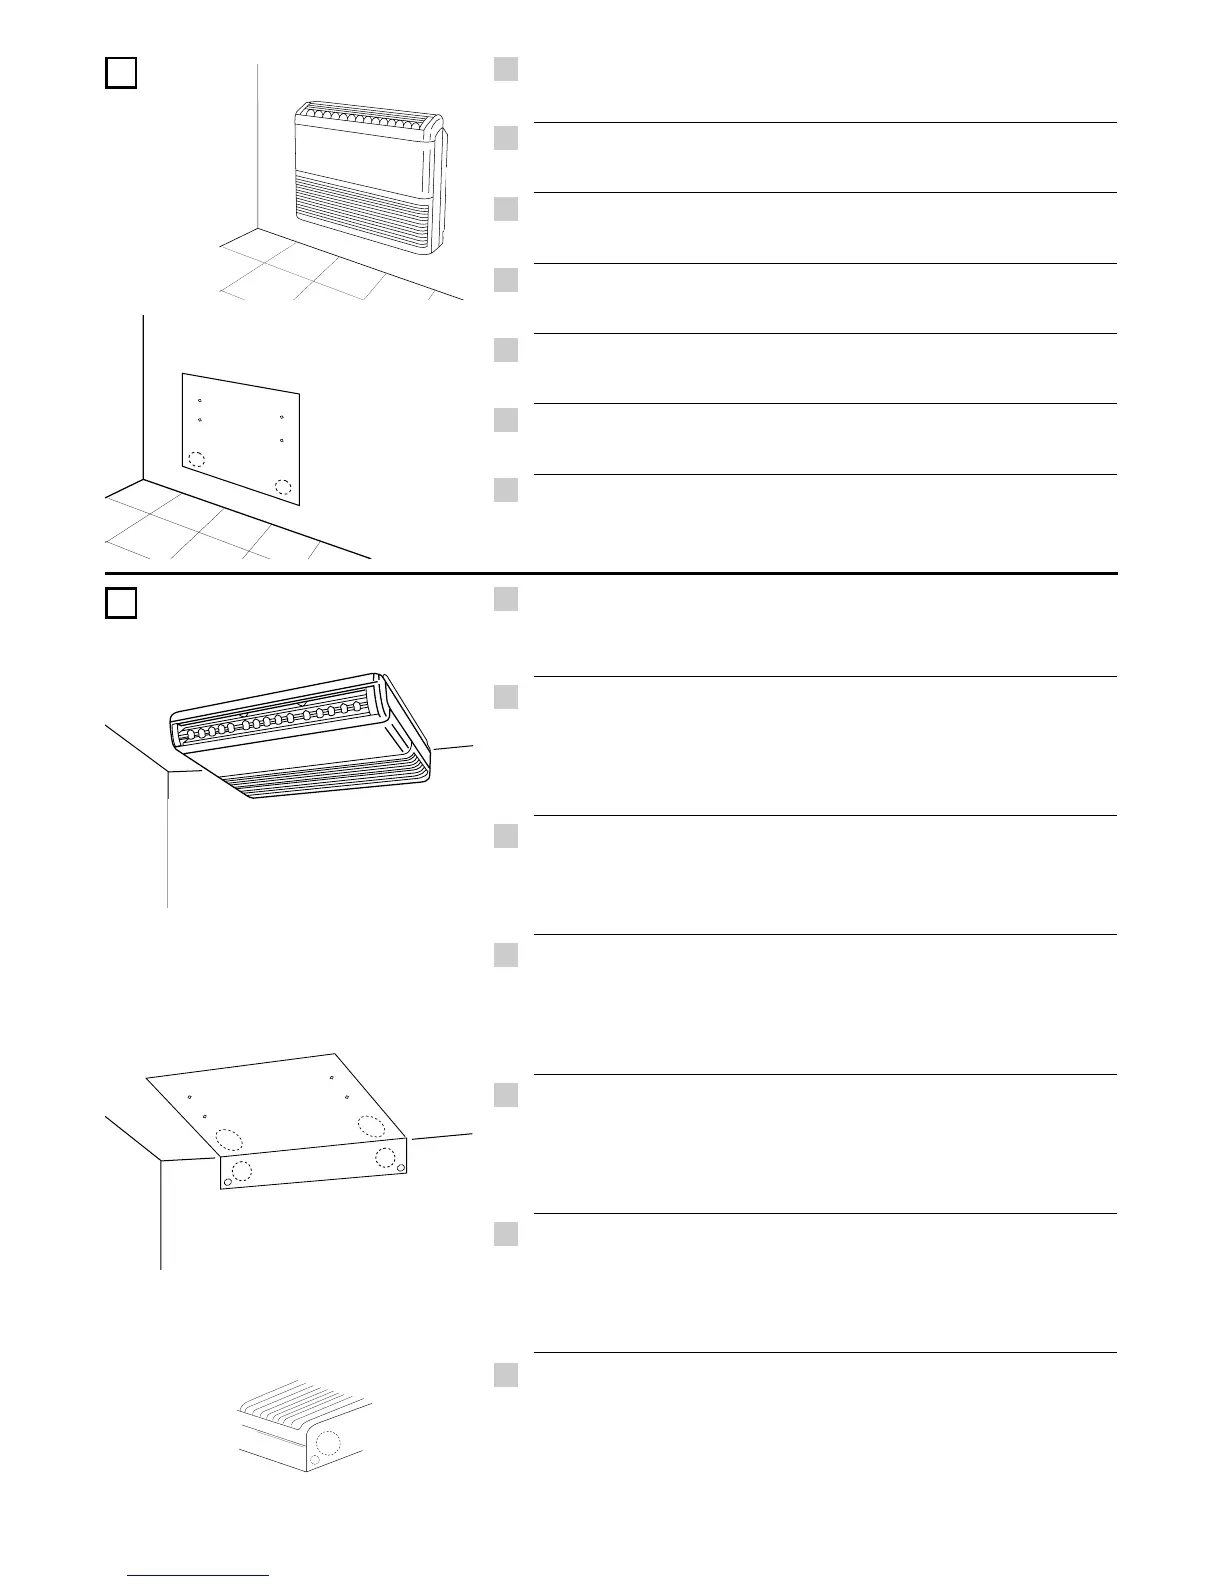
Wall installation.
Place the fullscall diagram, level it and mark the holes to drill (pipes
and rawl plugs).
Installazione a parete.
Posizionare la dima, metterla a livello ed evidenziare i fori da eseguire
(Tubazioni e tasselli di sospensione).
Installation murale.
Placer le support de perçage, le mettre a niveau et marquer les trous à
faire (tuyaux et chevilles).
Installation an einer Wand.
Die Schablone an die Wand anlehen, sie nivellieren und die zu
schneidenden Löcher zeichnen (Rohre und Tragdübel).
Instalación en la pared.
Colocar la plantilla, nivelar y marcar los taladros que hay que realizar
(tuberías y tacos suspensión).
Instalação à parede
Posicione o contôrno da unidade, nivele-o e ponha os furos a serem feitos
em evidência (tubagens, painel de suporte).
TTooppooqqeevvtthhsshh ssttoonn ttooiivvccoo..
Efarmovste to montevlo diavnoixh" opwvn, alfadiavste to kai
shmadevyte ti" opev" pou provkeitai na anoivxete. (Swlhvne" kai
buvsmata anavrthsh").
I
EG
F
D
E
P
GR
E
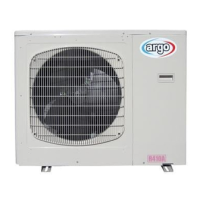
Under ceiling installation.
Place the fullscall diagram and mark the holes to drill (pipes on vertical
wall or under-ceiling, condensate drain pipe, rawl plugs).
In this case the drainage-tube connection cannot be executed on the back.
Installazione a soffitto.
Posizionare la dima, metterla a livello ed evidenziare i fori da eseguire
(Tubazioni su parete verticale o soffitto, scarico condensa e tasselli di
sospensione).
In questo caso il collegamento del tubo drenaggio non può essere
eseguito posteriormente.
Installation au plafond.
Placer le gabarit de perçage et marquer les trous à faire (tuyaux dans
la paroi verticale ou le plafond, sortie des condensats et chevilles).
En ce cas l’assemblage du tayau de drainage ne peut pas être exécuté
arrière.
Installation an der Decke.
Die Schablone an die Decke anlehnen, sie nivellieren und die zu
schneidenden Löcher zeichnen (Rohre an der senkrechten Wand oder
Decke, Kondenswasser-Auslaß-Rohr und Tragdübel).
Auf diesem fall darf die Dränrohrvebindung nicht hinten durchgeführt
werden.
Instalación en el techo.
Colocar la plantilla y marcar los taladros que hay que realizar (tuberías
en la pared vertical o techo, descarga condensación y tacos de
suspensión).
En este caso, no se puede no se puede colocar el tubo de drenaje
postoriormente.
Instalação ao teto
Posicione o contôrno da unidade, nivele-o e ponha os furos a serem feitos
em evidência (tubagens de parede vertical ou de teto, esgoto da
condensação e suportes).
Neste caso, a instalação da mangueira de esgoto deve ser feita ao
mesmo tempo e nao após a instalação da unidade.
TTooppooqqeevvtthhsshh sstthhnn oorrooffhhvv..
Efarmovste to montevlo diavnoixh" opwvn, alfadiavste to kai
shmadevyte ti" opev" pou provkeitai na anoivxete. (Swlhvne" pavnw
se kavqeto toivco hv orofhv, swlhvna" exaevrwsh" kai buvsmata
anavrthsh").
Sthn perivptwsh authv h suvndesh tou swlhvna apotravggish" den
mporeiv na givnei apov pivsw.
I
EG
F
D
E
P
GR