EN - 10
4. Install mounting hardware into housing
and finger tighten.
NOTICE: Leave discharge chute pedestal
loose to help install the chute rod.
5. Remove the gear cover from top of
chute pedestal. (Figure 8).
6. Release the lock arm on the gear
assembly with your finger and rotate the
discharge chute so it points straight
ahead.
NOTICE: Make sure alignment markers on
gear assembly are lined up when discharge
chute is pointing straight ahead.
7. Remove chute control assembly from
chute lock cable.
8. Insert chute control assembly into slot in
control panel from below and insert
assembly into nylon bushing in control
mount bracket. Fasten to control panel
using E-Clip. See Figure 6.
9. Insert chute lock cable through hole in
front of dash panel. Feed cable eyelet
and rubber seal through hole in chute
control assembly and snap cable end
into control assembly. Slide rubber seal
over cable end to prevent moisture from
entering the cable.
10. Remove hairpin from pin on chute
control, install cable eyelet onto pin and
re-install hairpin. See Figure 7.
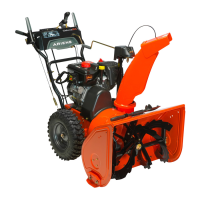
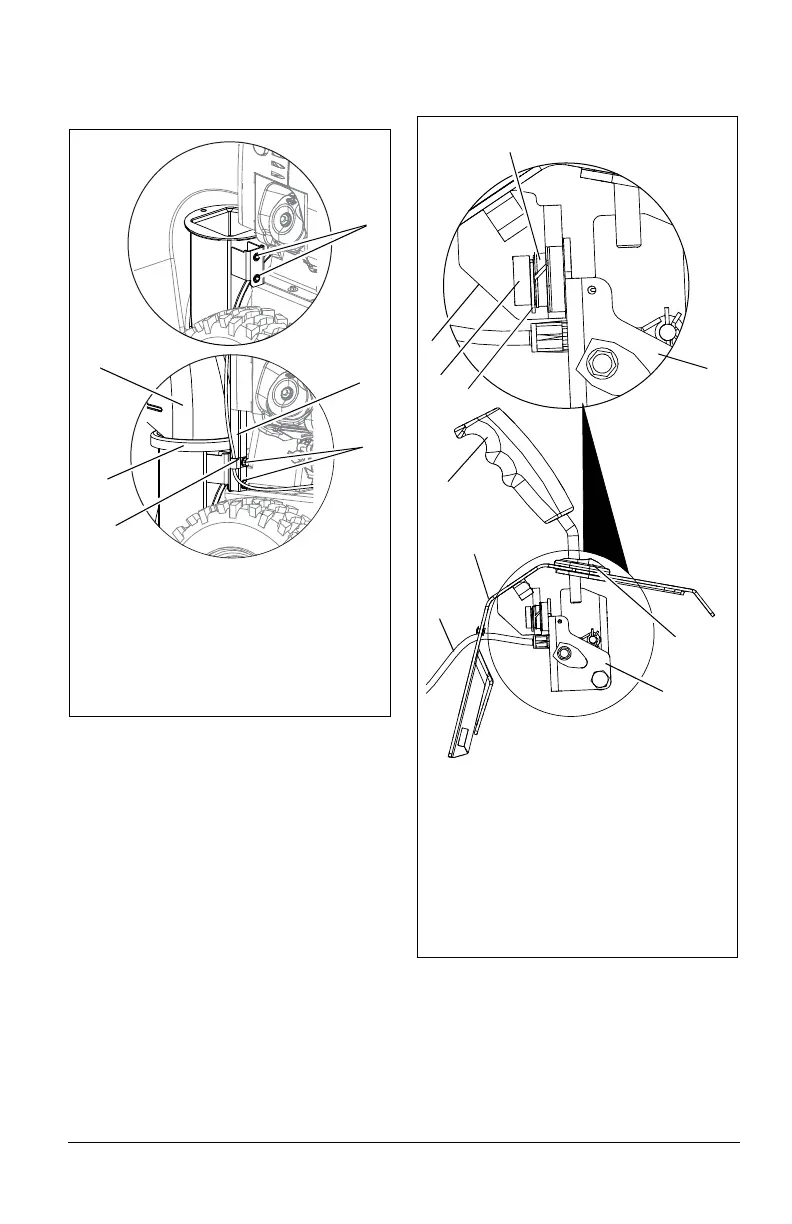
Figure 5
1. Mounting Holes
2. Discharge Chute
3. Discharge Chute Ring
4. Chute Pedestal
5. Mounting Hardware
6. J-Clamp
1
5
4
2
3
6
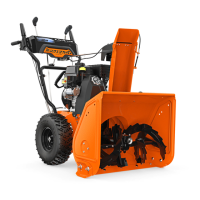
Figure 6
1. Chute Control Assembly
2. Nylon Bushing
3. Hex Hub
4. E-Clip
5. Control Mount Bracket
6. Dash Panel
7. Rubber Grommet
8. Quick Turn Chute Control
9. Chute Lock Cable
3
2
4
1
7
6
8
9
1
5