17
In response to the new requirements of HTM 04-01 Addendum, the designs of these mixers have been
enhanced to permit easy demounting of the mixer from the inlets.
This updated design permits quick & easy removal of the mixer for cleaning, disinfection & maintenance
purposes.
Prior to commencing this procedure, you should have available either a replacement mixer (without
inlets) or a pair of protective cover caps. See section 18.
Disinfection by full immersion in an appropriate bactericidal solution is recommended for this assembly.
Prior to immersion, the tting should be clean and dismantled to a level that prevents air locking. In some
cases it may be considered appropriate to dismantle the tting prior to demounting.
The level of dismantling should be established as a result of practice and will be largely dependant upon
the water quality and service life. As a minimum we recommend removal of the lever handle, thermo-
static cartridge & the maintenance carriers in each side of the body. Cleaning the lter screens on the
latter is of great importance, see section 13. All components can be immersed together unassembled.
Disinfected mixers should be promptly replaced or stored using an appropriate method until required.
For disinfection solution see section 11.8
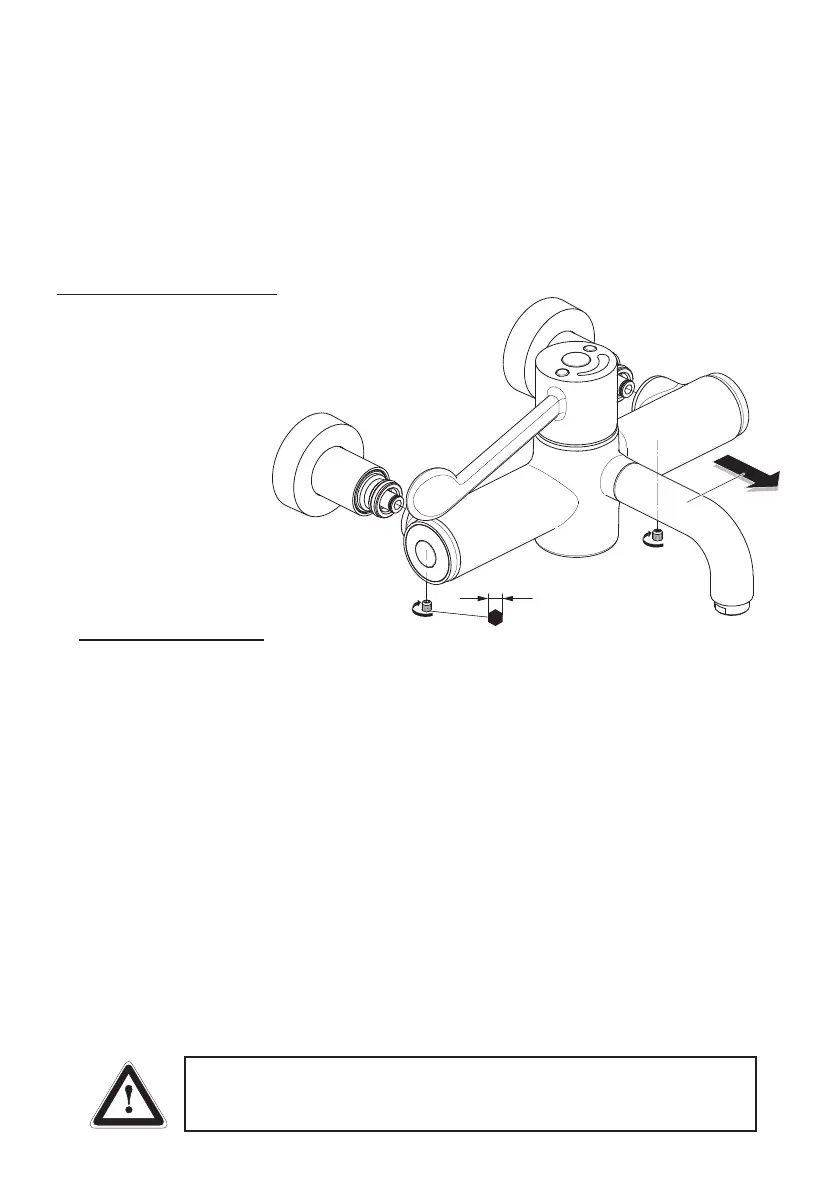
Method for demounting mixers:
1. Isolate the hot and cold water supplies
using the integral ball valves.
See section 13.
Operate mixer lever to conrm
water supplies are closed off.
2. Undo the 2 grub screws
securing the mixer using
a 3mm hexagon key.
(Take care not to lose
the screws).
3. Remove the mixer from the inlets, by
gently pulling away as shown. Expect
some trapped water to escape.
4. During cleaning protocols:
Fit a replacement mixer (without inlets) to ensure
continuity of use. Alternatively t cover caps to protect &
seal the inlets.
5. To ret the mixer; reverse this procedure. Tighten screws securely.
6. Follow the commissioning procedure to ensure the product is functioning correctly. See section 9.
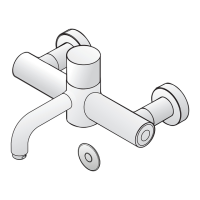
11.7 Demounting mixer
Take care to avoid damaging the inlet seals. Damage to these seals
would compromise the insulate feature & affect the mixer’s thermostatic
performance. See section 15 for spare “demountable seal kit”.
3