EasyManua.ls Logo

Armitage Shanks Sensorflow 21 User Manual

Armitage Shanks Sensorflow 21
20 pages
To Next Page IconTo Next Page
Page #1 background imageLoading...
Page #1 background image
Important:
1. Electrical connection: mains electric powered version of this
product must be connected to a continuous permanent power supply.
2. Sensor protector: this black-out lens cover should only be removed from
the sensor after completing installation & at least 20 seconds after powering up.
See page 3 for more details.
Sensorow 21 compact spout
A4851AA, A4852AA & A4853AA
INSTALLER: After installation please pass this instruction booklet to user
IMPORTANT
BEFORE CONNECTION, FLUSH WATER THROUGH PIPEWORK TO REMOVE
ALL DEBRIS ETC. WHICH COULD DAMAGE THE VALVE MECHANISM
INSTALLATION
INSTRUCTIONS
Ø15
Ø15
67
40
61
103
86
116
Ø8
max.50
Ø48
M28 x 1.5
350
650
131
94
45°
112
Ø15
Ø15
Question and Answer IconNeed help?

Do you have a question about the Armitage Shanks Sensorflow 21 and is the answer not in the manual?

Armitage Shanks Sensorflow 21 Specifications

General IconGeneral
RangeSensorflow 21
ActivationInfrared Sensor
PowerBattery-operated
MaterialBrass
StandardsWRAS approved
Voltage6V DC
Battery LifeApproximately 5 years (based on 100 flushes per day)
Detection RangeAdjustable
Operating Temperature1°C to 40°C

Summary

Important Pre-Installation Notes

Mains Electrical Power Supply

Details connection requirements for mains powered products to a continuous power supply.

Sensor Protective Cover

Instructions for removing the sensor lens cover after installation is complete.

Product Box Contents

Supply Conditions

Water Regulations

Installation Guide

Mounting

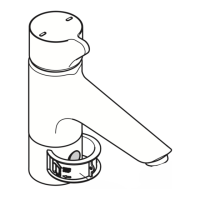
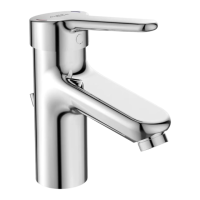
Step-by-step guide for physically attaching the spout to the basin.

Plumbing Overview

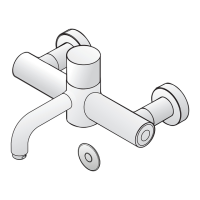
Connects water supply pipes and inline valves to the spout assembly.

Electrical Connection

Safe procedures for connecting the product to the mains electrical supply.

Tap Operation

Sensor Ranging

Extension Cables

Details on available extension cables for sensor, solenoid, and link connections.

Outlet Options

Maintenance

Solenoid Valve

Troubleshooting steps for a solenoid valve that causes continuous water flow.

Hygiene Flush (Automatic)

Information on the automatic hygiene flush feature and its setup.

Isolating Valve

Guidance on installing and using the isolating valve for maintenance tasks.

Spare Parts

Cleaning Chrome Surfaces

Related product manuals