Exclusive distributor of Rx100
Connecting the Cables
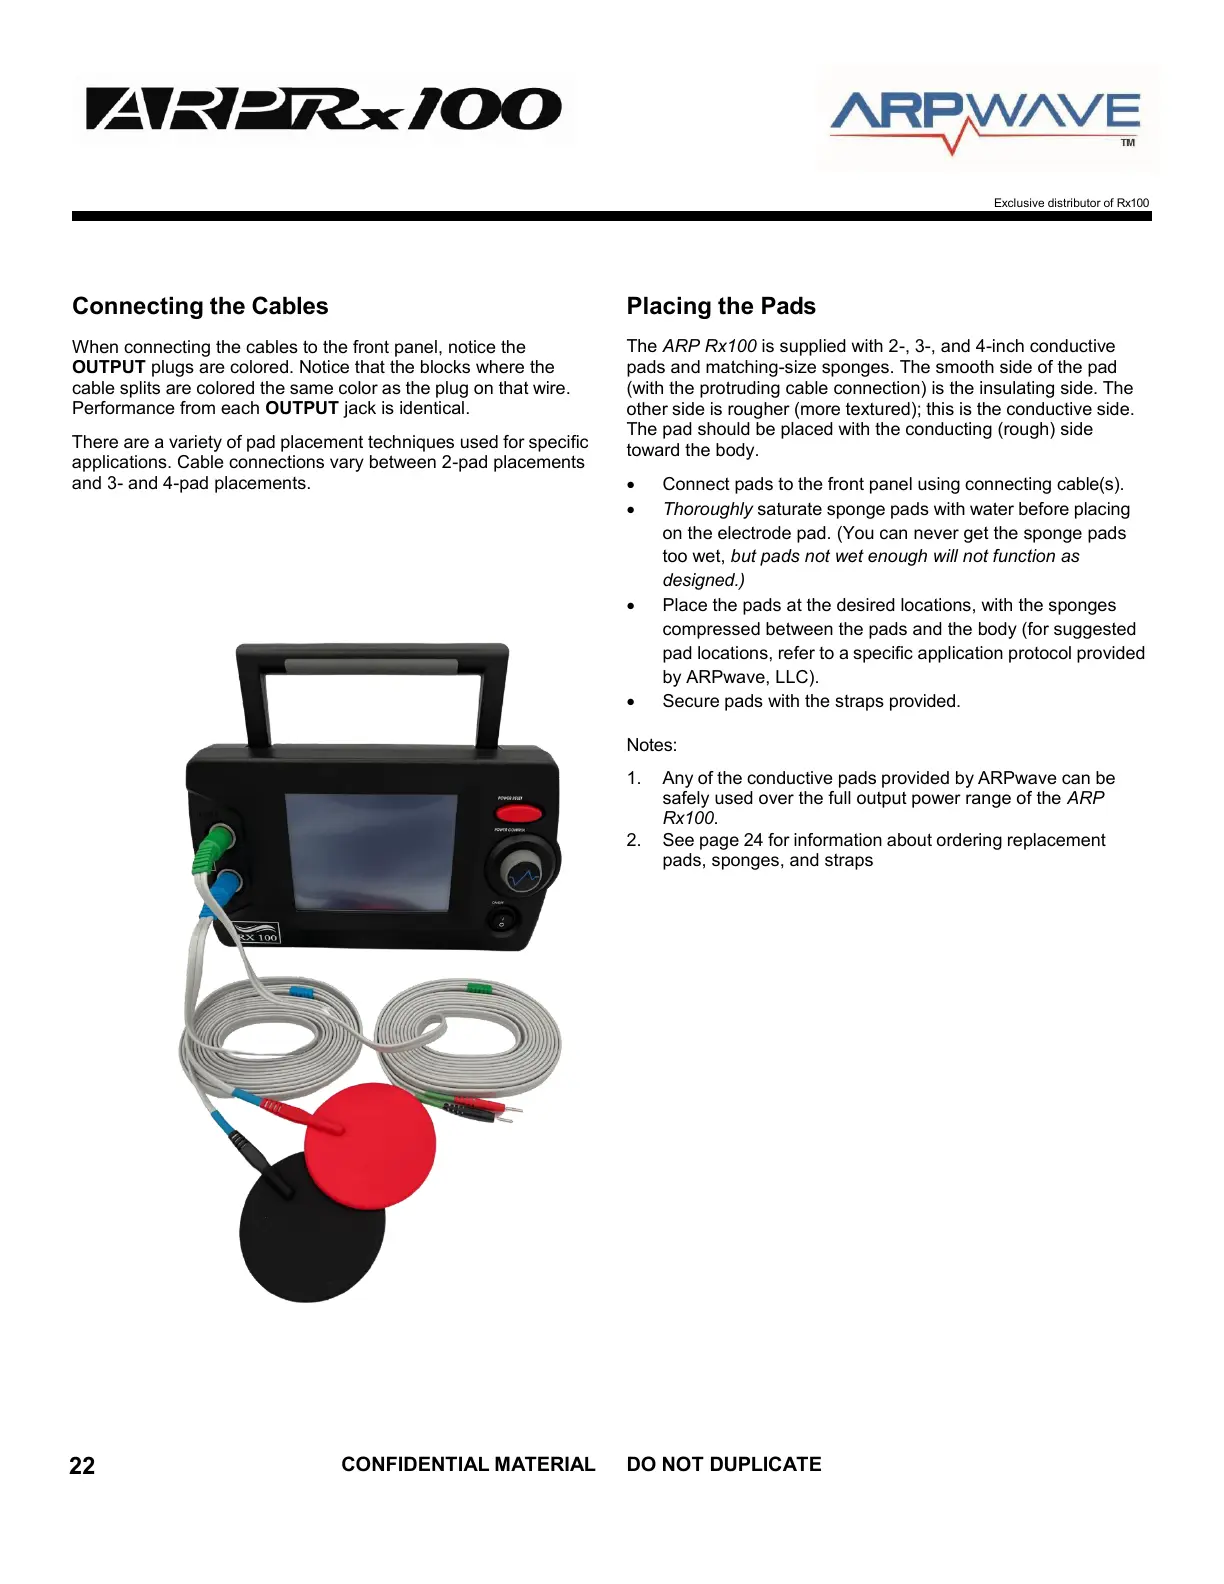
When connecting the cables to the front panel, notice the
OUTPUT plugs are colored. Notice that the blocks where the
cable splits are colored the same color as the plug on that wire.
Performance from each OUTPUT jack is identical.
There are a variety of pad placement techniques used for specific
applications. Cable connections vary between 2-pad placements
and 3- and 4-pad placements.
Placing the Pads
The ARP Rx100 is supplied with 2-, 3-, and 4-inch conductive
pads and matching-size sponges. The smooth side of the pad
(with the protruding cable connection) is the insulating side. The
other side is rougher (more textured); this is the conductive side.
The pad should be placed with the conducting (rough) side
toward the body.
Connect pads to the front panel using connecting cable(s).
Thoroughly saturate sponge pads with water before placing
on the electrode pad. (You can never get the sponge pads
too wet, but pads not wet enough will not function as
designed.)
Place the pads at the desired locations, with the sponges
compressed between the pads and the body (for suggested
pad locations, refer to a specific application protocol provided
by ARPwave, LLC).
Secure pads with the straps provided.
Notes:
1. Any of the conductive pads provided by ARPwave can be
safely used over the full output power range of the ARP
Rx100.
2. See page 24 for information about ordering replacement
pads, sponges, and straps