Aruba 501 802.11ac Wireless Client Bridge Quick Start Guide 5 Initial configuration
Initial configuration
This procedure describes how to perform initial configuration for a factory-
default Aruba 501. For illustration purposes, a simple scenario is used.
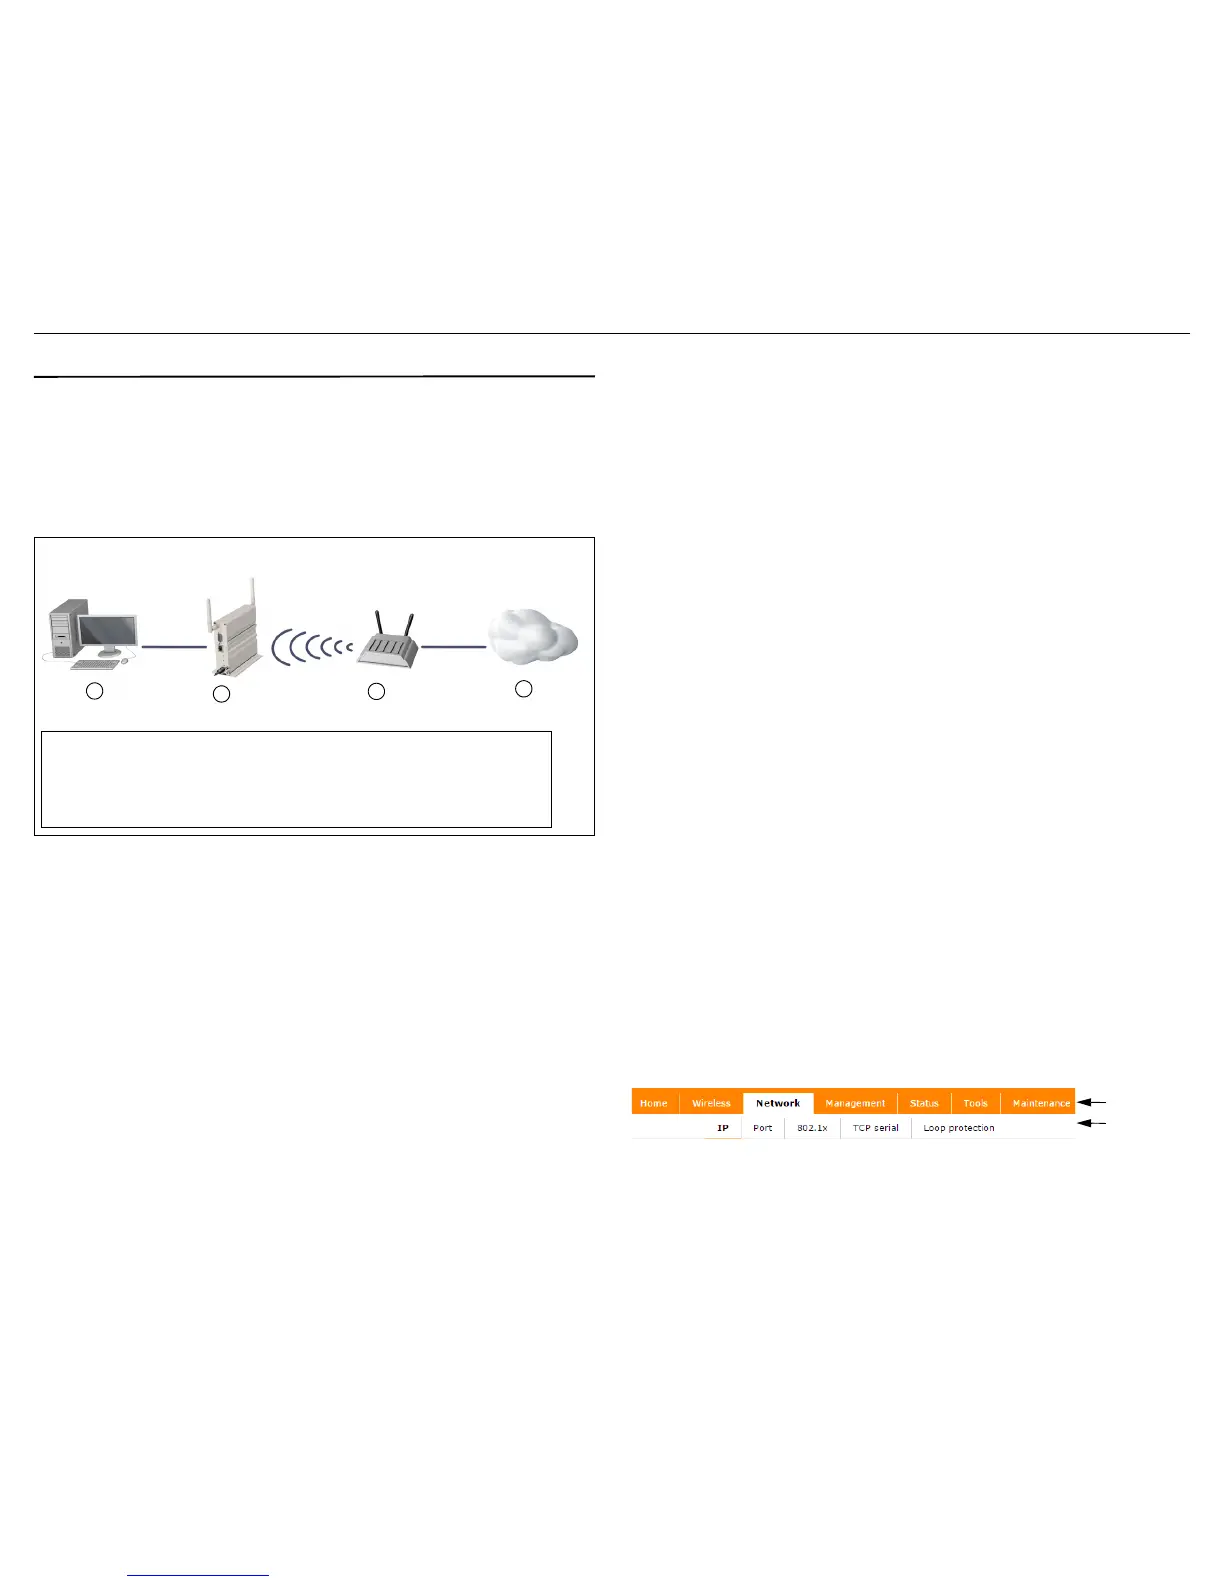
In this scenario, the Aruba 501 links a wired computer to a private network
through a wireless connection to an AP. For instructions on how to configure
other scenarios, see the
Aruba 501
802.11ac Wireless Client Bridge
Configuration and Administration Guide
.
The Aruba 501 is managed through its web-based management tool using
Microsoft Internet Explorer 8 or later, or Mozilla Firefox 17 or later.
Note:
Do not power on the Aruba 501 until directed.
A. Configure your computer
1. Disconnect your computer LAN port and configure it to use a static IP
address in the range 192.168.1.2 to 192.168.1.254, and a subnet mask
of 255.255.255.0. Set the default gateway to 192.168.1.1, and DNS
server to 192.168.1.1.
2. Disable any wireless connection on your computer.
B. Connect the cables and power on the Aruba 501
1. Connect the cables:
• If using a PoE switch, use Ethernet cables to connect your computer
and the Aruba 501 to an unused factory-default PoE switch port.
• If using a PoE injector, use Ethernet cables to connect your computer
to the data-in port of the PoE injector and the Aruba 501 to the data
and power-out port of the PoE injector.
• If using an AC/DC adapter, connect it to the power connector on the
Aruba 501.
2. Power on the Aruba 501 by powering on the PoE switch, power injector,
or by plugging in the AC/DC adapter.
Initially, the Aruba 501 power LED flashes amber. Wait approximately
one minute until it turns green before proceeding to the next step.
3. Connect the LAN port on your computer to the Ethernet port on the
Aruba 501 using a standard Ethernet cable.
C. Connect to the management tool and log in
Note:
A factory-default Aruba 501 is assumed.
1. In a web browser, enter the address: https://192.168.1.1.
2. The first time you connect to the management tool, a security certificate
warning displays. This is expected behavior. Select whatever option is
needed in your web browser to continue to the management tool.
3. On the Login page, specify admin for both Username and Password,
and then select Login. The Aruba 501 management tool home page
opens.
4. On the License Agreement page, read the agreement and select Accept
Aruba End User License Agreement.
5. A Country prompt appears. Select the country in which the Aruba 501 is
operating.
Caution:
To ensure compliance, you must select the correct country.
See Country of use on page 3.
6. At the password prompt, HPE Aruba recommends that you change the
default password and select Save. Passwords must be at least six
characters long and include four different characters.
The management tool is organized with menus and sub-menus. Instructions for
making menu selections, such as “select Network > IP” indicate that you should
select the Network menu and then the IP sub-menu, as follows:
D. Assign an IP address to the Aruba 501
By default, the Aruba 501 operates as a DHCP client. This means that if the
network has a DHCP server, the Aruba 501 automatically receives a new IP
address in place of its default address of 192.168.1.1 upon connecting to the