Aruba Instant On AP12 Access Point | Installation Guide 9
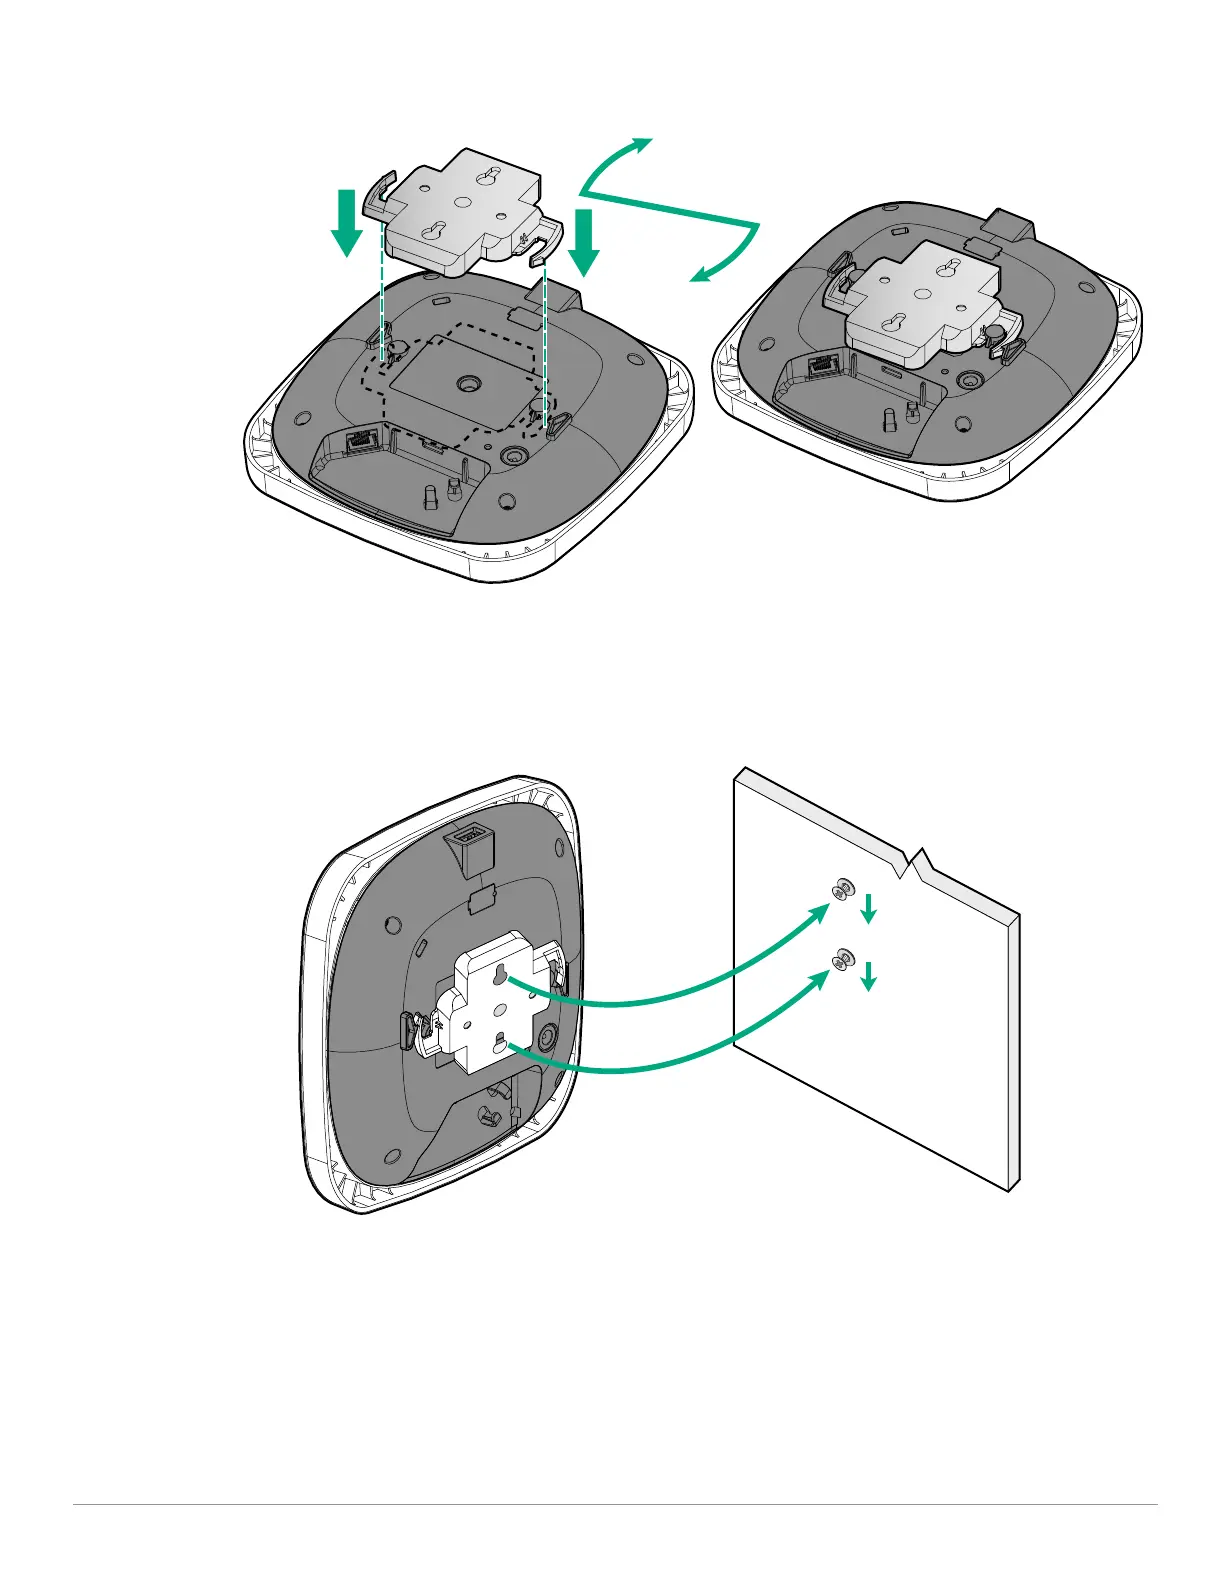
2. Twist the bracket clockwise until it snaps into place in the tabs (see Figure 11).
Figure 11 Bracket Installation
3. Install two screws (and wall anchors if necessary), one above the other. Do not fully insert the screws into the
wall. Leave enough space between the screw head and the wall for the bracket.
4. Align the keyhole slots on the back of the bracket with the screws installed in step3.
5. Place the larger opening on the keyhole slot over the screw and pull the AP down until it is securely attached
to the screws (see Figure 12).
Figure 12 AP-Bracket Wall Installation
Verifying Post-Installation Connectivity
The integrated LEDs on the access point can be used to verify that the access point is receiving power and
initializing successfully (see Table 1).
Mobile Application Installation
Search for “Aruba Instant On” app within the Apple App Store or Google Play to download and install the Aruba
Instant On mobile app to your phone. Launch the app and follow the instructions to complete the setup. For
 Loading...