5
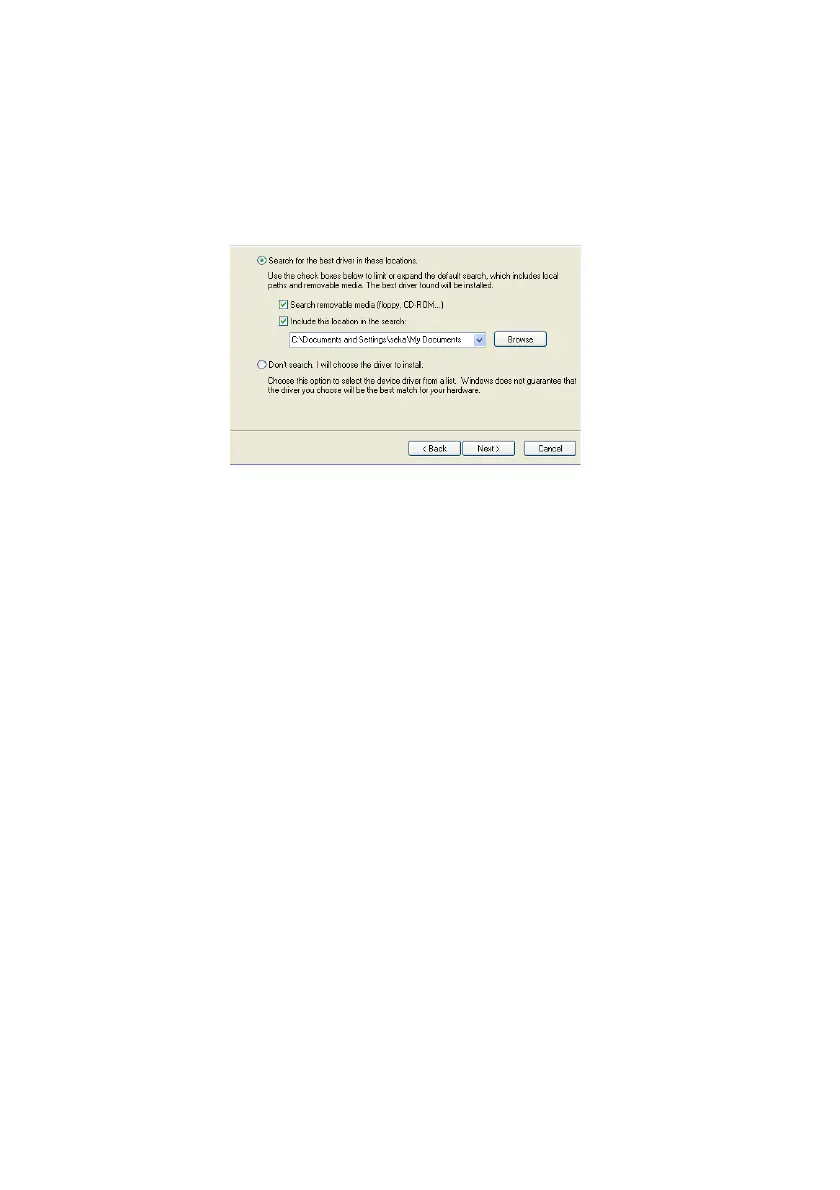
7 Select Search for the best driver in these locations.
8Check the Search removable media (floppy, CD-ROM...) check box.
9Check the Include this location in the search: check box.
10 Browse to the folder where the port driver is saved.
11 Click “Next”. The installation of the port driver begins.
12 If a message opens, saying the software has not passed Windows Logo testing,
click “Continue Anyway”.
13 Click “Finish”. A dialogue box will open and inform you that new hardware is
installed.
Install the Port Driver on Windows 7
Note: When switching between mass storage mode and network mode, it
takes about 30 seconds before the module can be accessed with the
192.5.36.229 address.
1 Connect a mini-USB type B cable between the USB port on your computer and
the management port on the module.
2 Press the Mode button twice to change the USB mode to mass storage.
The module will now turn up as a mass storage device on your computer. This
is indicated by slow flashing blue light on the Mode button LED.
3 Locate the required “elise3.inf” driver and save it on your computer.
4 Press the Mode button twice again to change the USB mode to network
access.
5 Select Control Panel > Hardware and Sound.
6 Select “Device Manager” under Devices and Printers.