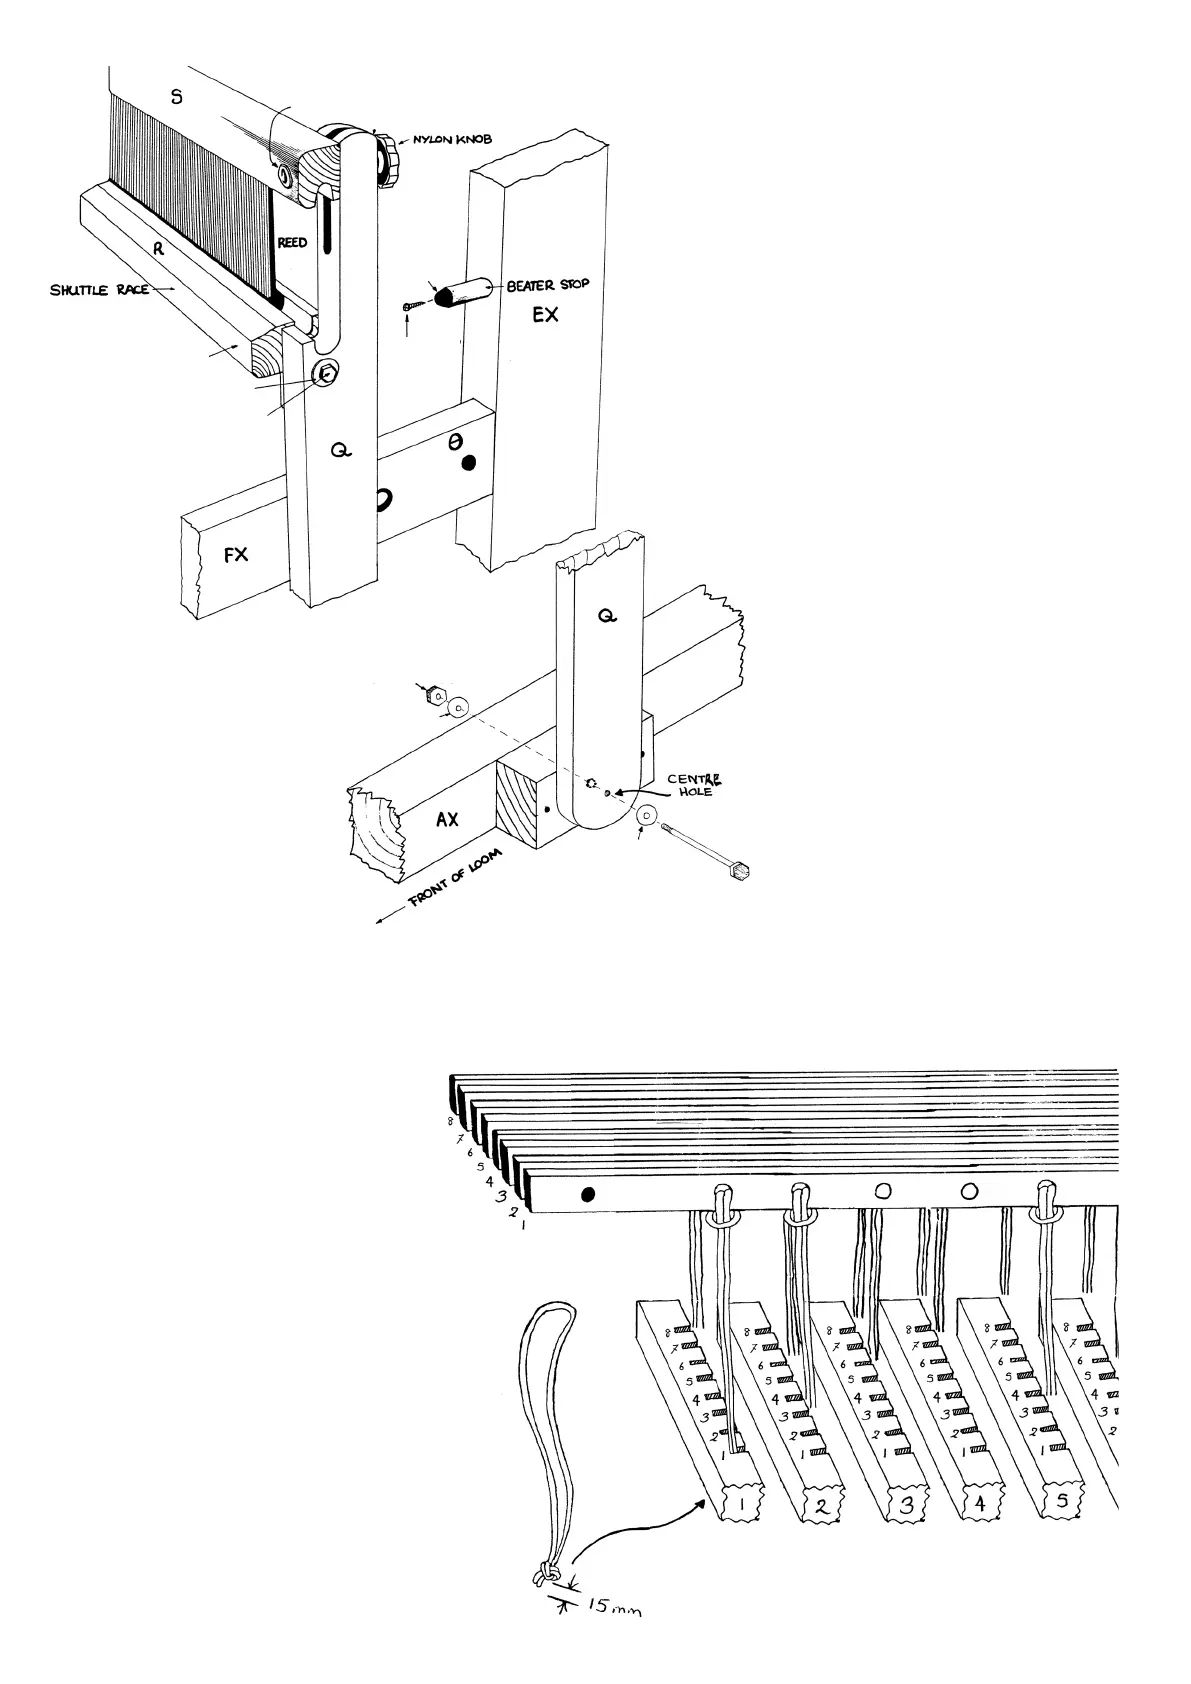
14
32. Tie a knot in the Nylon Cords leaving
approx. 15mm at the end.
NOTE: There are 8 parallel lams and 8
slots in each treadle. After determining
the pattern required, connect the
cord from each lam to the slot in the
treadle directly beneath it. The knots
in the cords locate into the holes in the
underside of the treadles.
M6 x 75 Cup Head Bolt
M6 x 22 Washer
M16 Rubber
Buffer
6 x ½ Pan
Head Screw
M6 Barrel Nut
(Hidden)
M6 x 16 Washer
M6 x 65 Hex Head Bolt
M6 Nylock Nut
M6 x 16 Washer
M6 x 16 Washer
M6 x 100
Hex Head Bolt
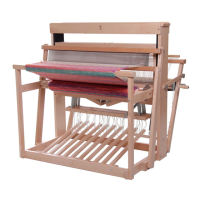
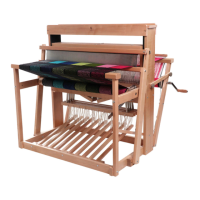
28. Tap the beater stops into the castle
sides E and EX. Note the lead holes for
the screws face out. Use wood glue if
necessary. Then attach the M16 Rubber
Buffer to the stops with 6 x ½ Pan Head
Screws.
29. Assemble the beater by joining the sides
Q to the bottom rail R with M6 x 65 Hex
Head Bolts, M6 X 16 Washers and M6 Barrel
Nut. Note the shuttle race faces forward.
30. Place the reed into the groove in the
bottom rail R. Secure the top beater rail
S to the sides with M6 x 75 Cup Head Bolts,
M6 x 22 Washers and nylon knobs.
31. Place the beater in position on the loom
frame and push a M6 x 100 Hex Head Bolt
and M6 X 16 Washer through the beater
side Q, through the hole in the spacer
block attached to the side A and secure
with M6 X 16 Washer and M6 Nylock Nut.
Repeat for side AX
NOTE: Do not tighten bolts, the beater
must move freely.