EasyManuals Logo

ASROCK B75M Quick Installation Guide

ASROCK B75M
204 pages
To Next Page IconTo Next Page
To Previous Page IconTo Previous Page
Page #12 background imageLoading...
Page #12 background image
12
ASRock B75M Motherboard
Chapter 2: Installation
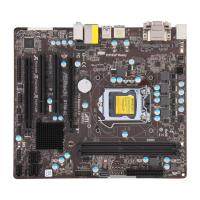
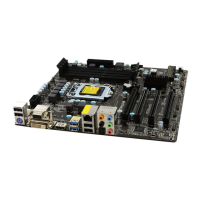
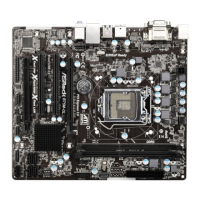
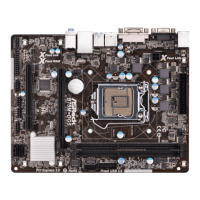
This is a Micro ATX form factor (9.6" x 8.4", 24.4 x 21.3 cm) motherboard. Before
you install the motherboard, study the conguration of your chassis to ensure that
the motherboard ts into it.
Make sure to unplug the power cord before installing or removing the
motherboard. Failure to do so may cause physical injuries to you and
damages to motherboard components.
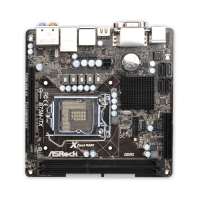
2.1 Screw Holes
Place screws into the holes indicated by circles to secure the motherboard to the
chassis.
Do not over-tighten the screws! Doing so may damage the motherboard.
2.2 Pre-installation Precautions
Take note of the following precautions before you install motherboard components
or change any motherboard settings.
1. Unplug the power cord from the wall socket before touching any
components.
2. To avoid damaging the motherboard’s components due to static
electricity, NEVER place your motherboard directly on the carpet
or the like. Also remember to use a grounded wrist strap or touch a
safety grounded object before you handle the components.
3. Hold components by the edges and do not touch the ICs.
4. Whenever you uninstall any component, place it on a grounded anti-
static pad or in the bag that comes with the component.
5. When placing screws into the screw holes to secure the mother-
board to the chassis, please do not over-tighten the screws! Doing
so may damage the motherboard.
Before you install or remove any component, ensure that the power is
switched off or the power cord is detached from the power supply. Failure to do
so may cause severe damage to the motherboard, peripherals and/or
components.
English

Other manuals for ASROCK B75M

Questions and Answers:

Question and Answer IconNeed help?

Do you have a question about the ASROCK B75M and is the answer not in the manual?

ASROCK B75M Specifications

General IconGeneral
ECCNo
Non-ECCYes
Memory voltage1.5 V
Memory channelsDual-channel
Memory slots typeDIMM
Number of memory slots2
Supported memory typesDDR3-SDRAM
Maximum internal memory16 GB
Supported memory clock speeds1066, 1333, 1600 MHz
Supported memory module capacities1GB, 2GB, 4GB, 8GB
System bus rate5 GT/s
Processor socketLGA 1155 (Socket H2)
Processor manufacturerIntel
Compatible processor seriesIntel Core i3, Intel Core i5, Intel Core i7
Maximum number of SMP processors1
Number of SATA II connectors5
Number of SATA III connectors3
USB 3.2 Gen 1 (3.1 Gen 1) connectors0
HDMI version1.4a
USB 2.0 ports quantityUSB 2.0 ports have a data transmission speed of 480 Mbps, and are backwards compatible with USB 1.1 ports. You can connect all kinds of peripheral devices to them.
USB 3.2 Gen 1 (3.1 Gen 1) Type-A ports quantity4
Audio chipRealtek ALC662
Cooling typePassive
CertificationFCC, CE, WHQL, ErP/EuP Ready
Component forPC
Power source typeATX
Motherboard chipsetIntel B75
PC health monitoringCPU, FAN, Temperature
Audio output channels7.1 channels
Motherboard form factormicro ATX
Compatible operating systemsWindows 7, Vista, XP 32/64-bit
Supported storage drive interfacesSATA II, SATA III
Cables includedSATA
Graphics cardGMA X4500
OpenGL version3.2
DirectX version11
Maximum resolution2048 x 1536 pixels
Maximum graphics card memory1760 MB
Parallel processing technology support2-Way CrossFireX, Quad-GPU CrossFireX
PCI Express slots version2.0, 3.0
PCI Express configurations1x4, 1x16
Controller 2nd interface typeASMedia ASM1061
LAN controllerRealtek RTL8111E
Wi-Fi standardsNot supported
Networking featuresGigabit LAN
Ethernet interface typeGigabit Ethernet
BIOS typeEFI AMI
ACPI version1.1
BIOS memory size64 Mbit
Weight and Dimensions IconWeight and Dimensions
Depth213 mm
Width244 mm

Related product manuals