AstralPool
®
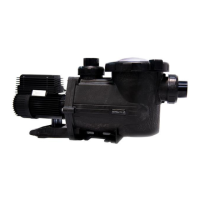
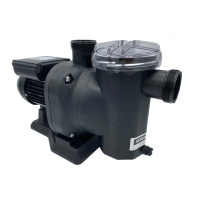
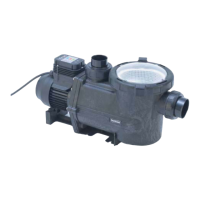
CTX, XP, XF and E Series Pumps | Installation and Operation Manual
12
4.4 Electrical Connections
WARNING
AstralPool pumps are powered by a high voltage electric motor and
must be installed by a licensed or certified electrician or a qualified
swimming pool service technician.
When installing the appliance, ensure all parts are installed in the
correct zone in accordance with the wiring rules. In particular refer
to AS/NZS 3000 (Australia) and EN 60364 (EU)
WARNING
Failure to provide data plate voltage (+/- 10%) during operation will
cause the motor to overheat and void the warranty
It is the responsibility of the installer to ensure that electrical
connections are in compliance with all wiring codes, rules
and regulations.
4.4.1 Voltage Checks
The correct voltage, as specified on the pump data plate,
is necessary for proper performance and long motor life.
Incorrect voltage will decrease the pump’s ability to perform
and could cause overheating, reduce the motor life, and
result in higher electric bills.
It is the responsibility of the electrical installer to provide
data plate operating voltage to the pump by ensuring
proper circuit sizes and wire sizes.
Most applicable wiring/installation codes require pool
pump circuits to be protected with a Ground Fault Circuit
Interrupter (GFCI), also commonly referred to as a Residual
Current Device (RCD). Pump input power must be either
supplied by an isolating transformer or through a residual
current device (RCD) with a rated residual operating current
not exceeding 30mA.
4.4.2 3-Phase Wiring
The 3-Phase XP Pump must be connected with fixed wiring
(AS/NZS 3000-2018) to maintain the IP rating. The XP
3-Phase Pump is not suitable for flex and plug connection.
The 3-Phase XP Pump requires a minimum 3 x 1.5mm
2
600/1000V cable with minimum 1.5mm Ø conductors, and
a minimum outer 9.0mm Ø to maximum 10.5mm Ø .
The electrician must check the direction of pump rotation at
the time of installation. Refer to the arrow on the Seal Plate
to confirm the correct rotational direction.
1. Connect power to the motor (switched off).
2. Ensure the pump is empty of all water.
3. For a brief moment, switch on power to check if the
motor rotation direction matches the arrow located in
the rear of the Seal Plate.
4. Turn off power when rotation check is complete.
5. If the motor is rotating in the opposite direction, correct
the phase wiring.
6. Once the correct rotation is confirmed, fill the pump
with water, prime the pump and test operation.
Section 5. Operation
5.1 Starting Up the Pump
WARNING
Never run the pump without water. Running the pump “dry” for
any length of time can cause severe damage to both the pump and
motor and will void the warranty.
If this is a new pool installation, make sure all piping is clear
of construction debris and has been properly pressure
tested. The filter should be checked for proper installation,
verifying that all connections and clamps are secure
according to the manufacturer’s recommendations.
WARNING
To avoid risk of property damage, severe personal injury or death,
verify that all power is turned off before starting this procedure.
5.1.1 CTX-, XP- and E-Series Pumps
1. Depending on the location of the pump, do one of the
following:
• If the pump is located below the water level of
the pool, open the filter pressure release valve to
prime the pump with water.
• If the pump is located above the water level of
the pool, remove the lid and fill the basket with
water before starting the pump.
2. Prior to replacing the lid, check for debris around the lid
o-ring seat. Debris will cause air to leak into the system
and will make it difficult to prime the pump.
3. Hand-tighten the lid to make an air tight seal. Do not
use any tools to tighten the lid: hand-tighten only.
Make sure all valves are open and the unions are tight.
Restore power to the pump.
4. Once all the air has left the filter, close the pressure
release valve.
5. Turn on power to the pump.
6. If the water flow is not available within 1 to 2 minutes,
turn off the power and prime the pump again. After
three (3) attempts at priming, turn off the pump and
check for leaks.
NOTE If no leaks are evident, a check valve or foot valve is required to
hold water for priming.
7. If water flow is not adequate after cleaning the lint
basket, turn off the power and check for other issues
such as the check valve, air leaks, faulty seal, cracked
lint pot lid, etc.
8. Install a check valve (provided in basket with CTX and
E-Series pumps) between the outlet barrel union tail
and the pump discharge.
NOTE: A check valve should be installed on spas equipped with
cartridge filters, systems with multiple pumps operating from
one suction or return line, or any installation with backflow
potential when the pump is turned off. The check valve will
slightly reduce the pump’s performance.